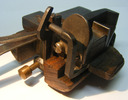
This Notebook contains photographs of a 19th century lever hand mold. For more on this mold, go up one level.
Note: I have made no attempt to color balance these photographs. They tend to render things a bit more brown/golden than they really are. All parts of this mold are steel (with the patina of a century and a half), except the insulating "woods" and some brass hardware (as noted).
My thanks to Paul Aken, proprietor of The Platen Press museum, for the loan of this mold from his collection.
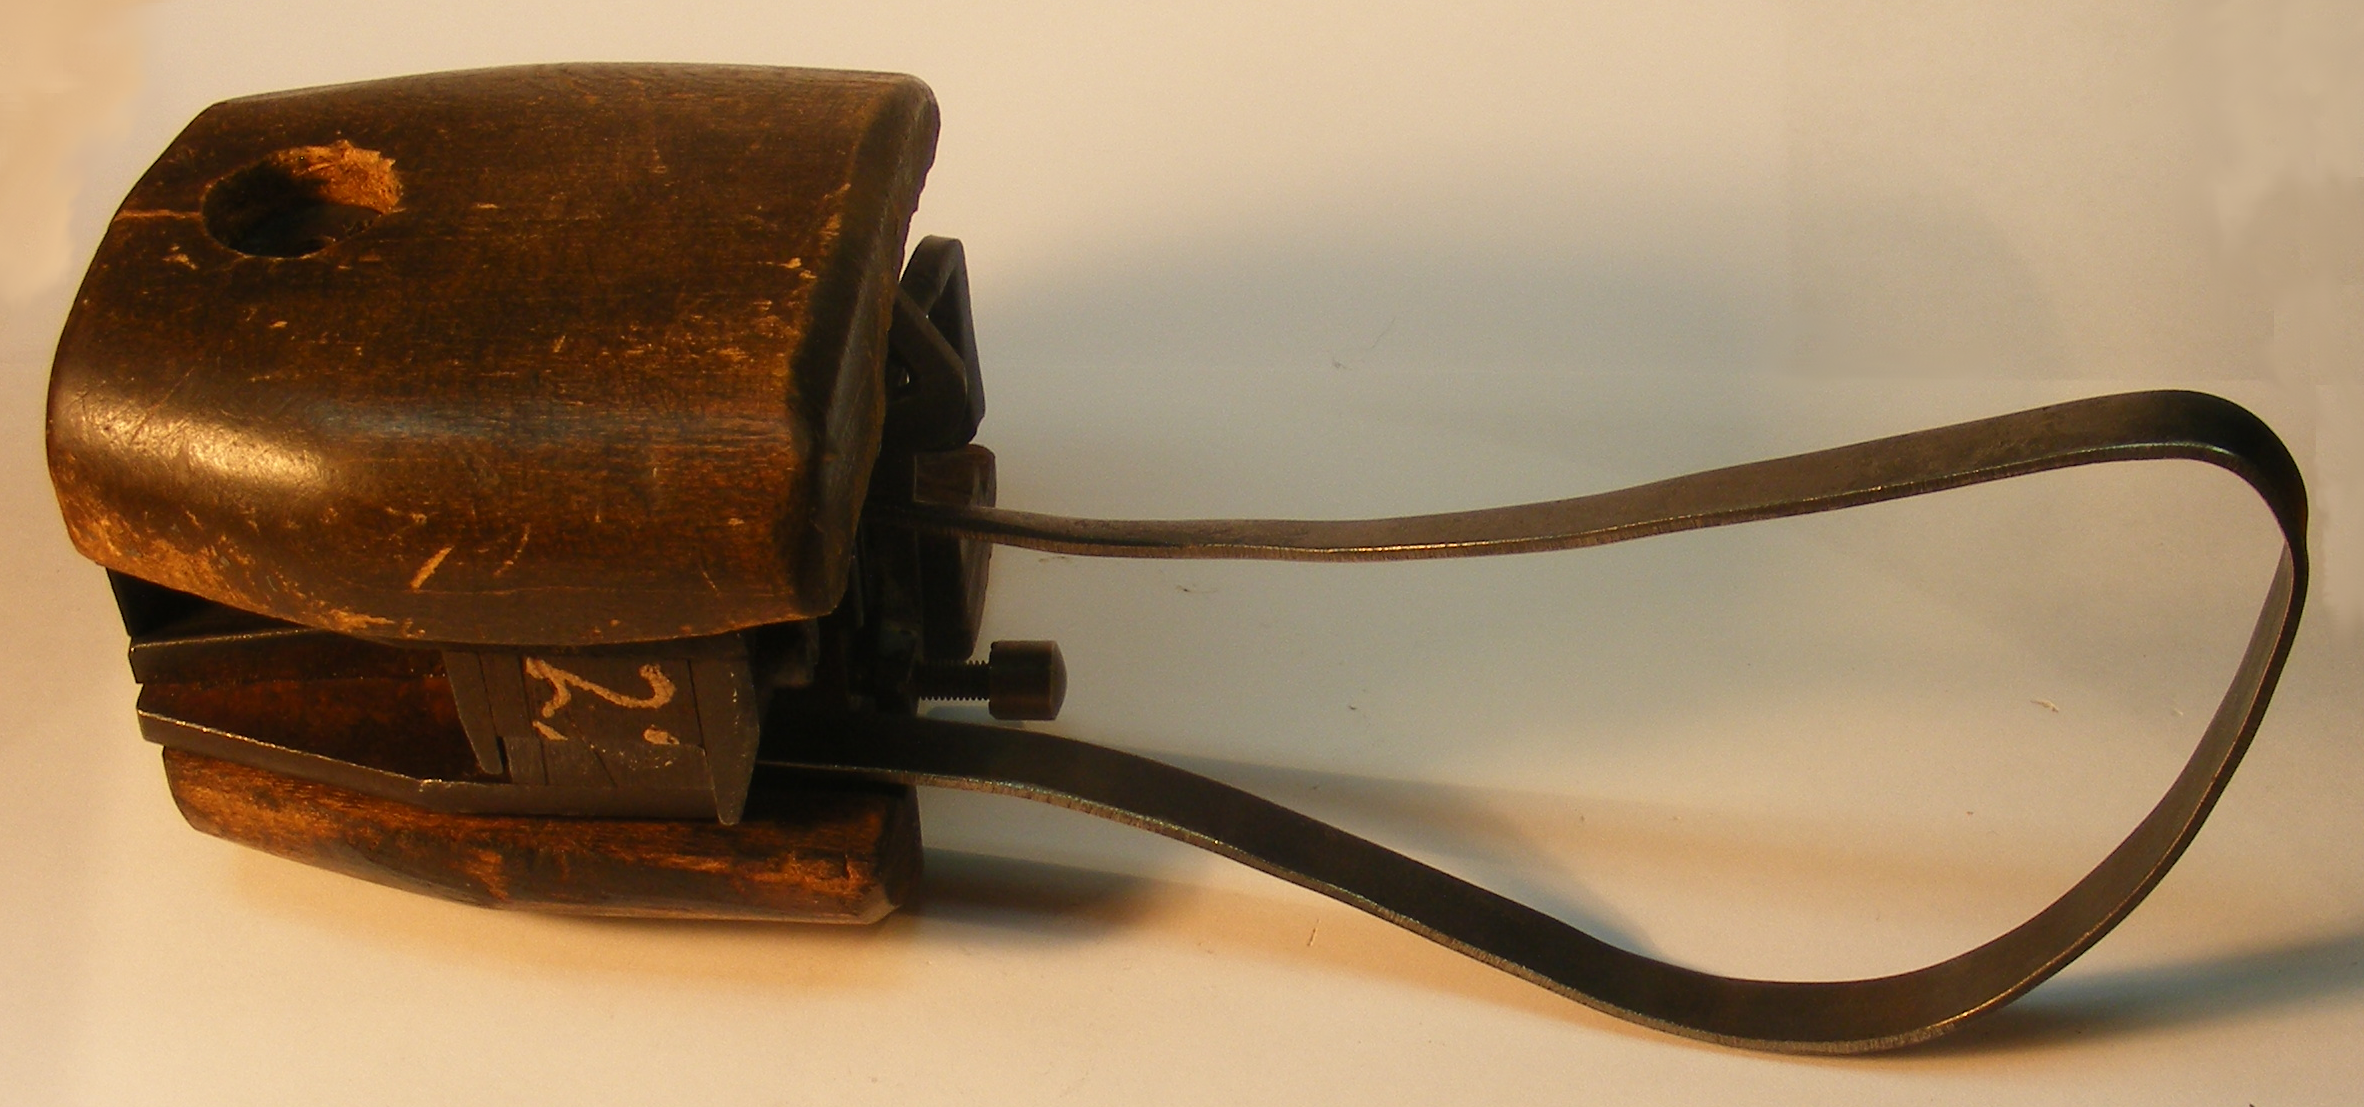
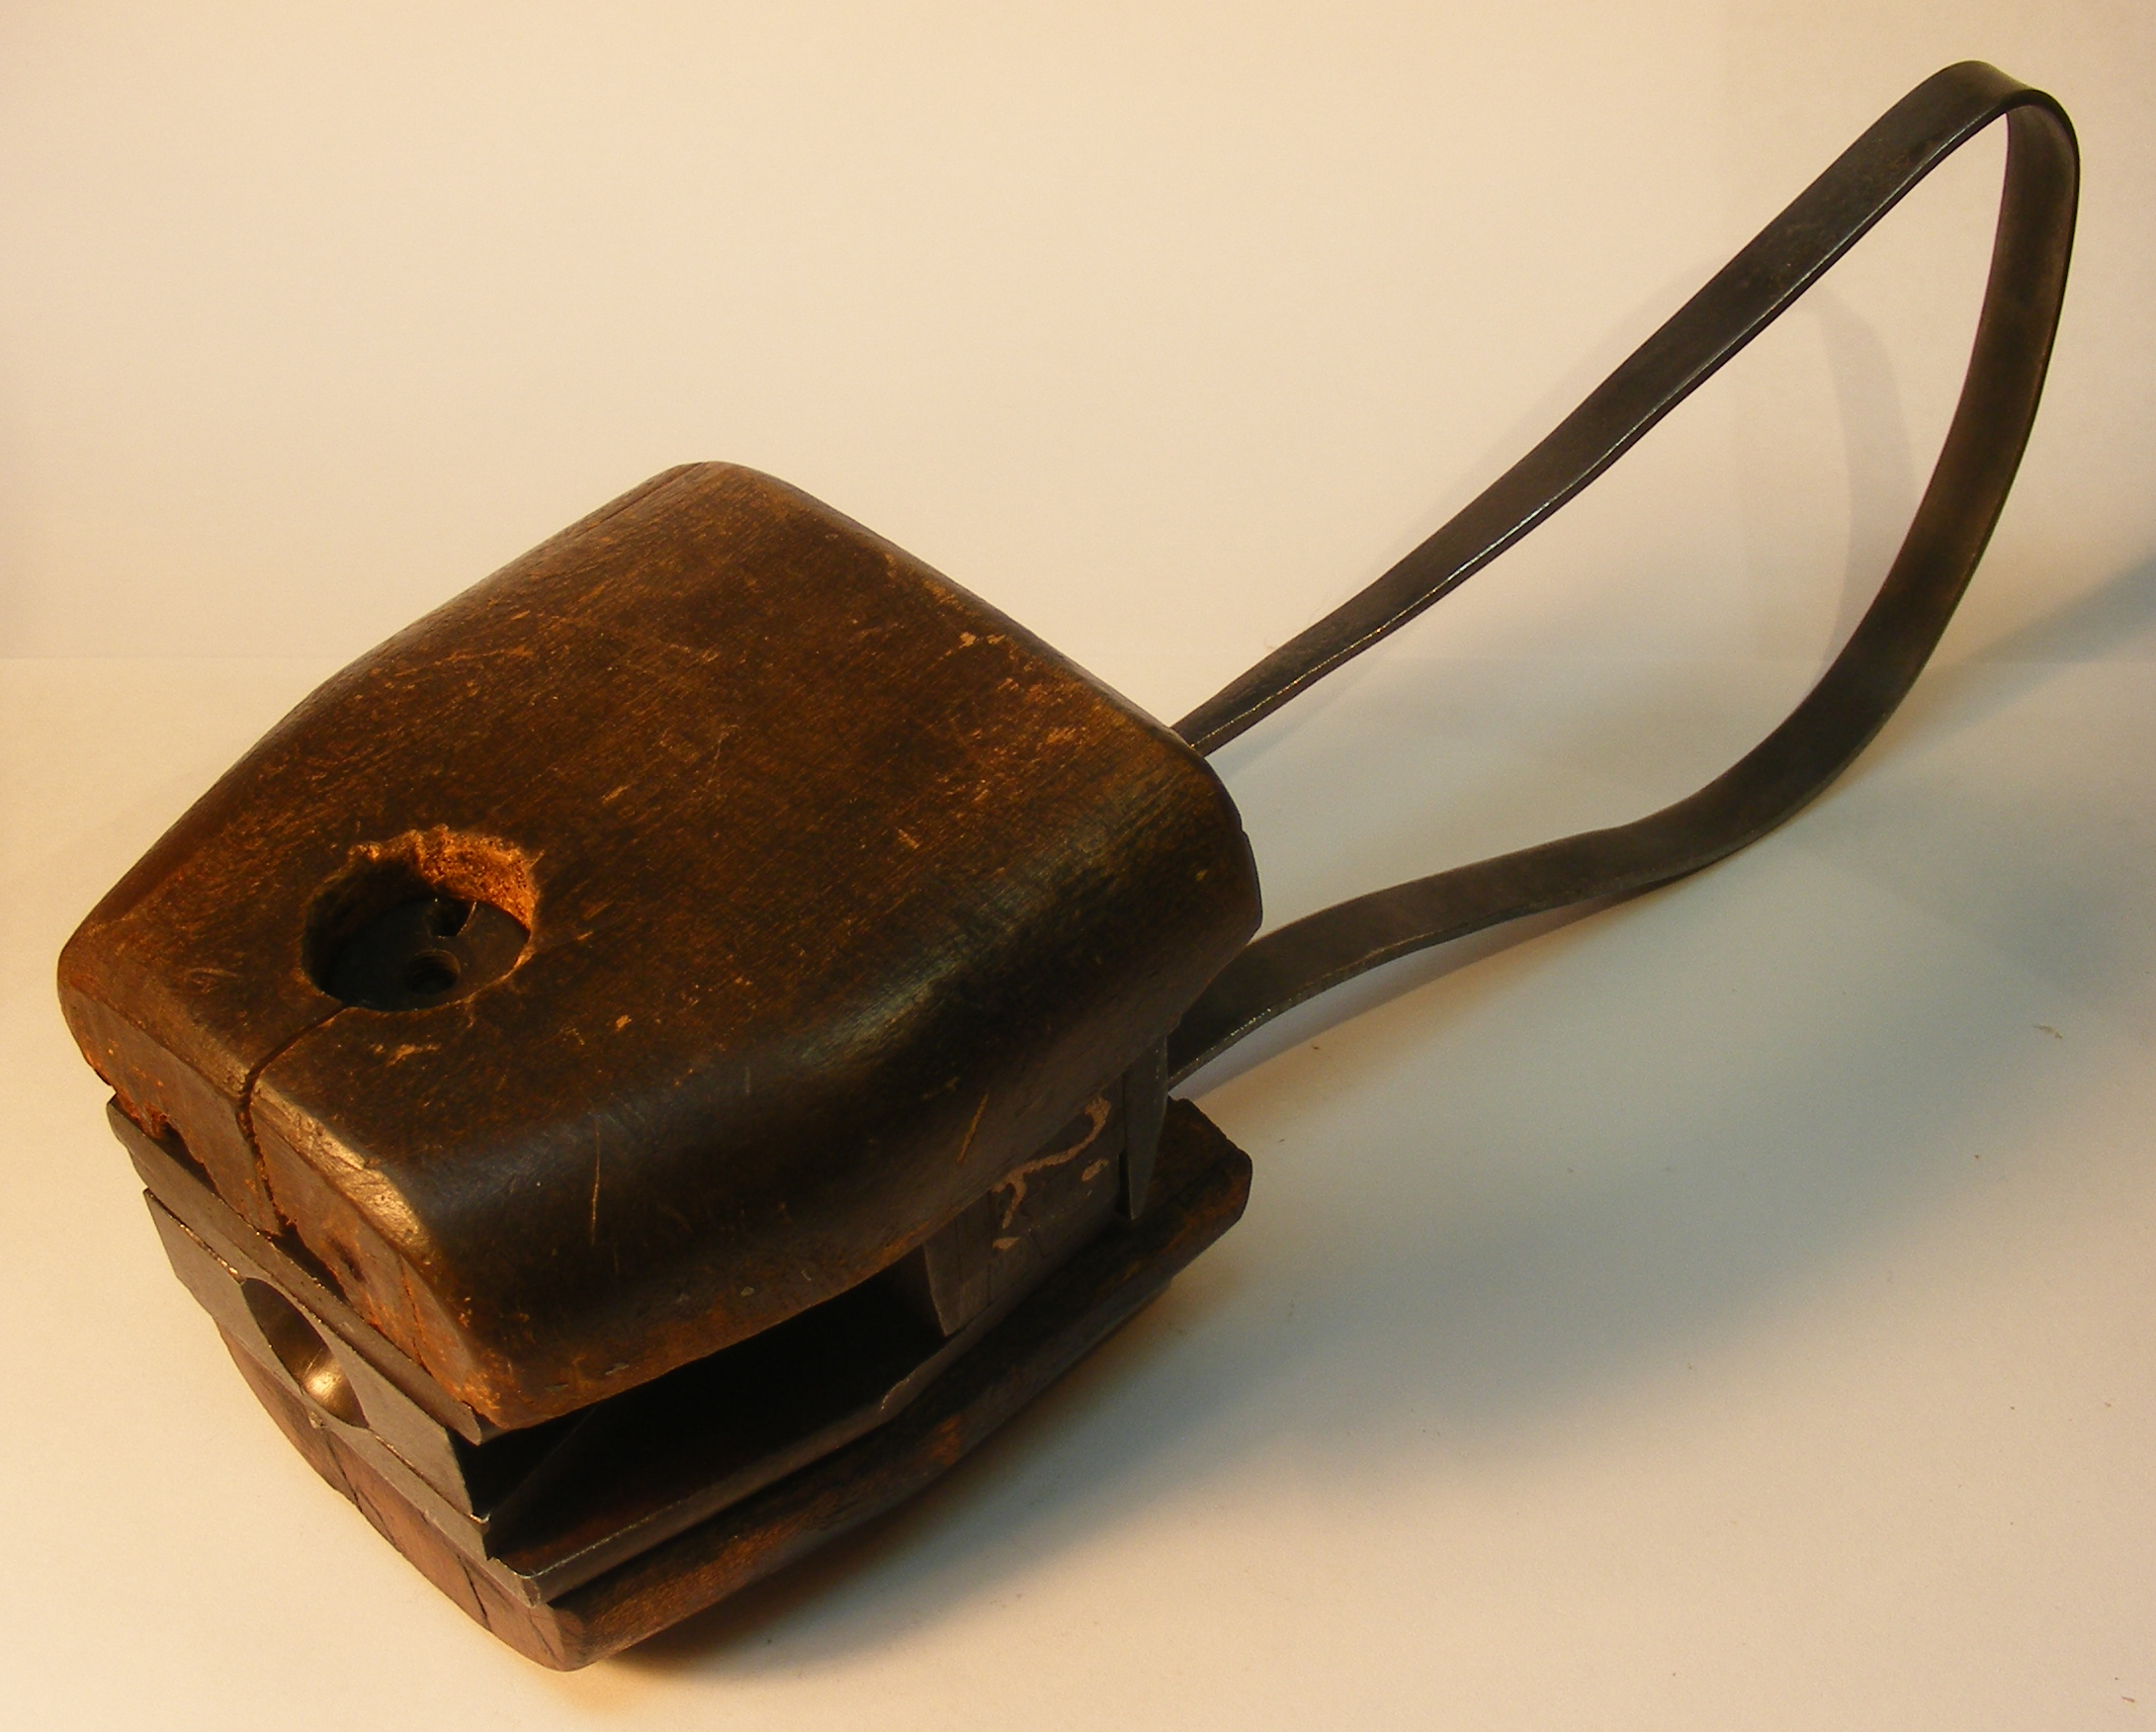
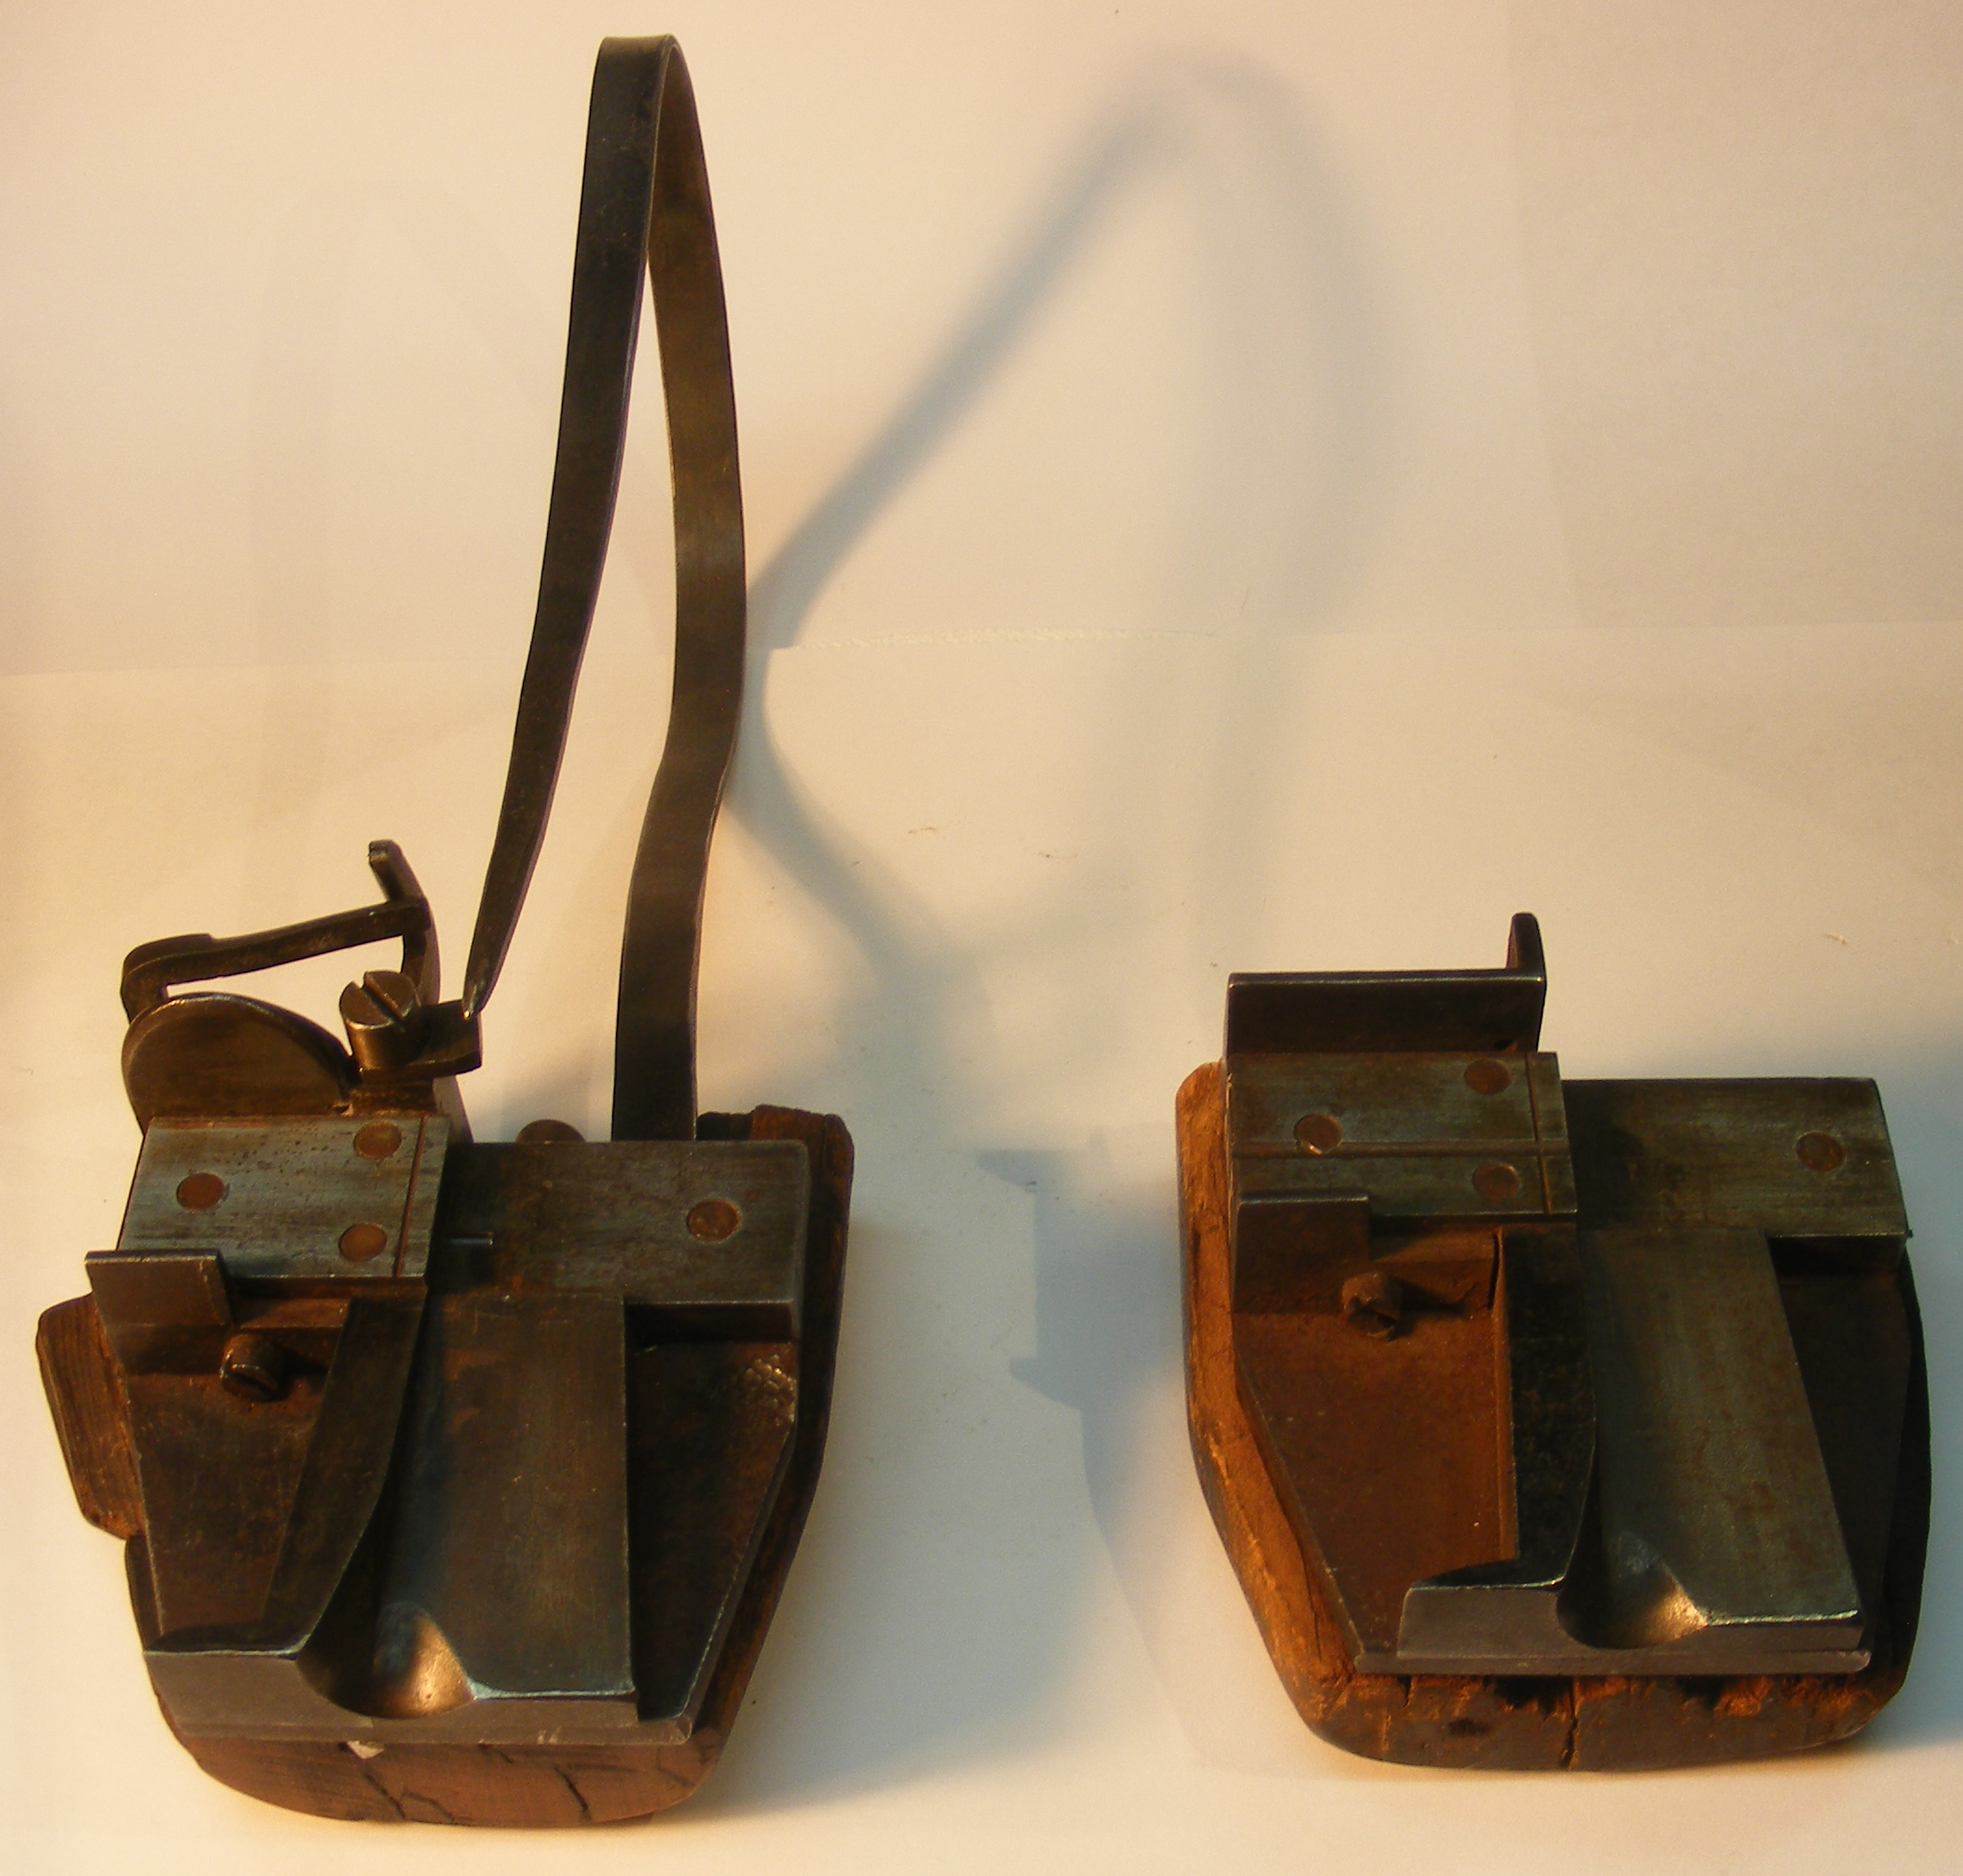
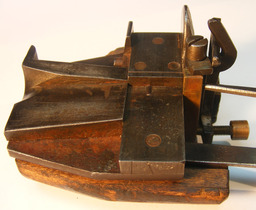
Below left the mold is shown more or less as it would be held for casting (I am not an experienced hand casterman, and may not be holding it entirely correctly): held in the left hand, bottom half against the fingers, mouthpiece up, levers actuated by the fingers (not the thumb). Below right is a view showing the lever mechanism. Even a relatively small (Pica) mold such as this feels fairly large when held in the hand.
Please note that if I were in fact going to cast with this mold, I'd be wearing a protective glove on my left hand.
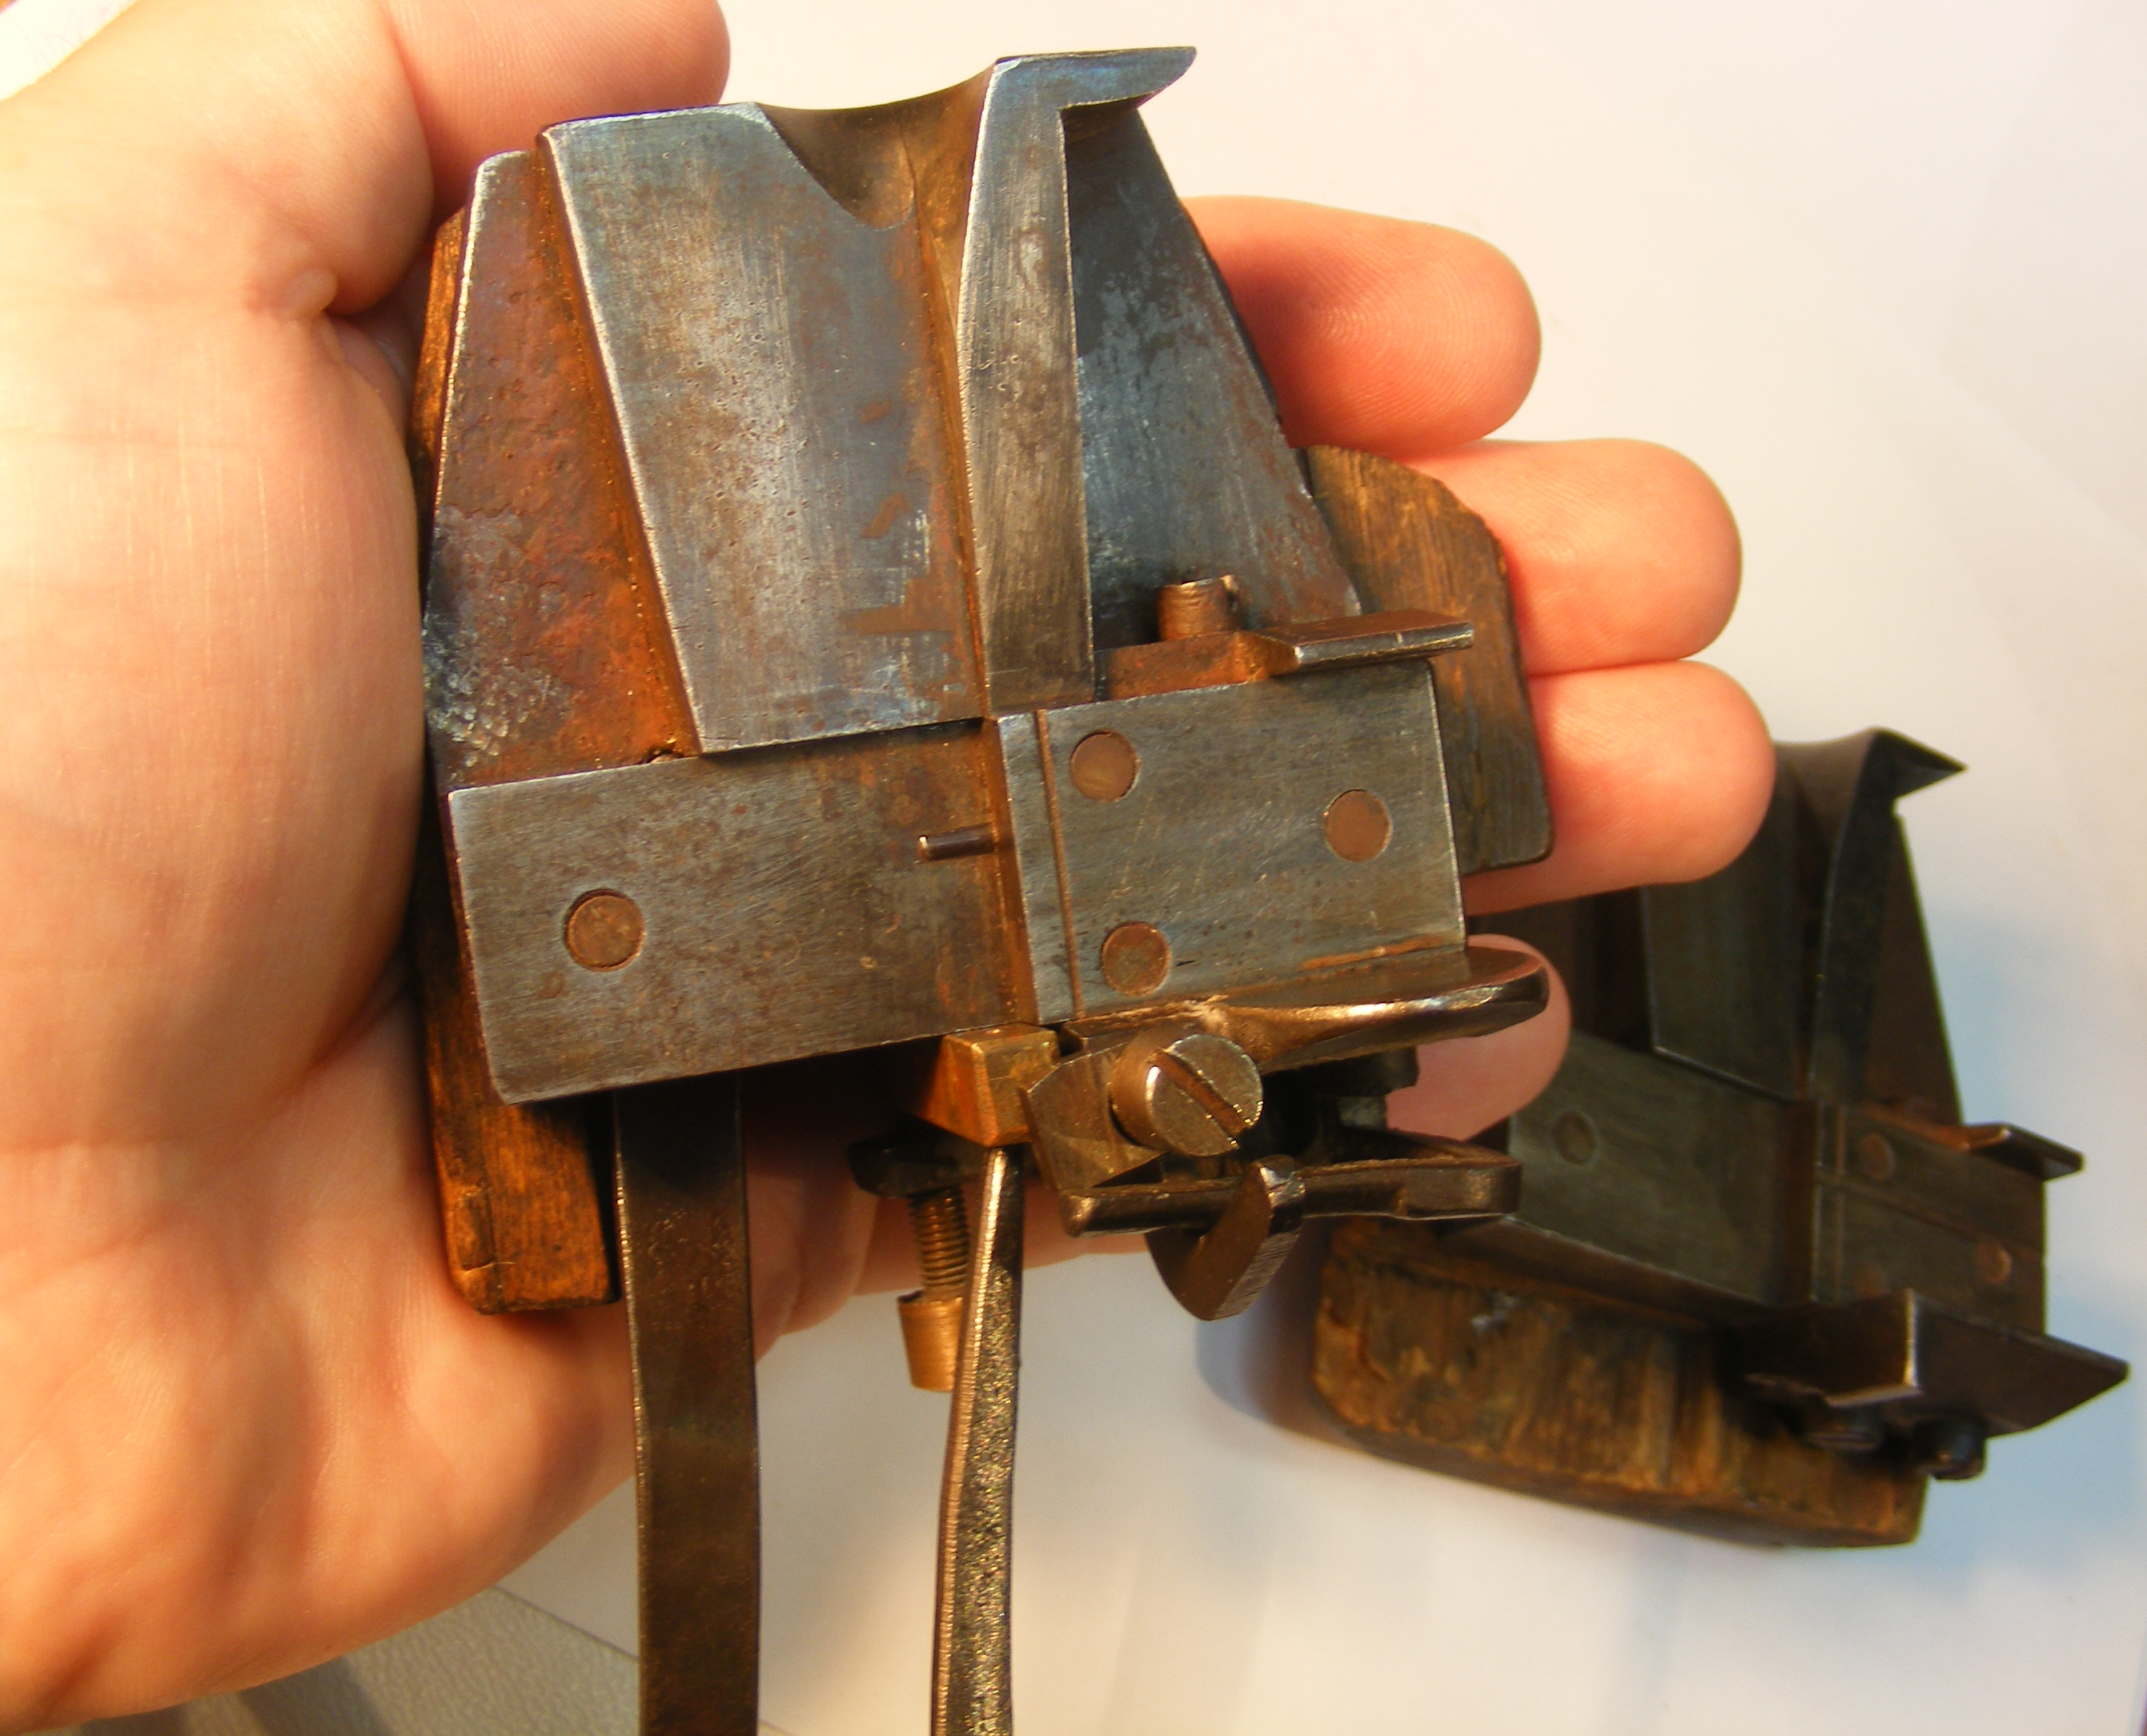
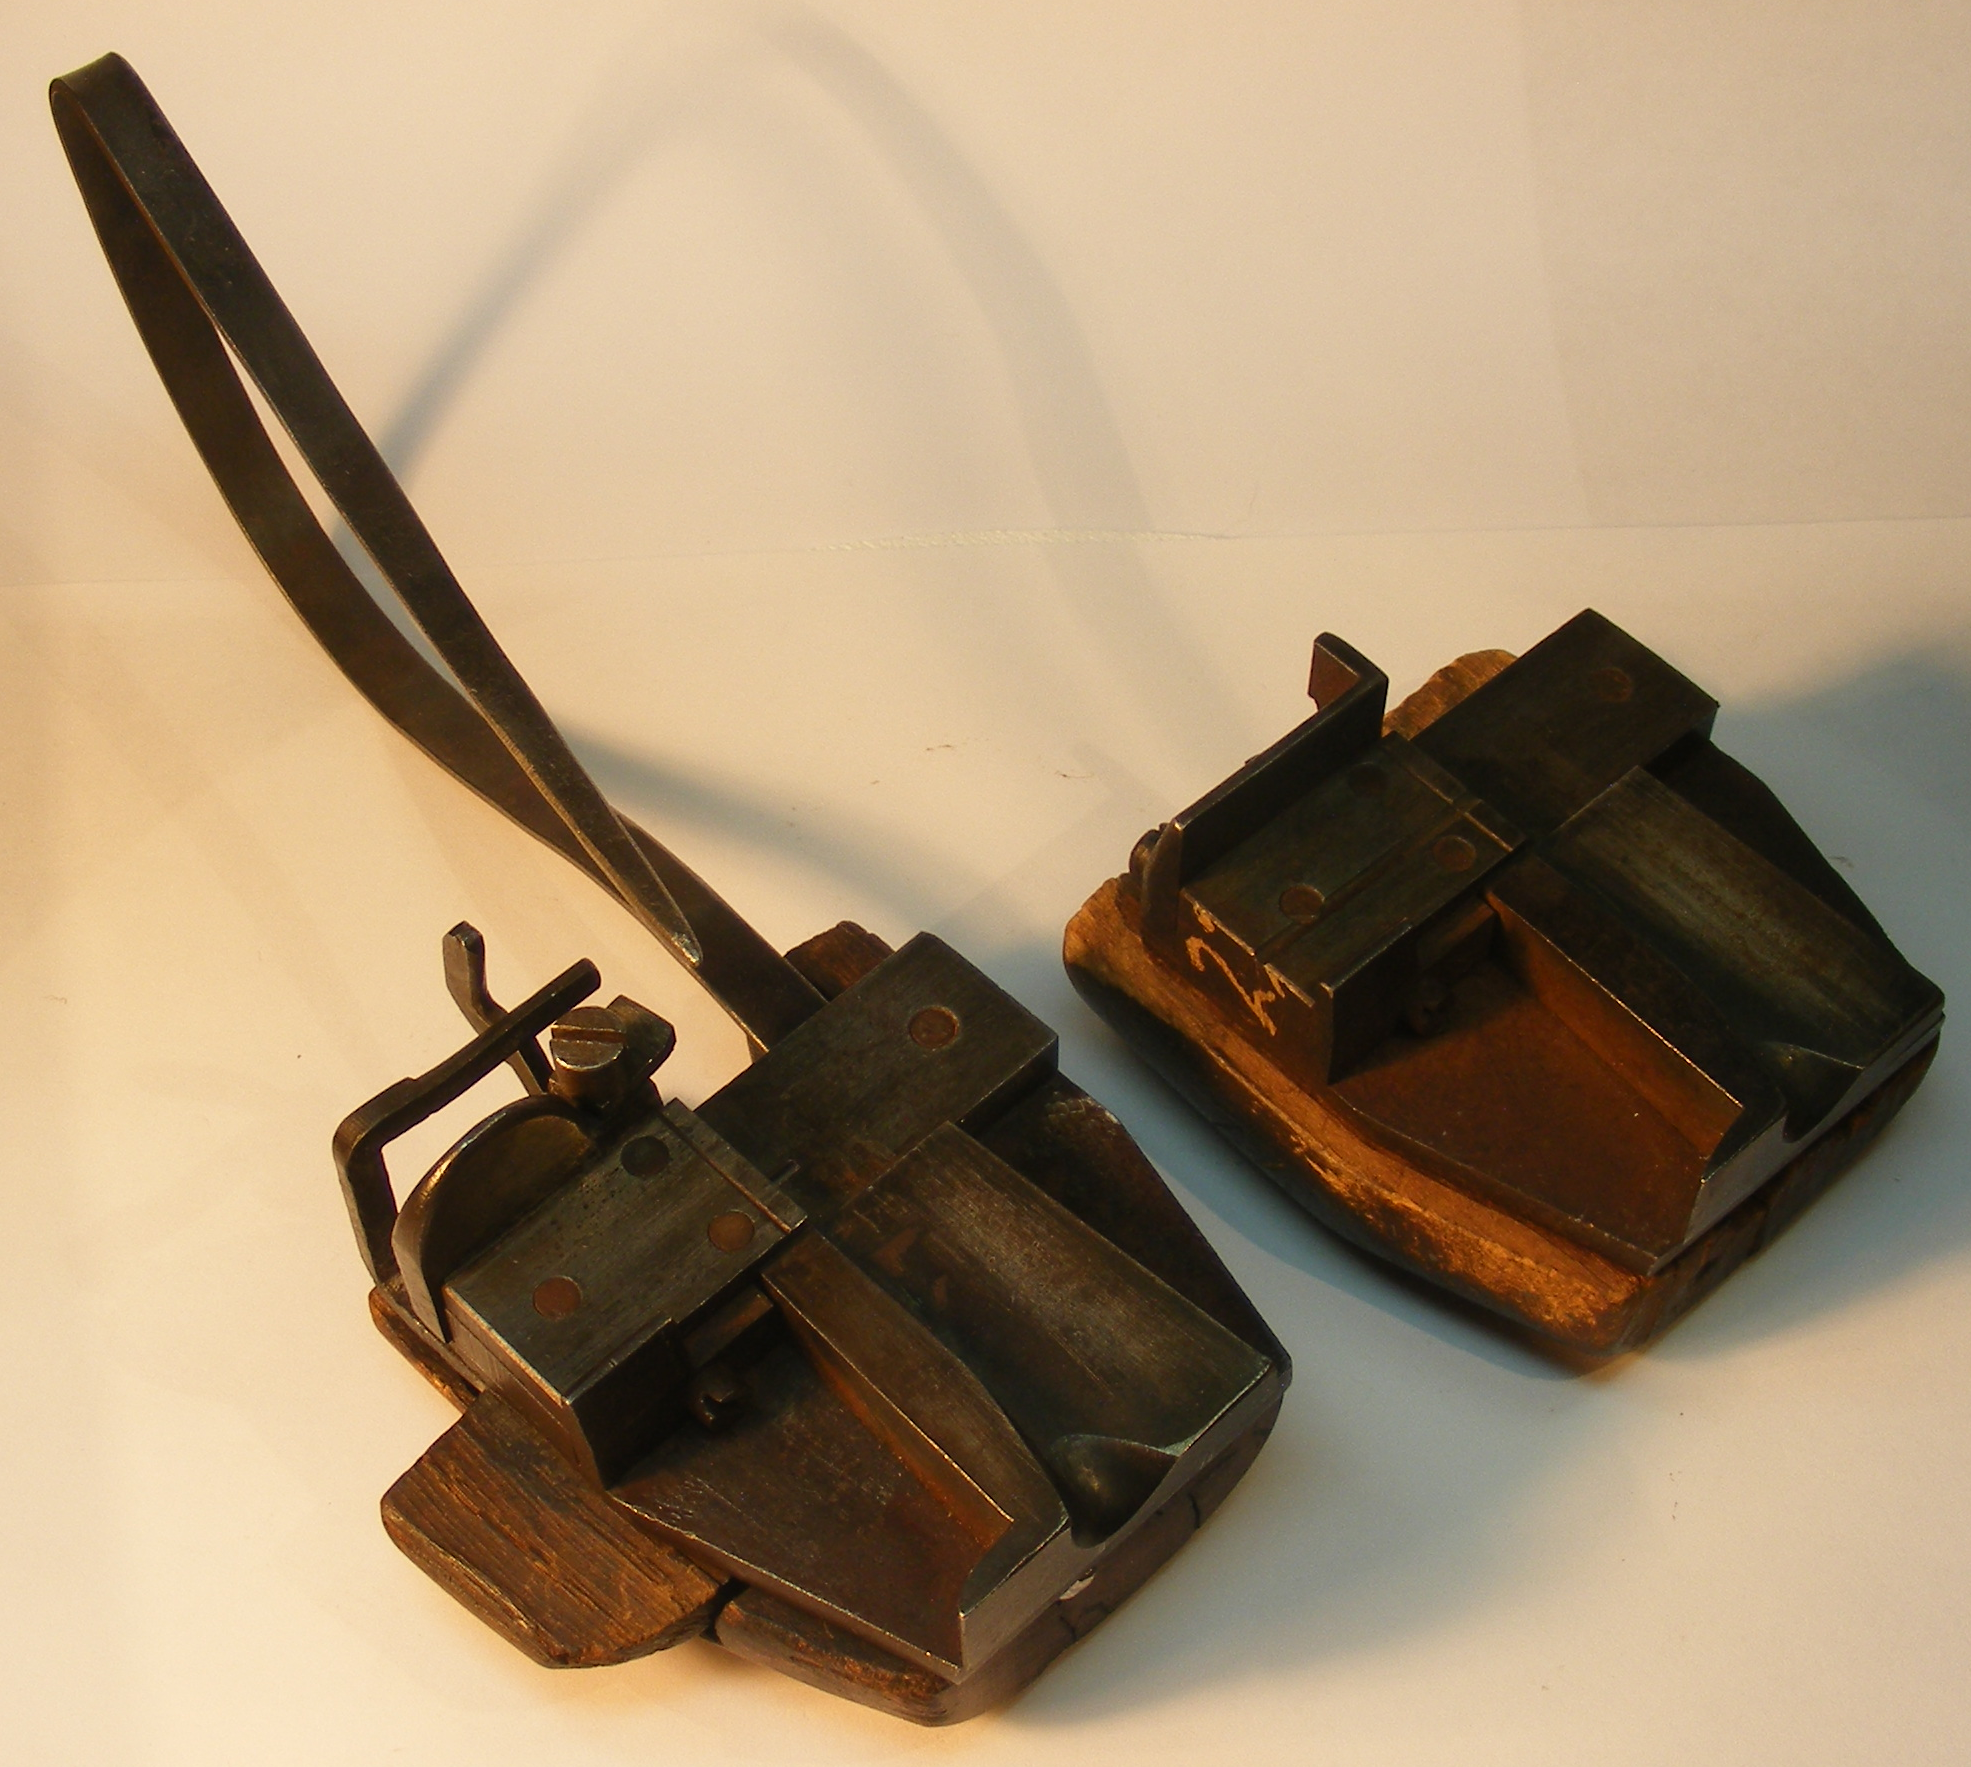
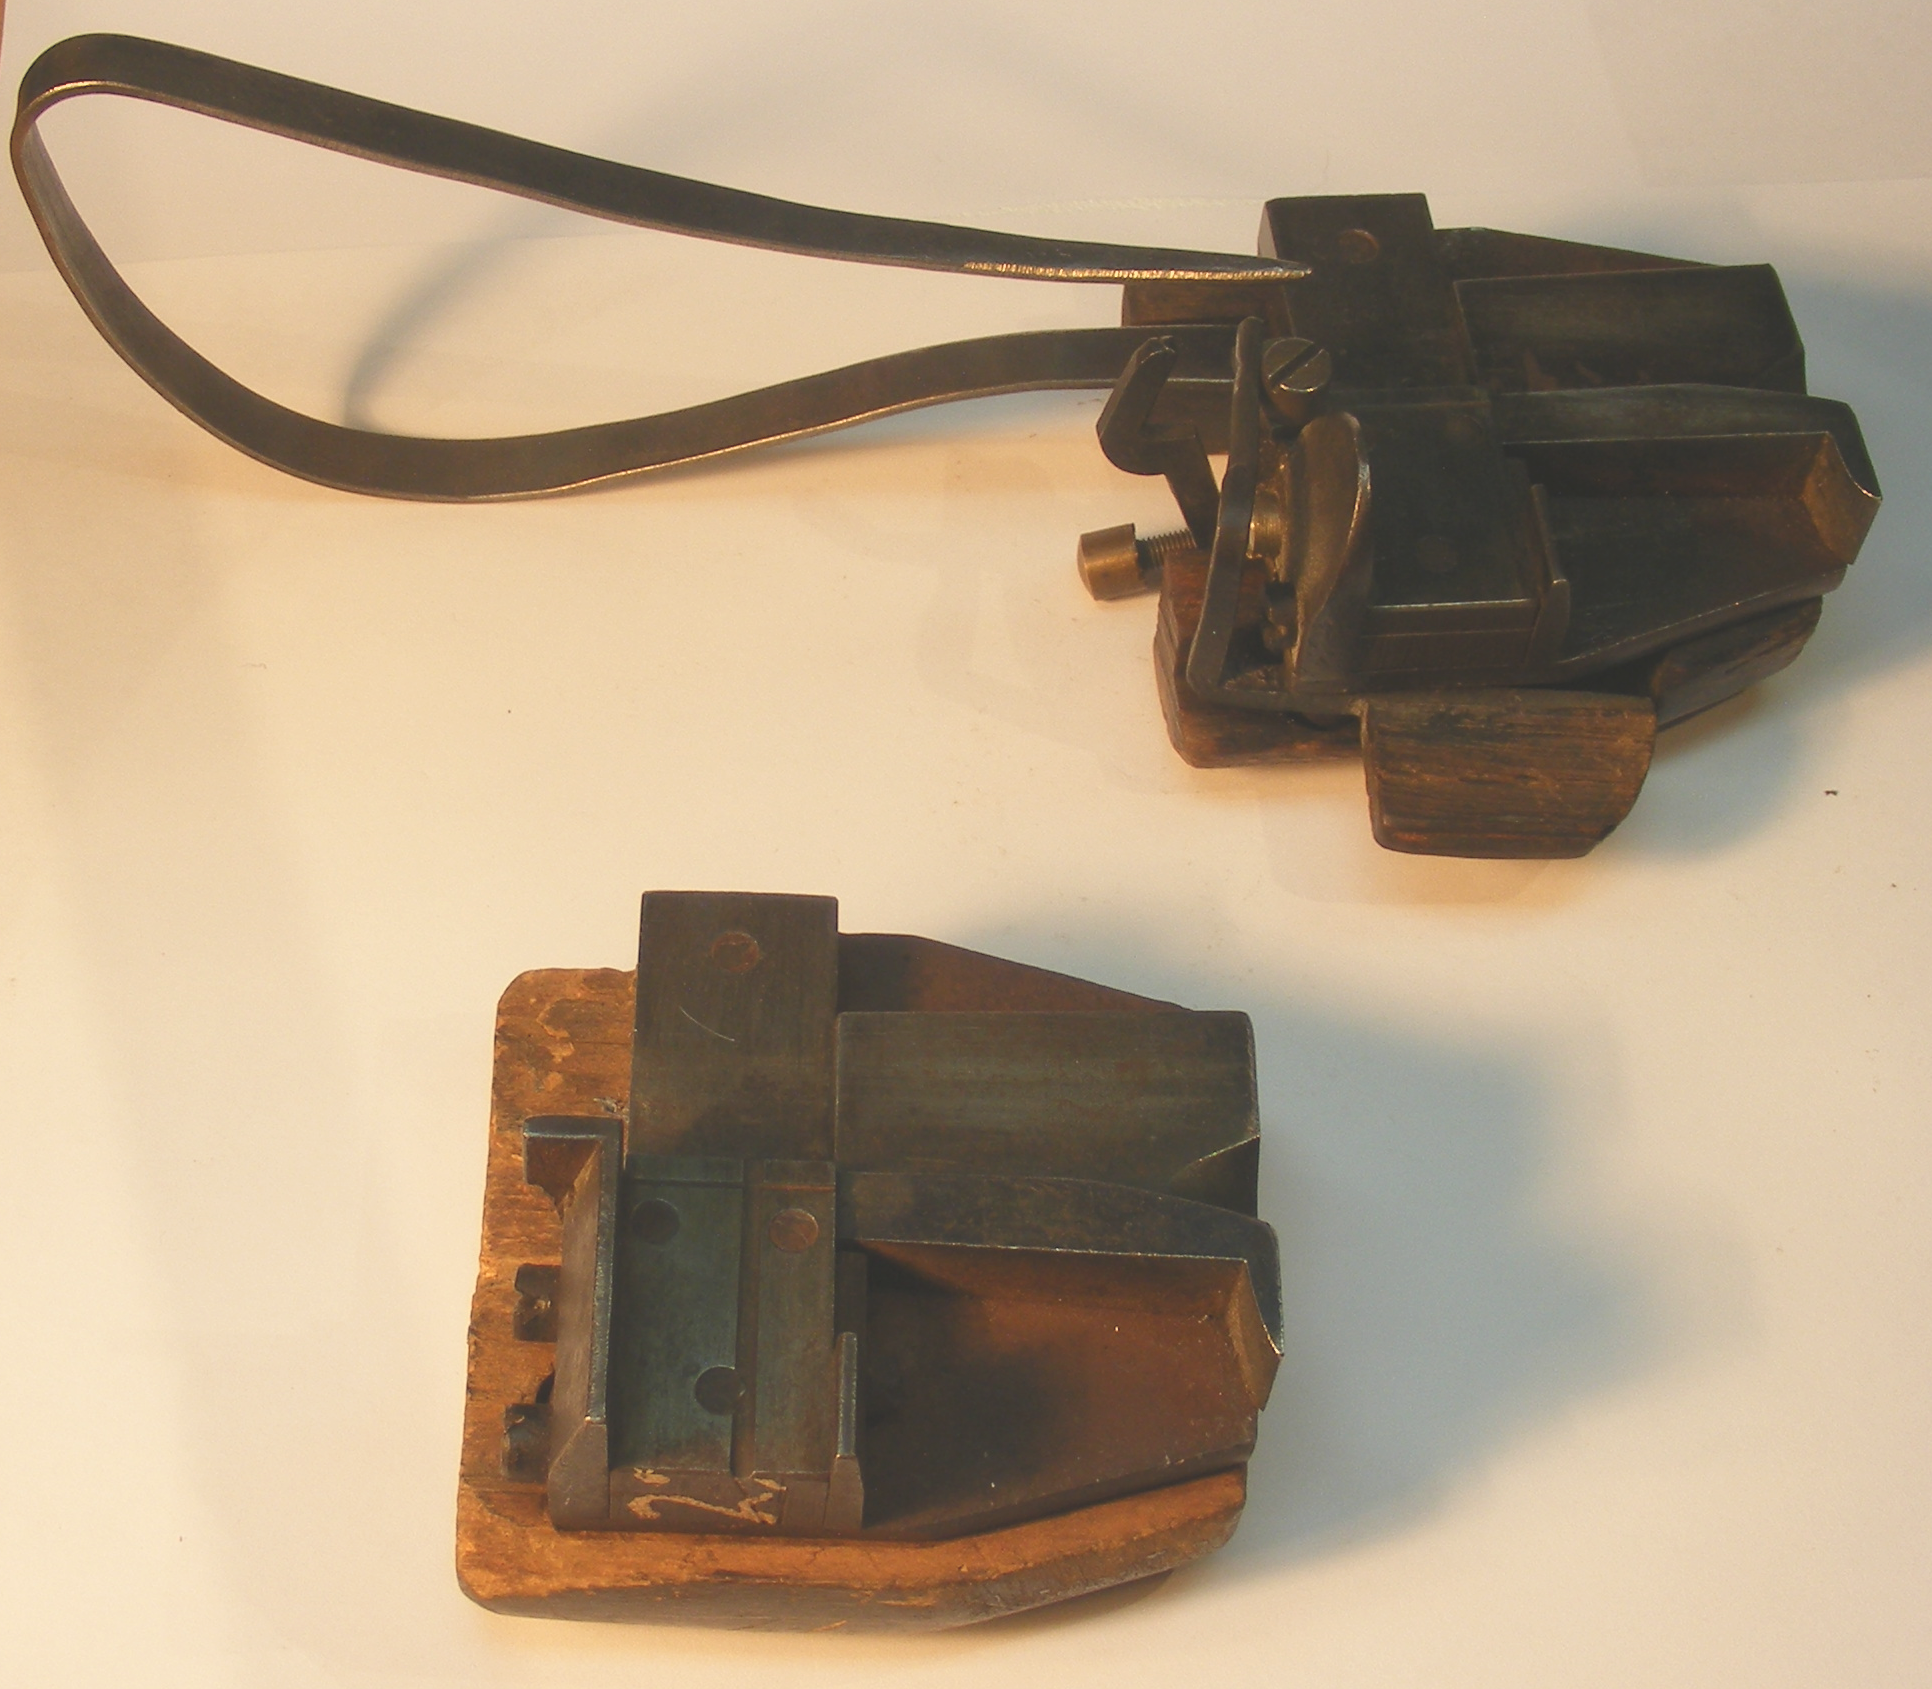
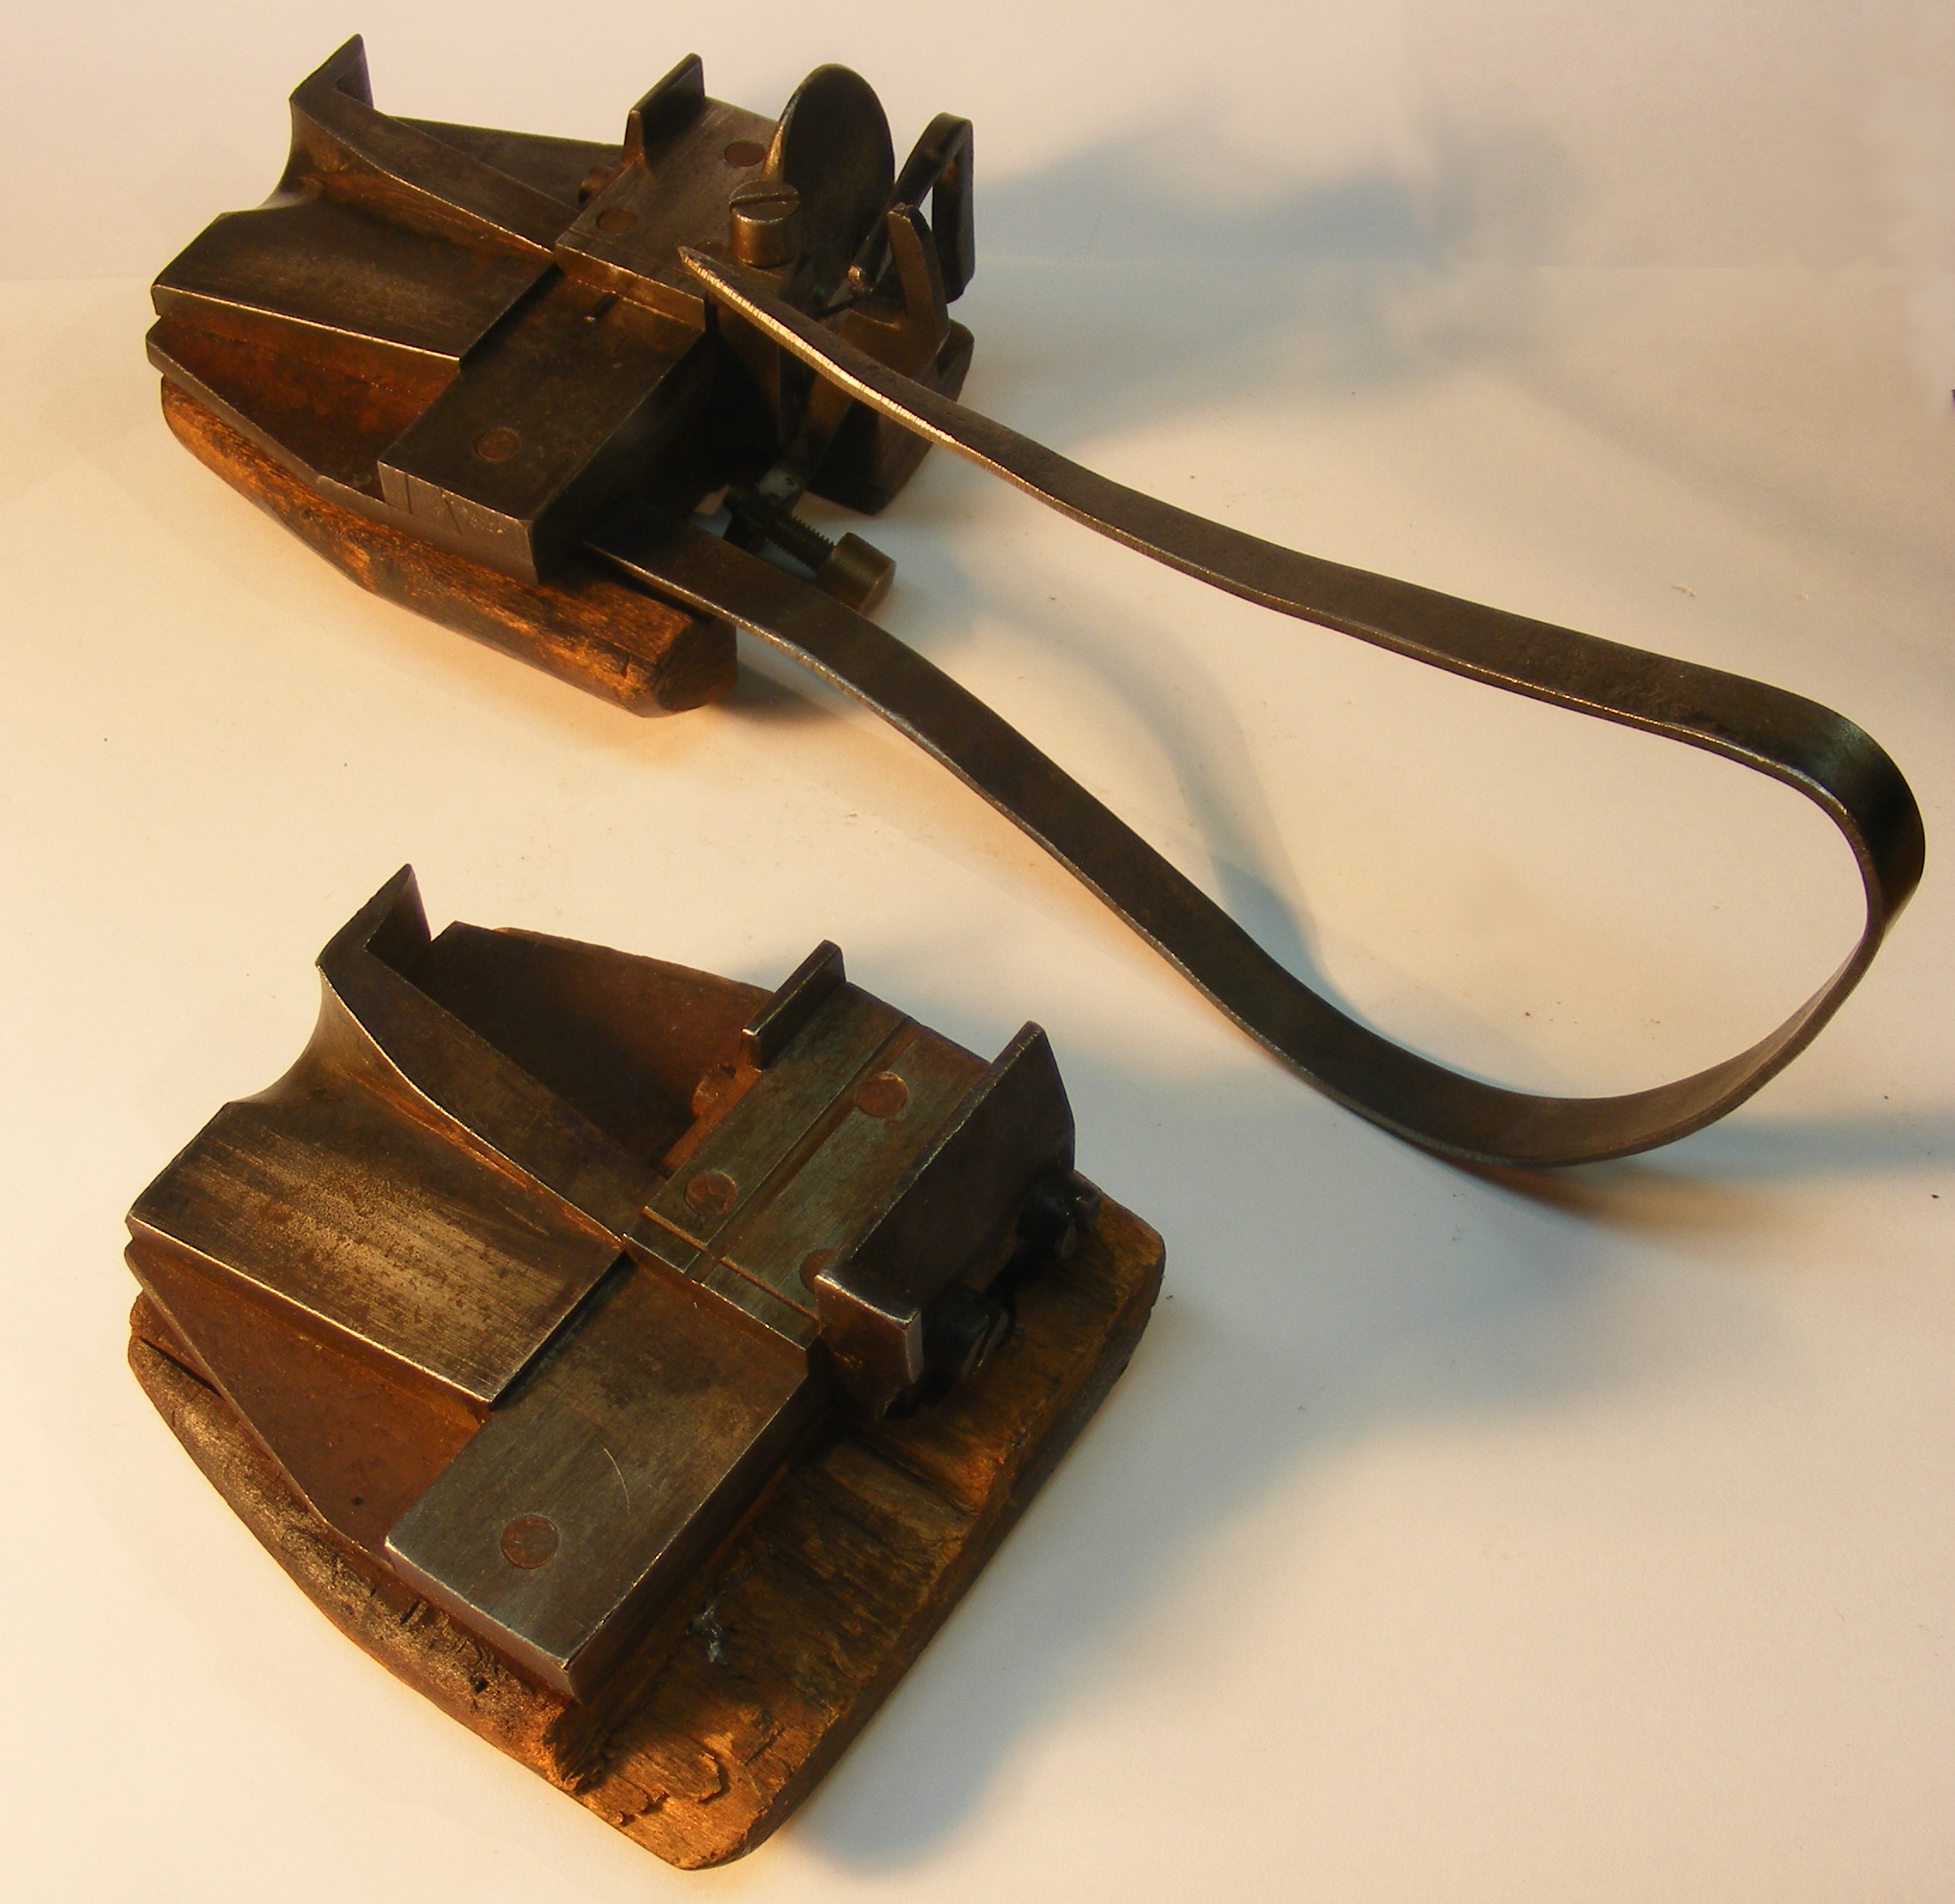
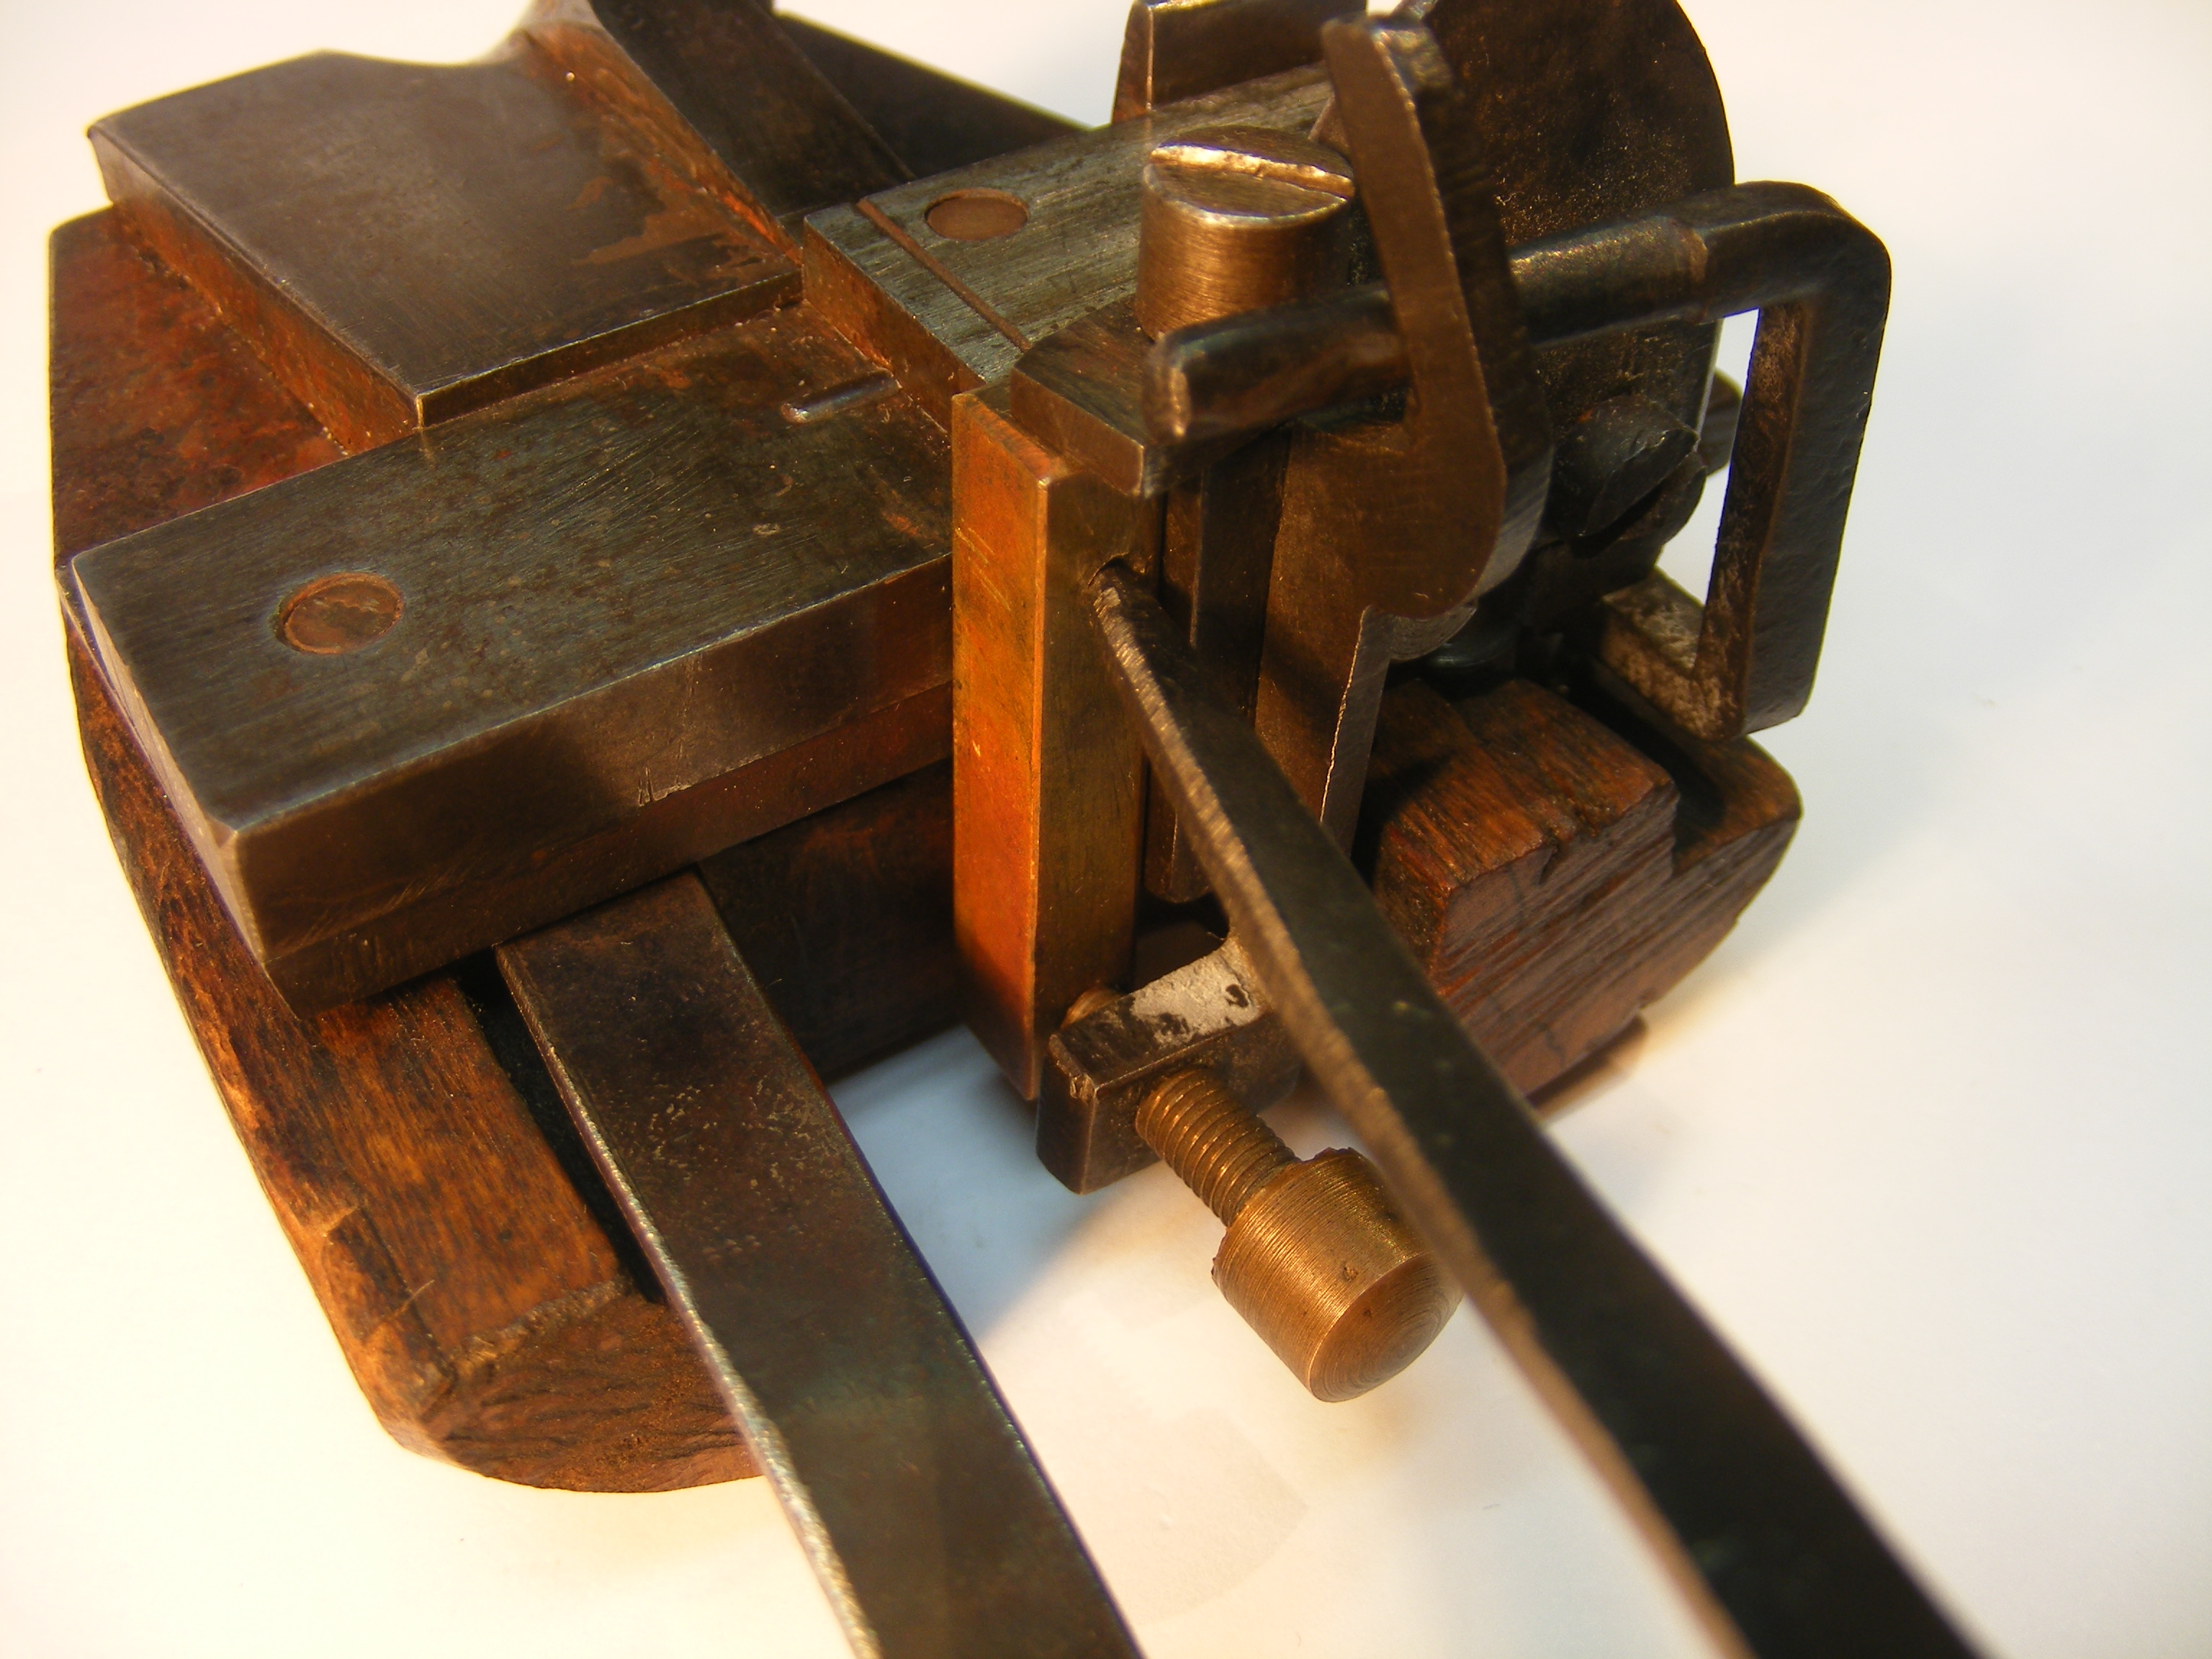
Here's a quick view of the operation of the lever mechanism (I'll show it in greater detail later). In these views the mold halves are separated. I'm still holding the bottom half in my left hand (though if the mold were actually hot I'd be taking much more care to keep my skin away from the metal parts!) A matrix is in place just for purposes of illustration (it isn't a matrix justified for this mold, and I haven't adjusted the mold to try to fit it - it's actually an ATF 6 point pivotal matrix).
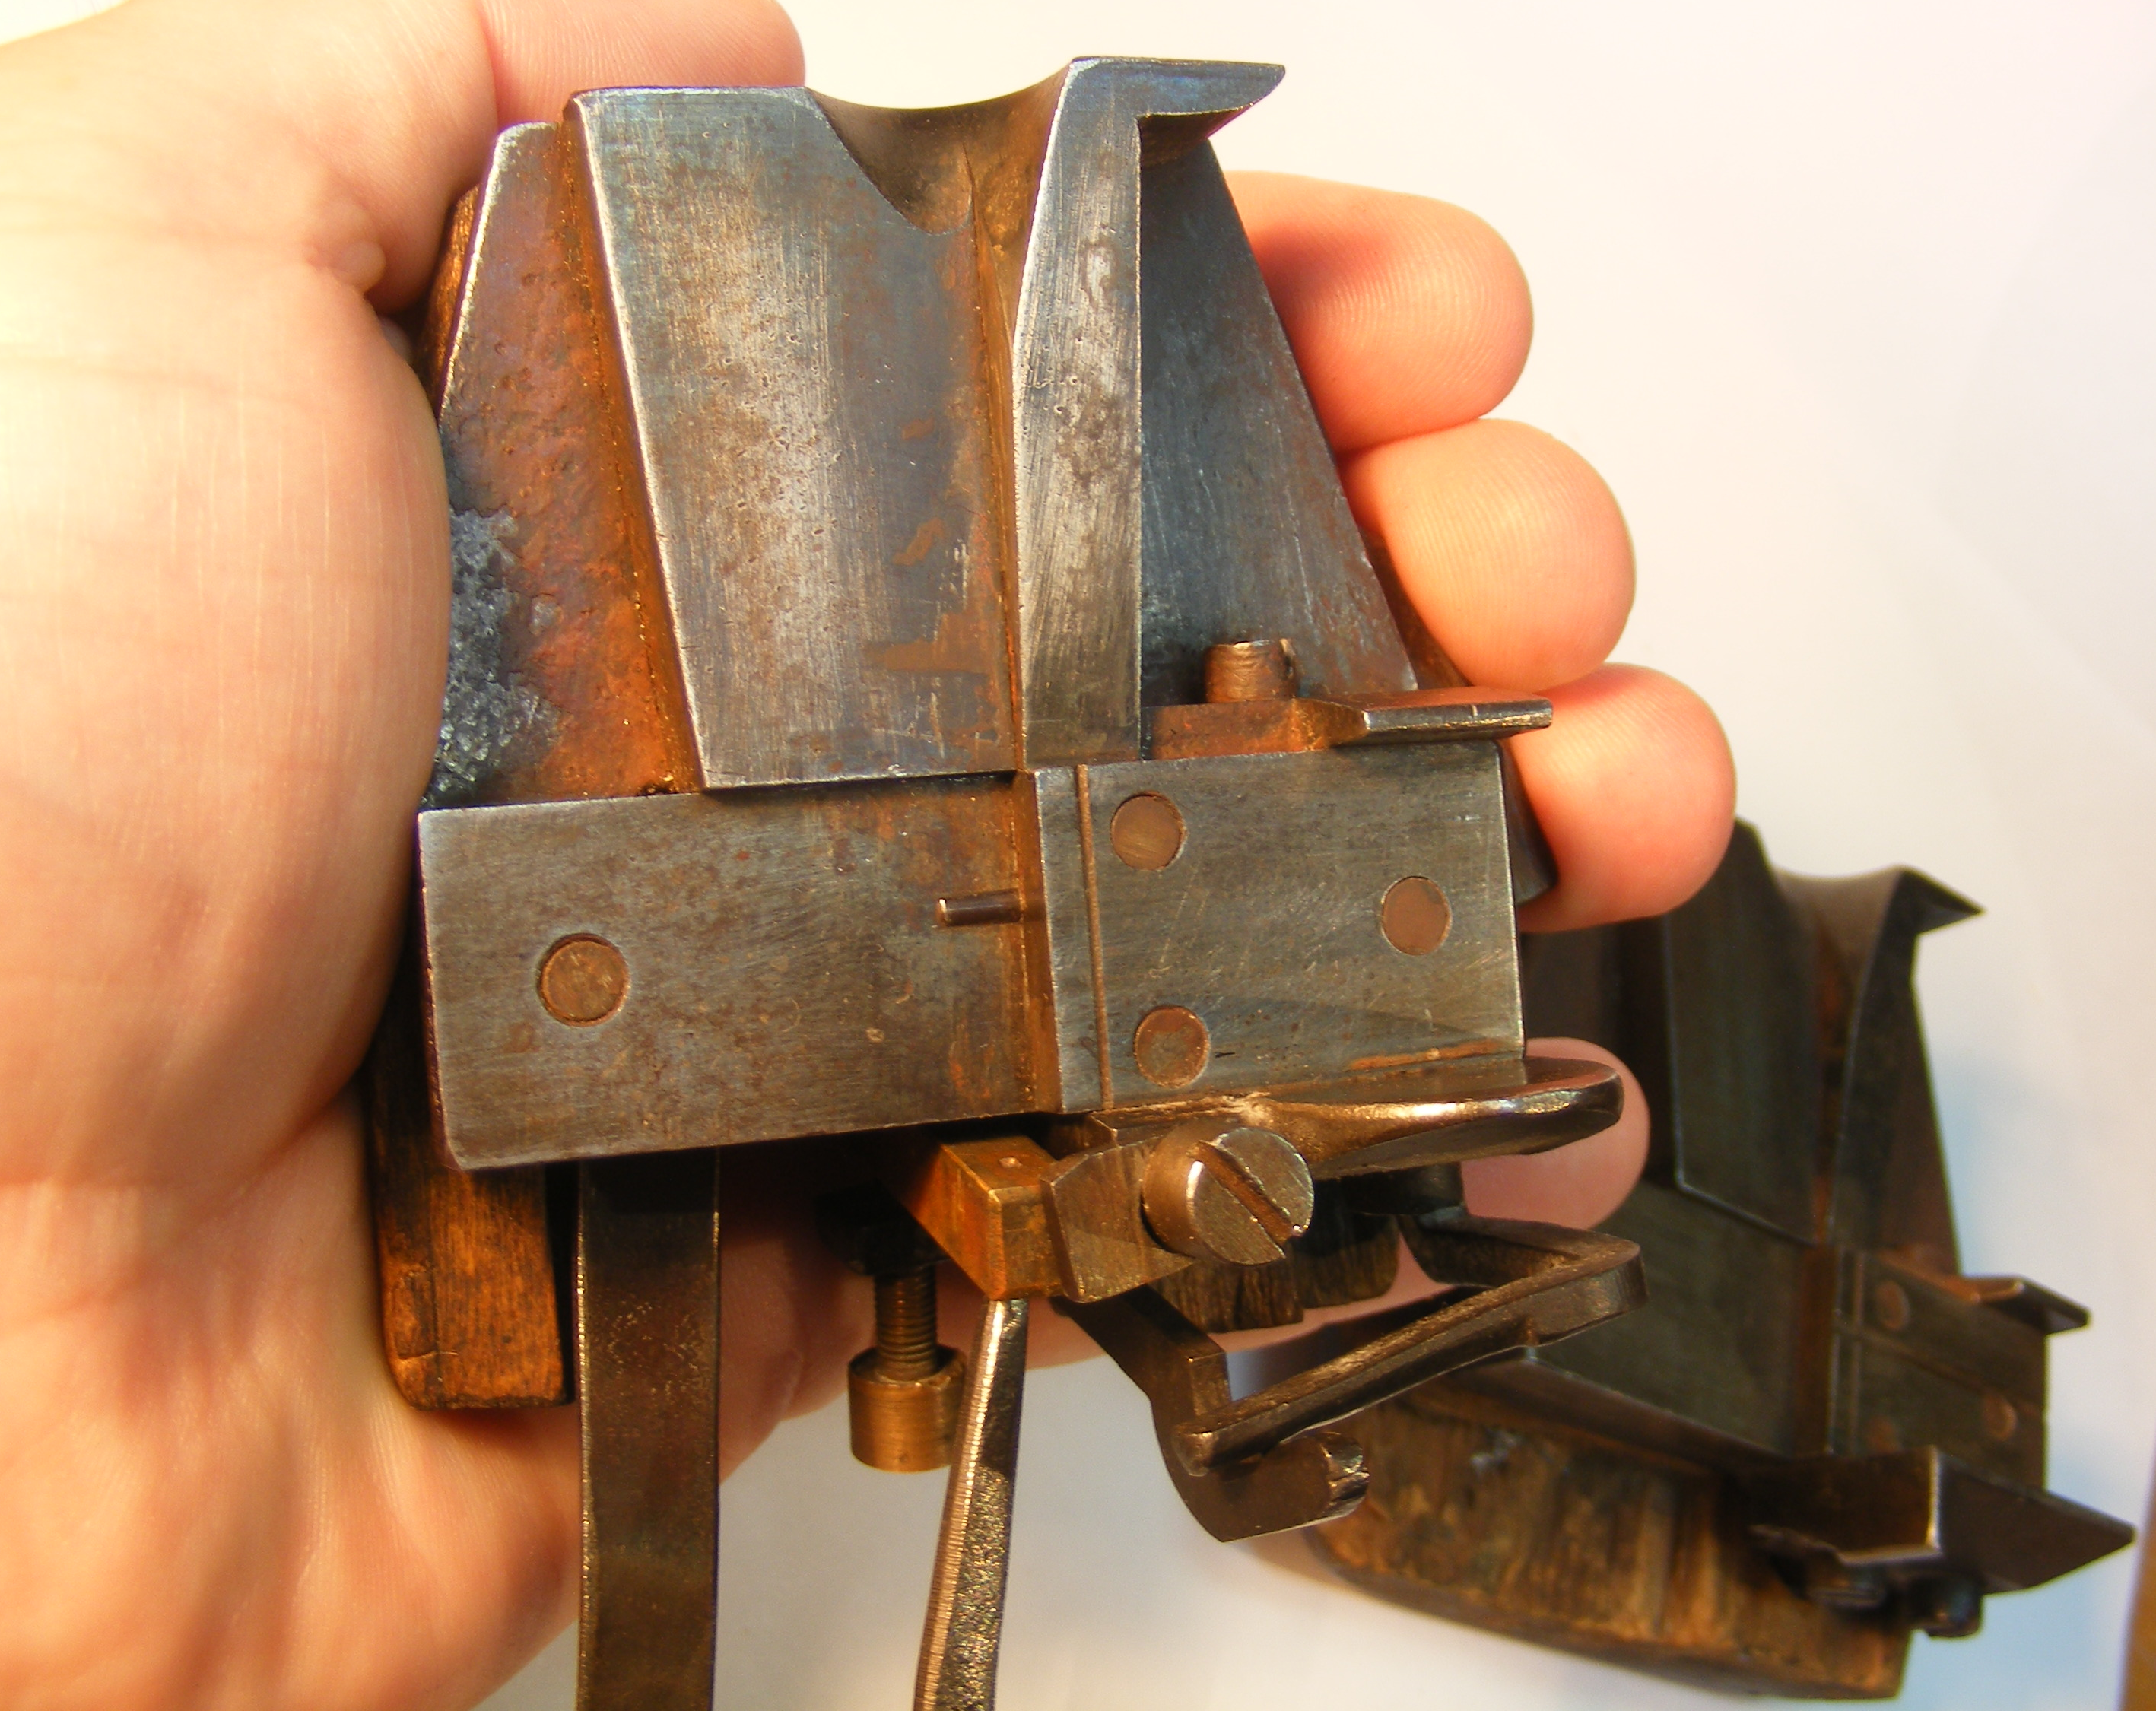
In the photo below left note that my fingers are open, the wooden "push piece" is out, and the matrix is tight against the mold. In the photo below right I've pushed the "push piece" in, which in turn has caused the matrix to pivot out away from the mold. This, in actual operation, would have pulled the matrix away from the newly cast type and allowed the type to be thrown or picked from the mold.
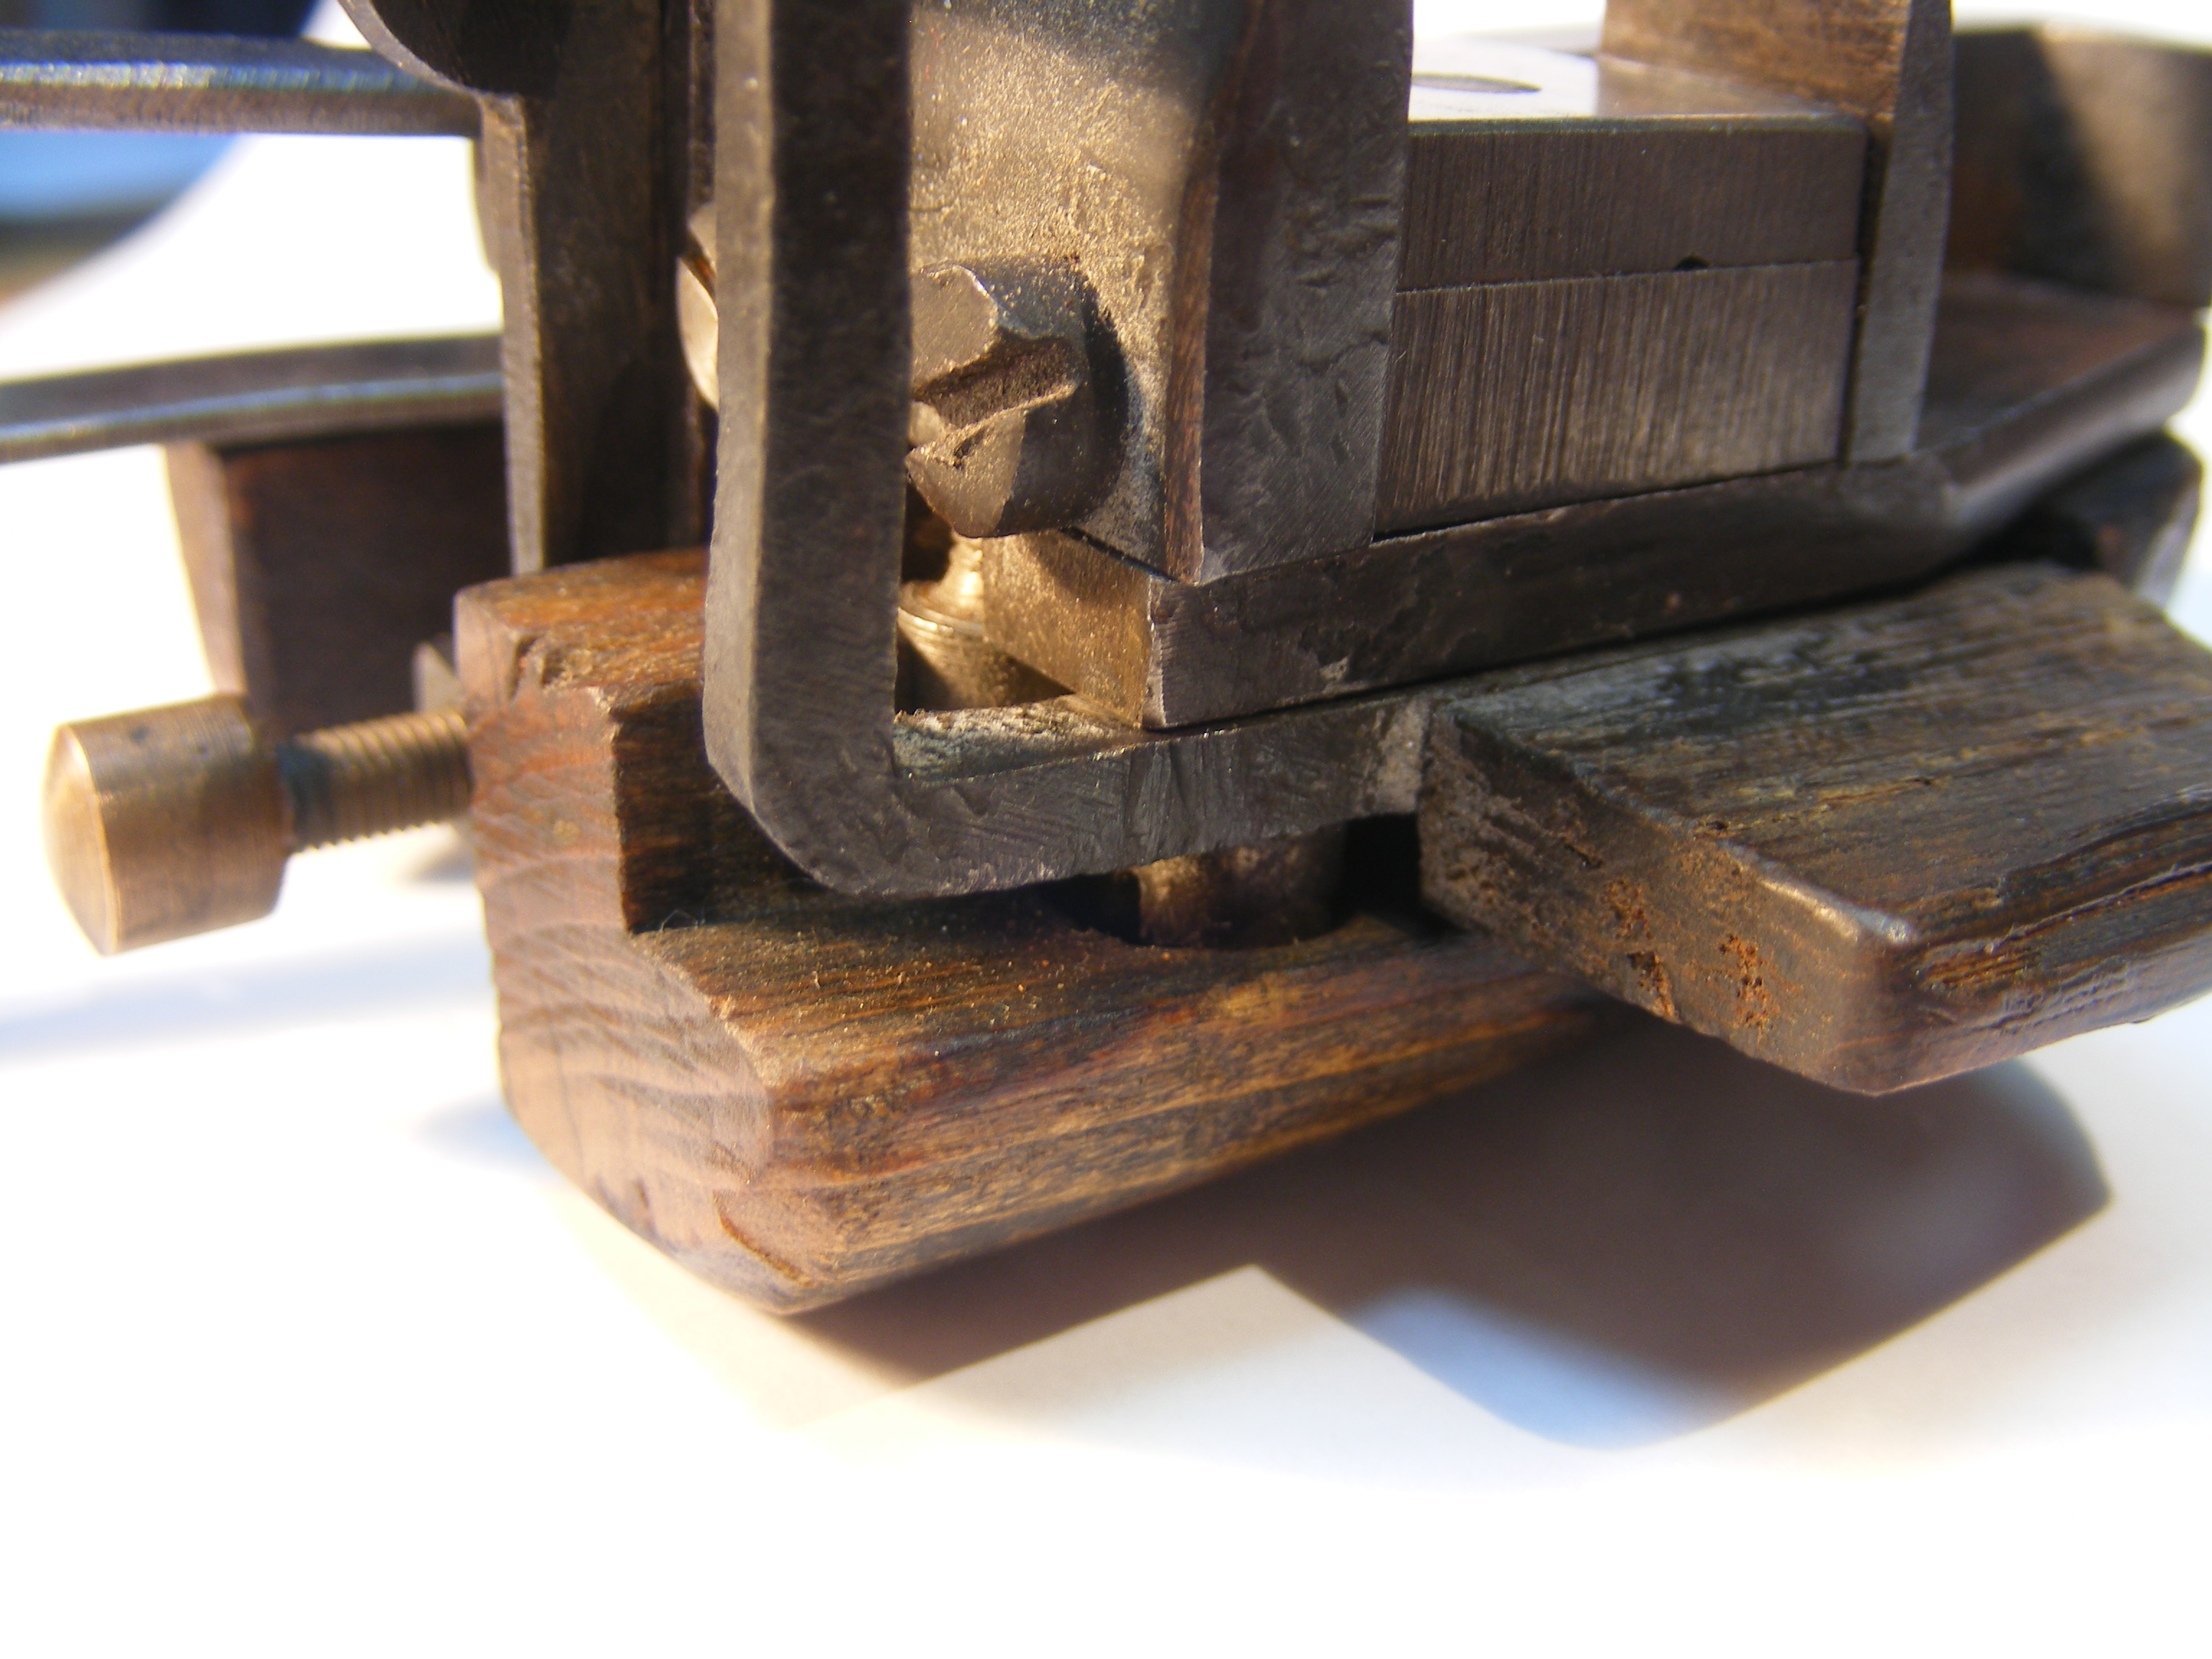
Here it is again, a bit closer.
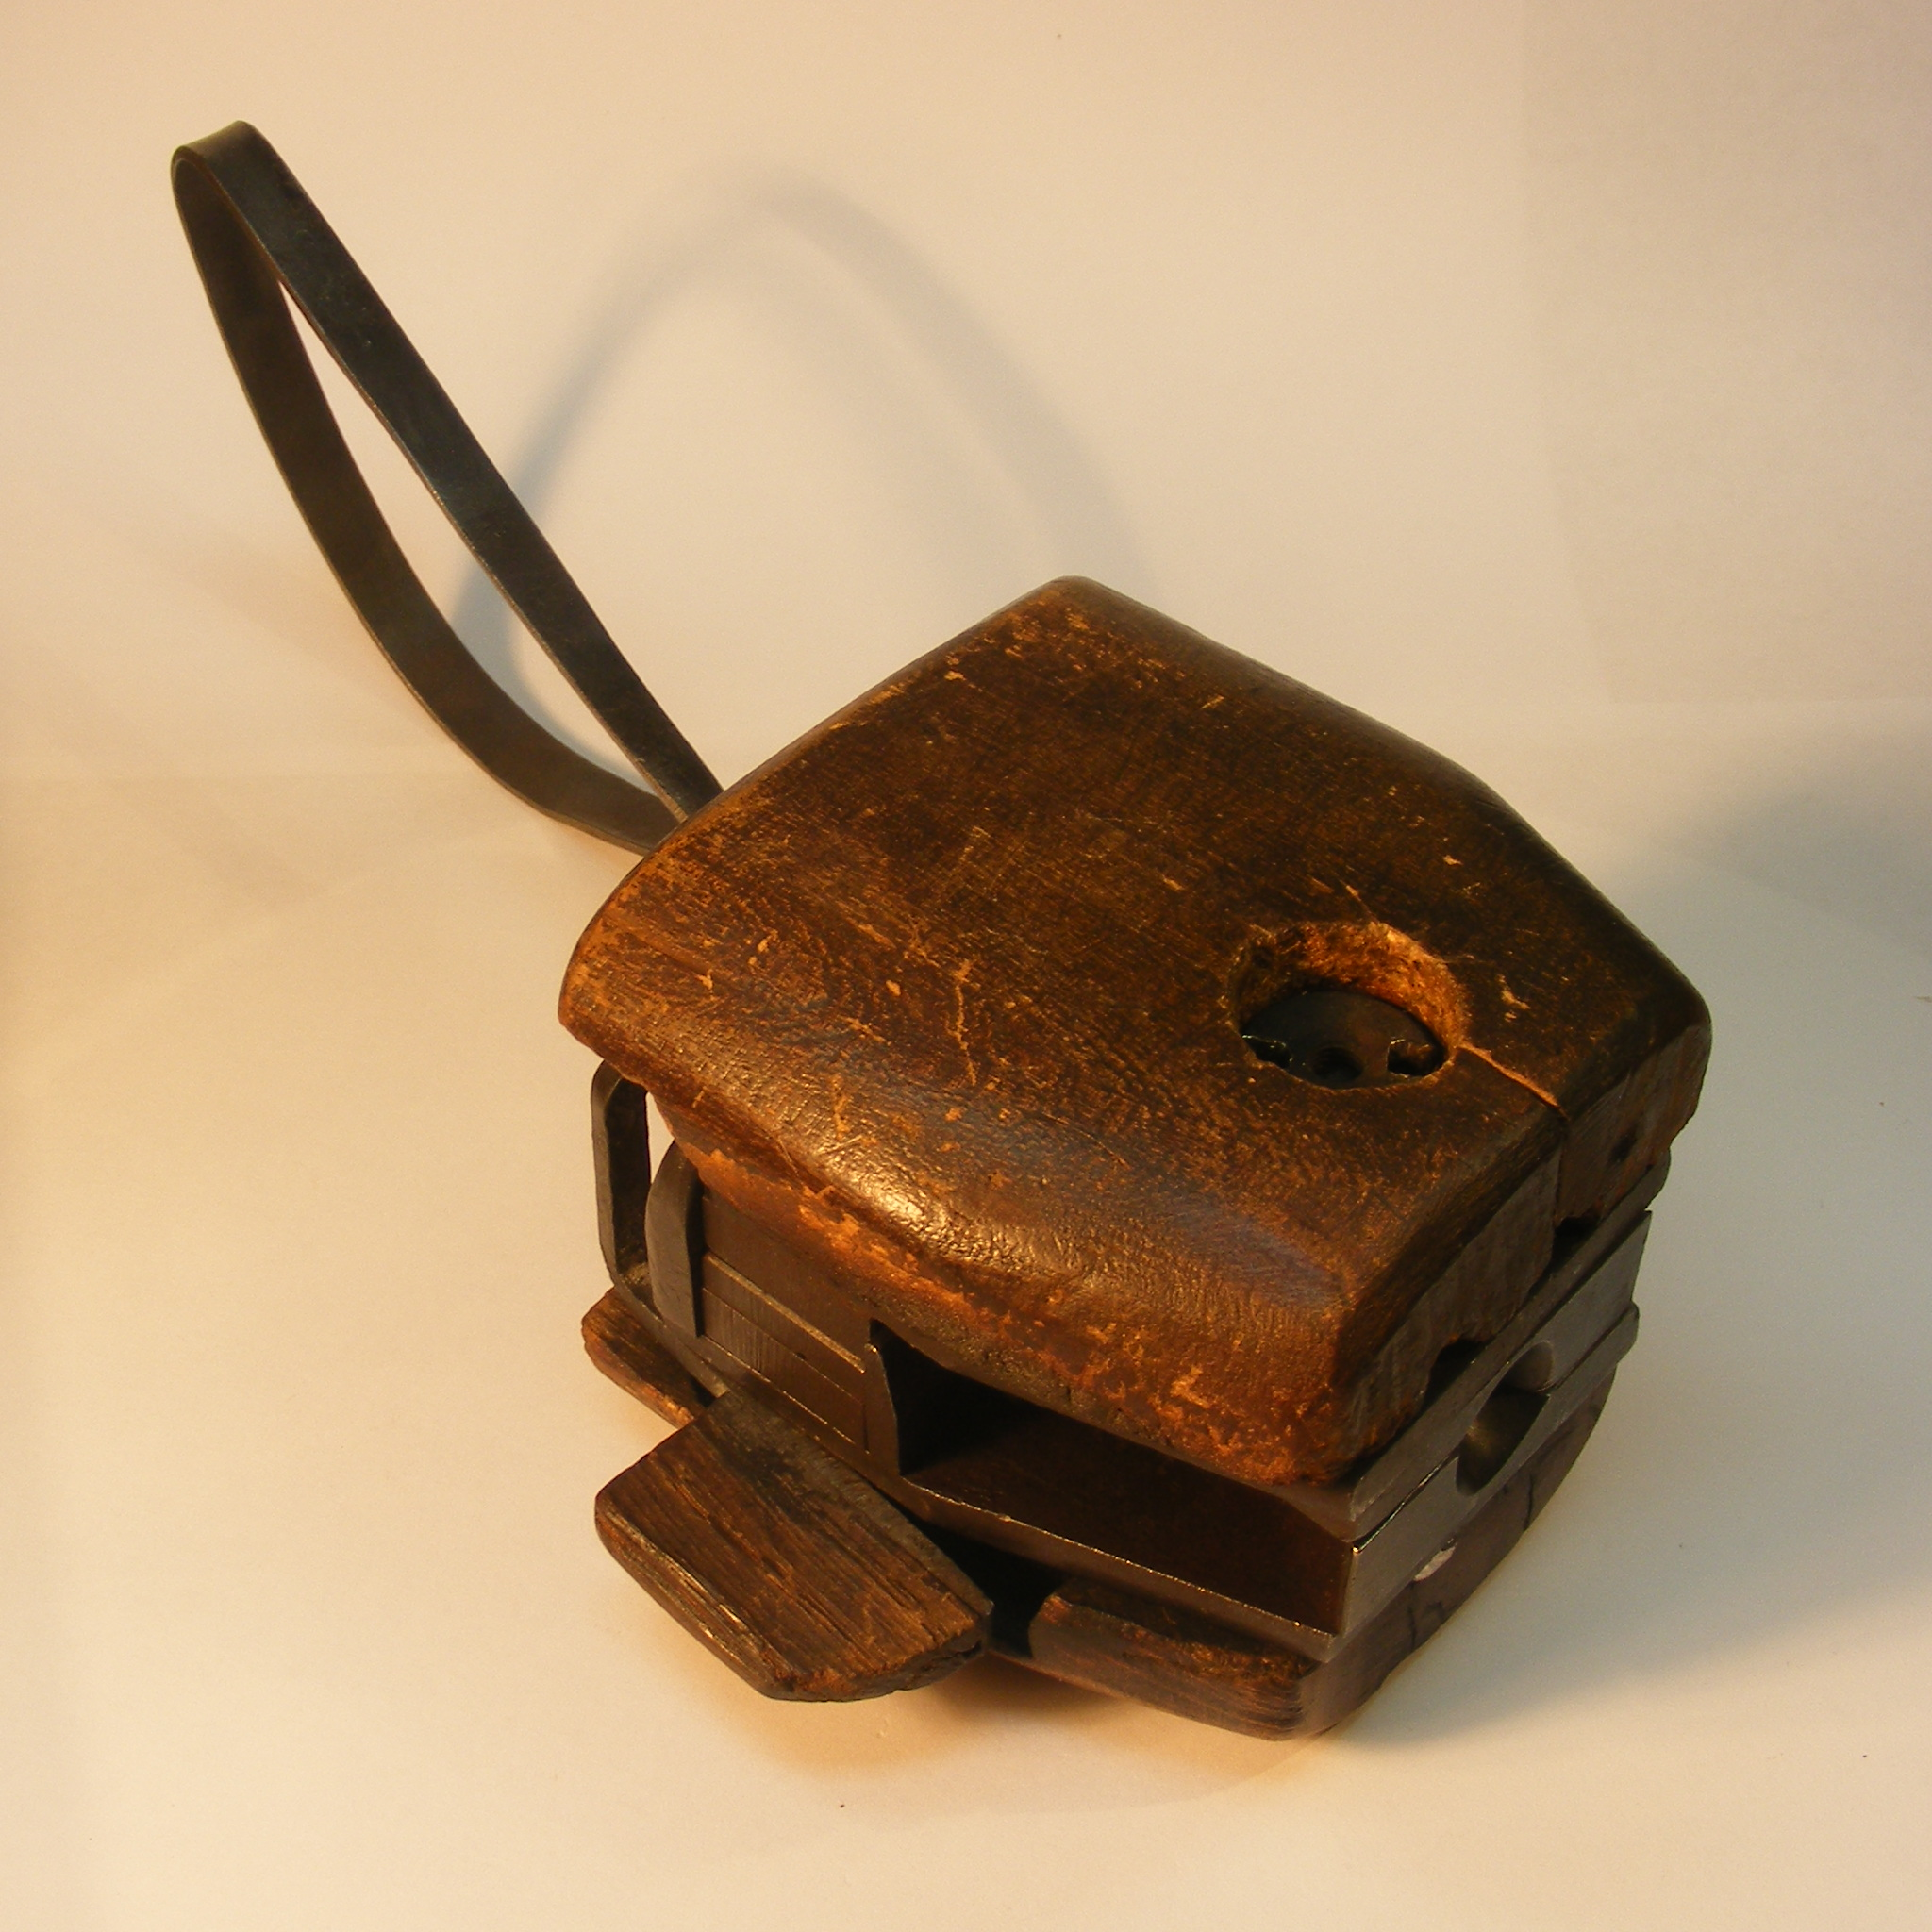
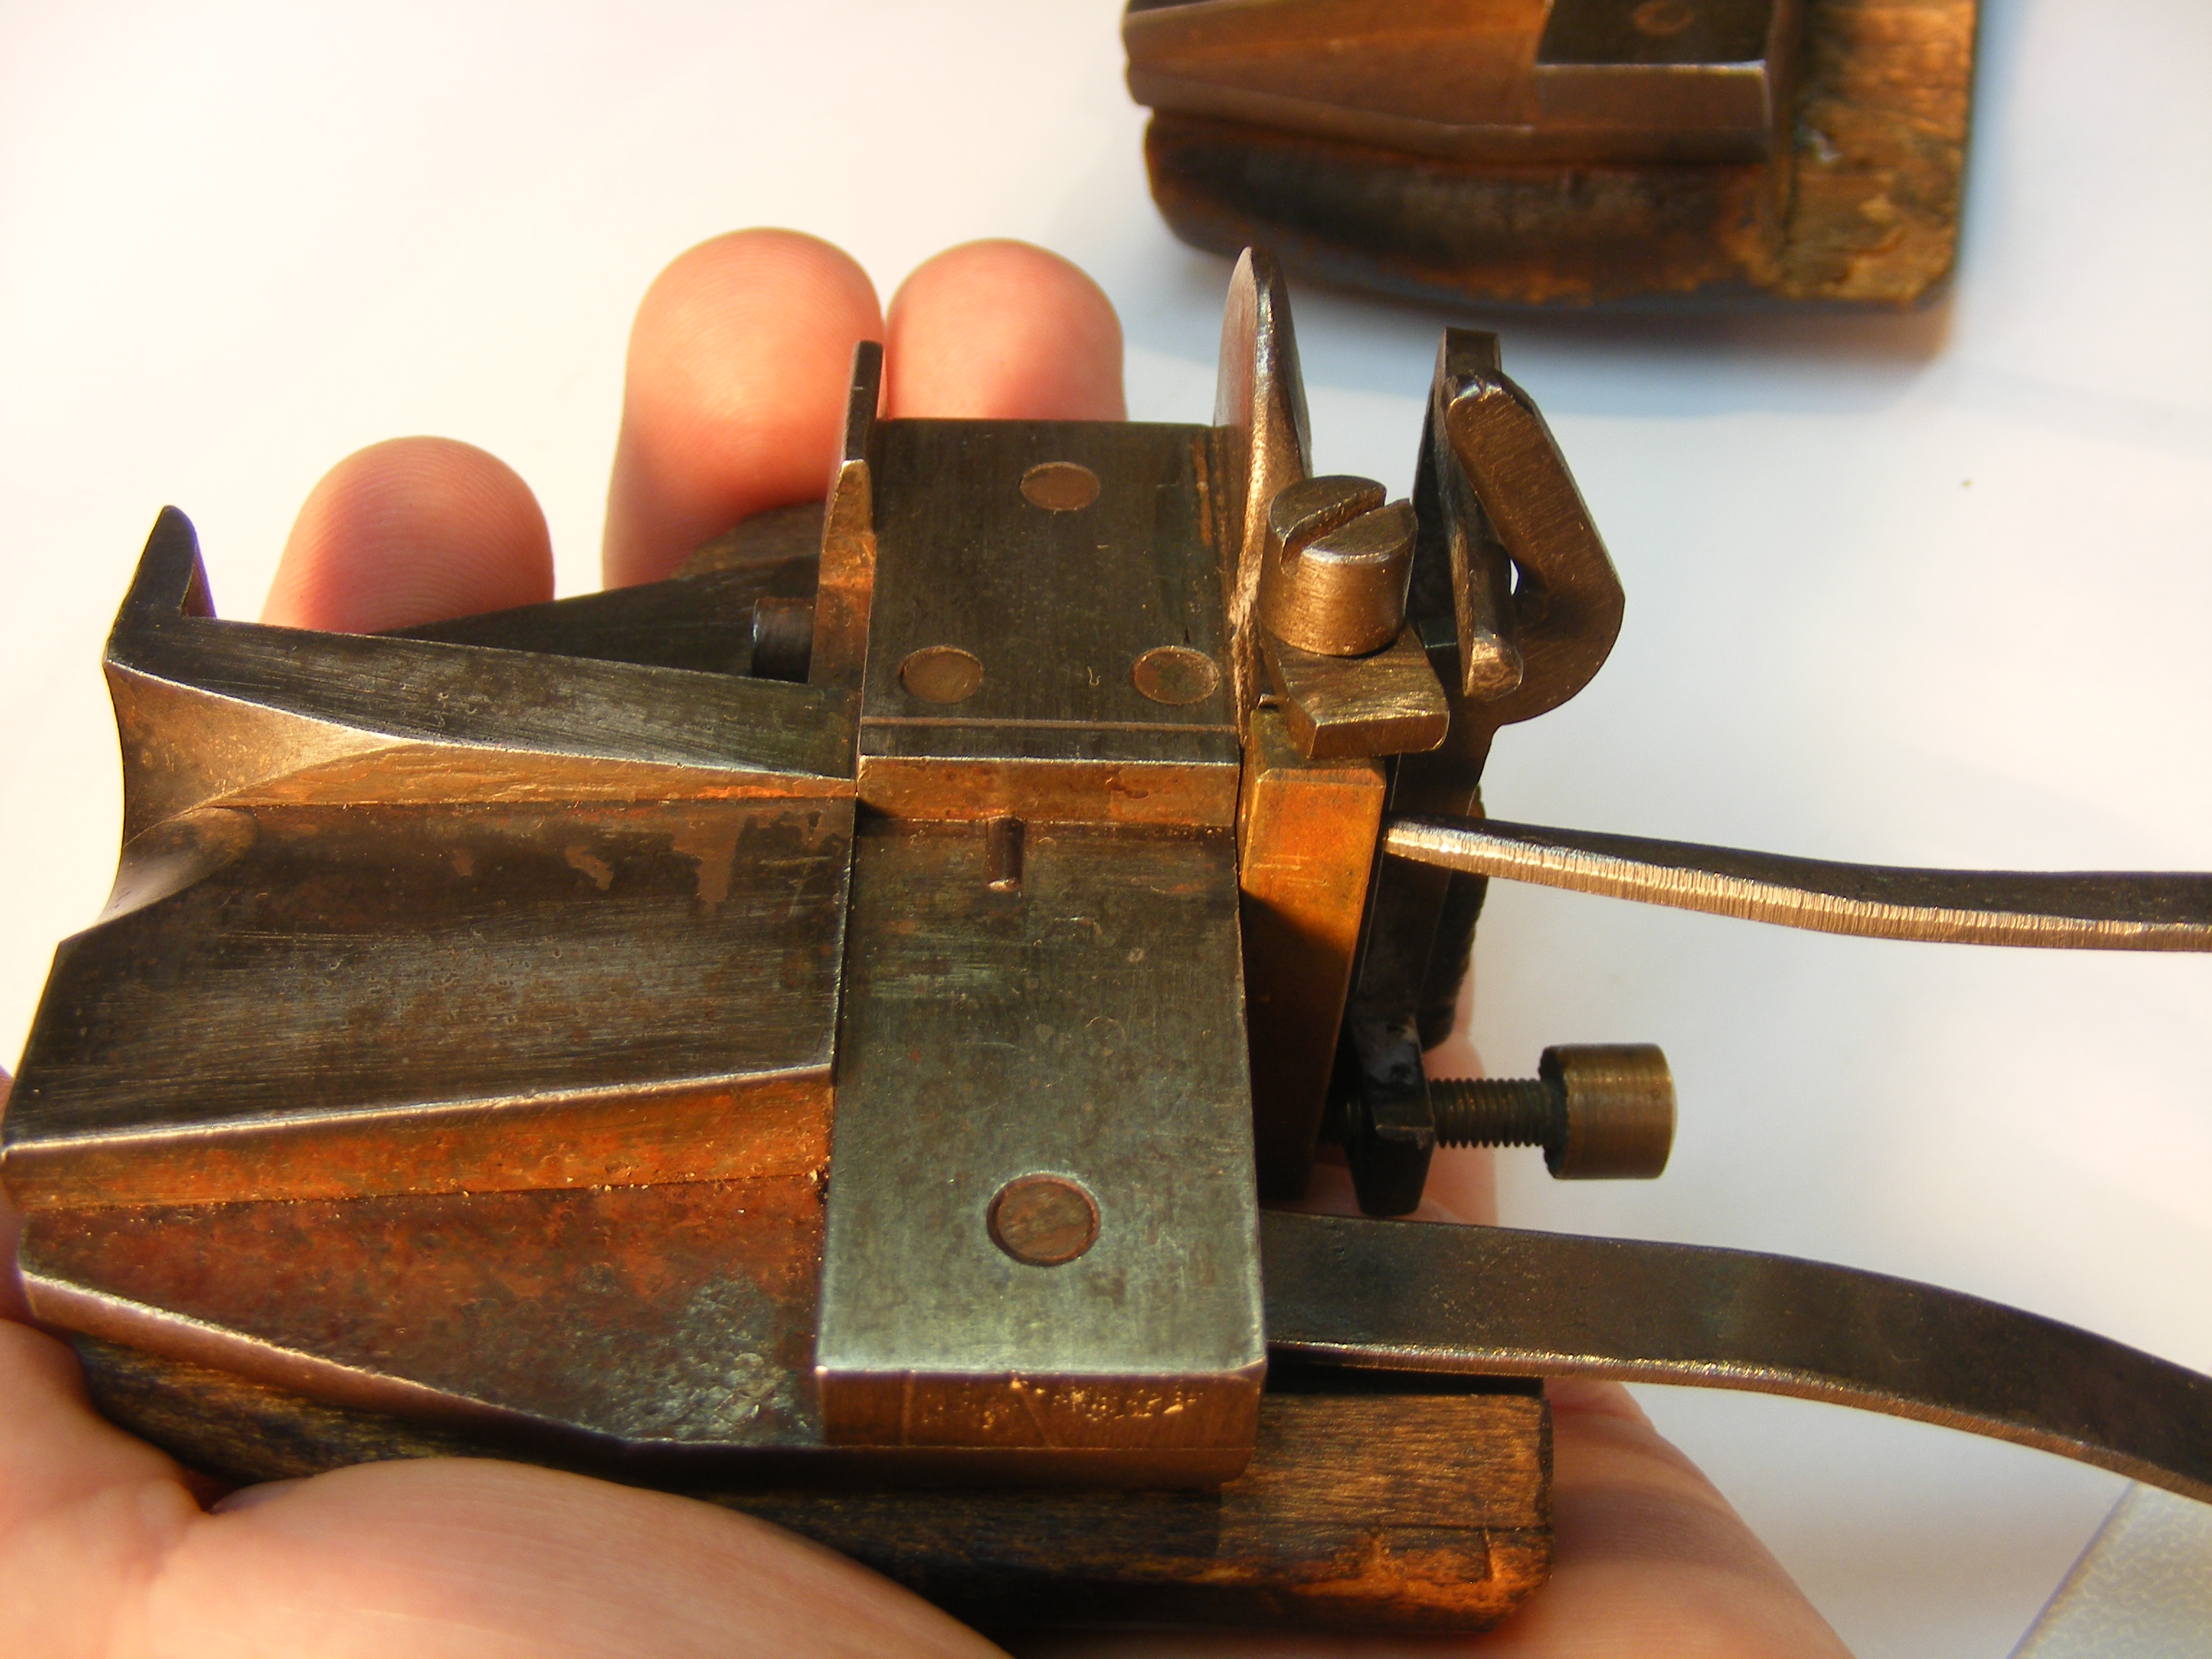
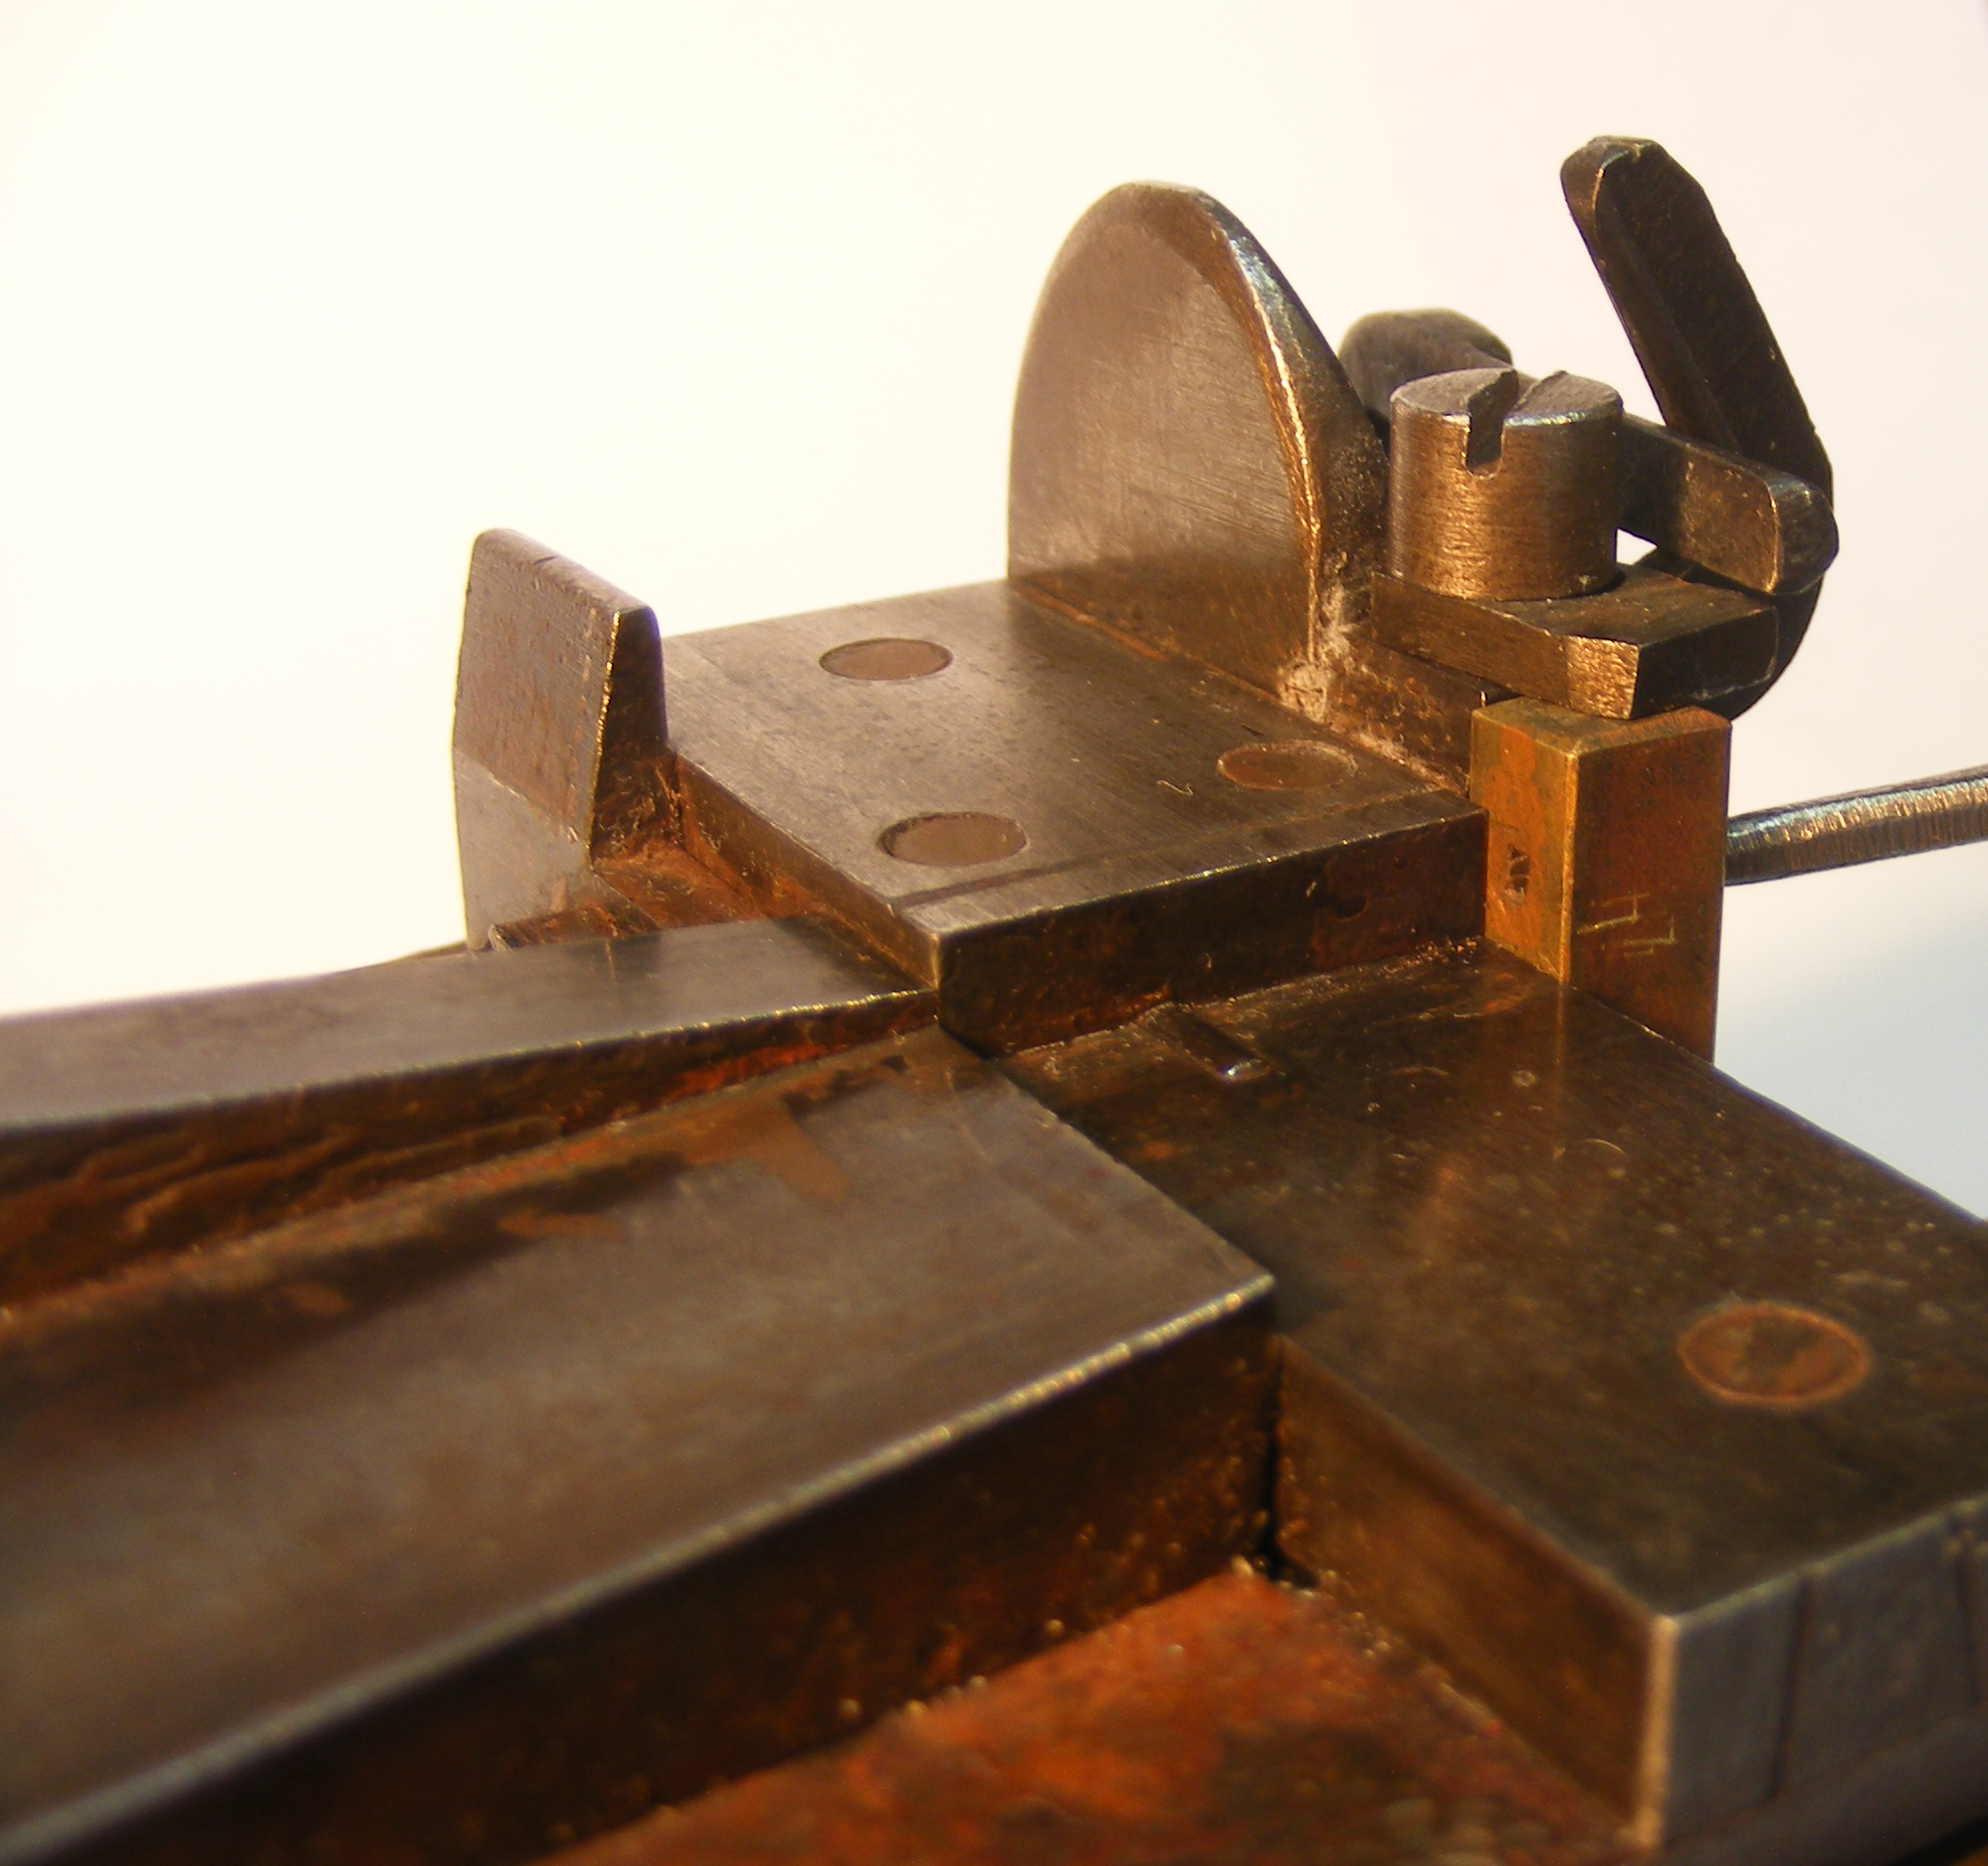
If you're familiar with traditional (non-lever) hand molds, note the position of the stool, the matrix, and the nick. This mold casts type with the nick in the standard American/English position, yet these three features are reversed from their positions/orientations in traditional hand molds.
This is, however, the exact set of orientations used in the pivotal type caster. The pivotal isn't just (as has often been said) an "automated hand mold" - it's an automated lever hand mold.
Also, if you look closely, you can see that because this is actually a pivotal caster matrix it has a hole in its back for the Bow (Spring). A traditional hand mold matrix has a transverse notch. But although I know of no information at all indicating the style of matrix used with lever hand molds, my experience with this mold suggest to me that they must have used the pivotal-style (hole, not notch) matrix that became standard with the pivotal caster they inspired.
And (below right) suddenly a matrix is present... (I should have had one there in the earlier photographs).
(The last photo above was taken at a different time, and a close look at it reveals that the bottom Wood has been removed. But it shows the way in which the Bow and the Matrix Lever Adjusting Screw both work to hold the Matrix in place.)
I did not do a full disassembly of this mold. Most of the screws were tight enough that attempting to remove them would risk breaking them. This mold is over 160 years old, it is of significant historical value, and it does not belong to me. I did remove the Woods, which allowed me to view and measure most of the parts. (The significant exceptions are the diameters and threads of the various screws and through holes.)
All portions of this document not noted otherwise are Copyright © 2015, 2023-07-27 by David M. MacMillan.
Circuitous Root is a Registered Trademark of David M. MacMillan.
This work is licensed under the Creative Commons "Attribution - ShareAlike" license, version 4.0 International. See http://creativecommons.org/licenses/by-sa/4.0/ for its terms.
Presented originally by Circuitous Root®