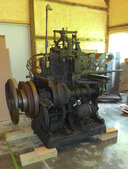
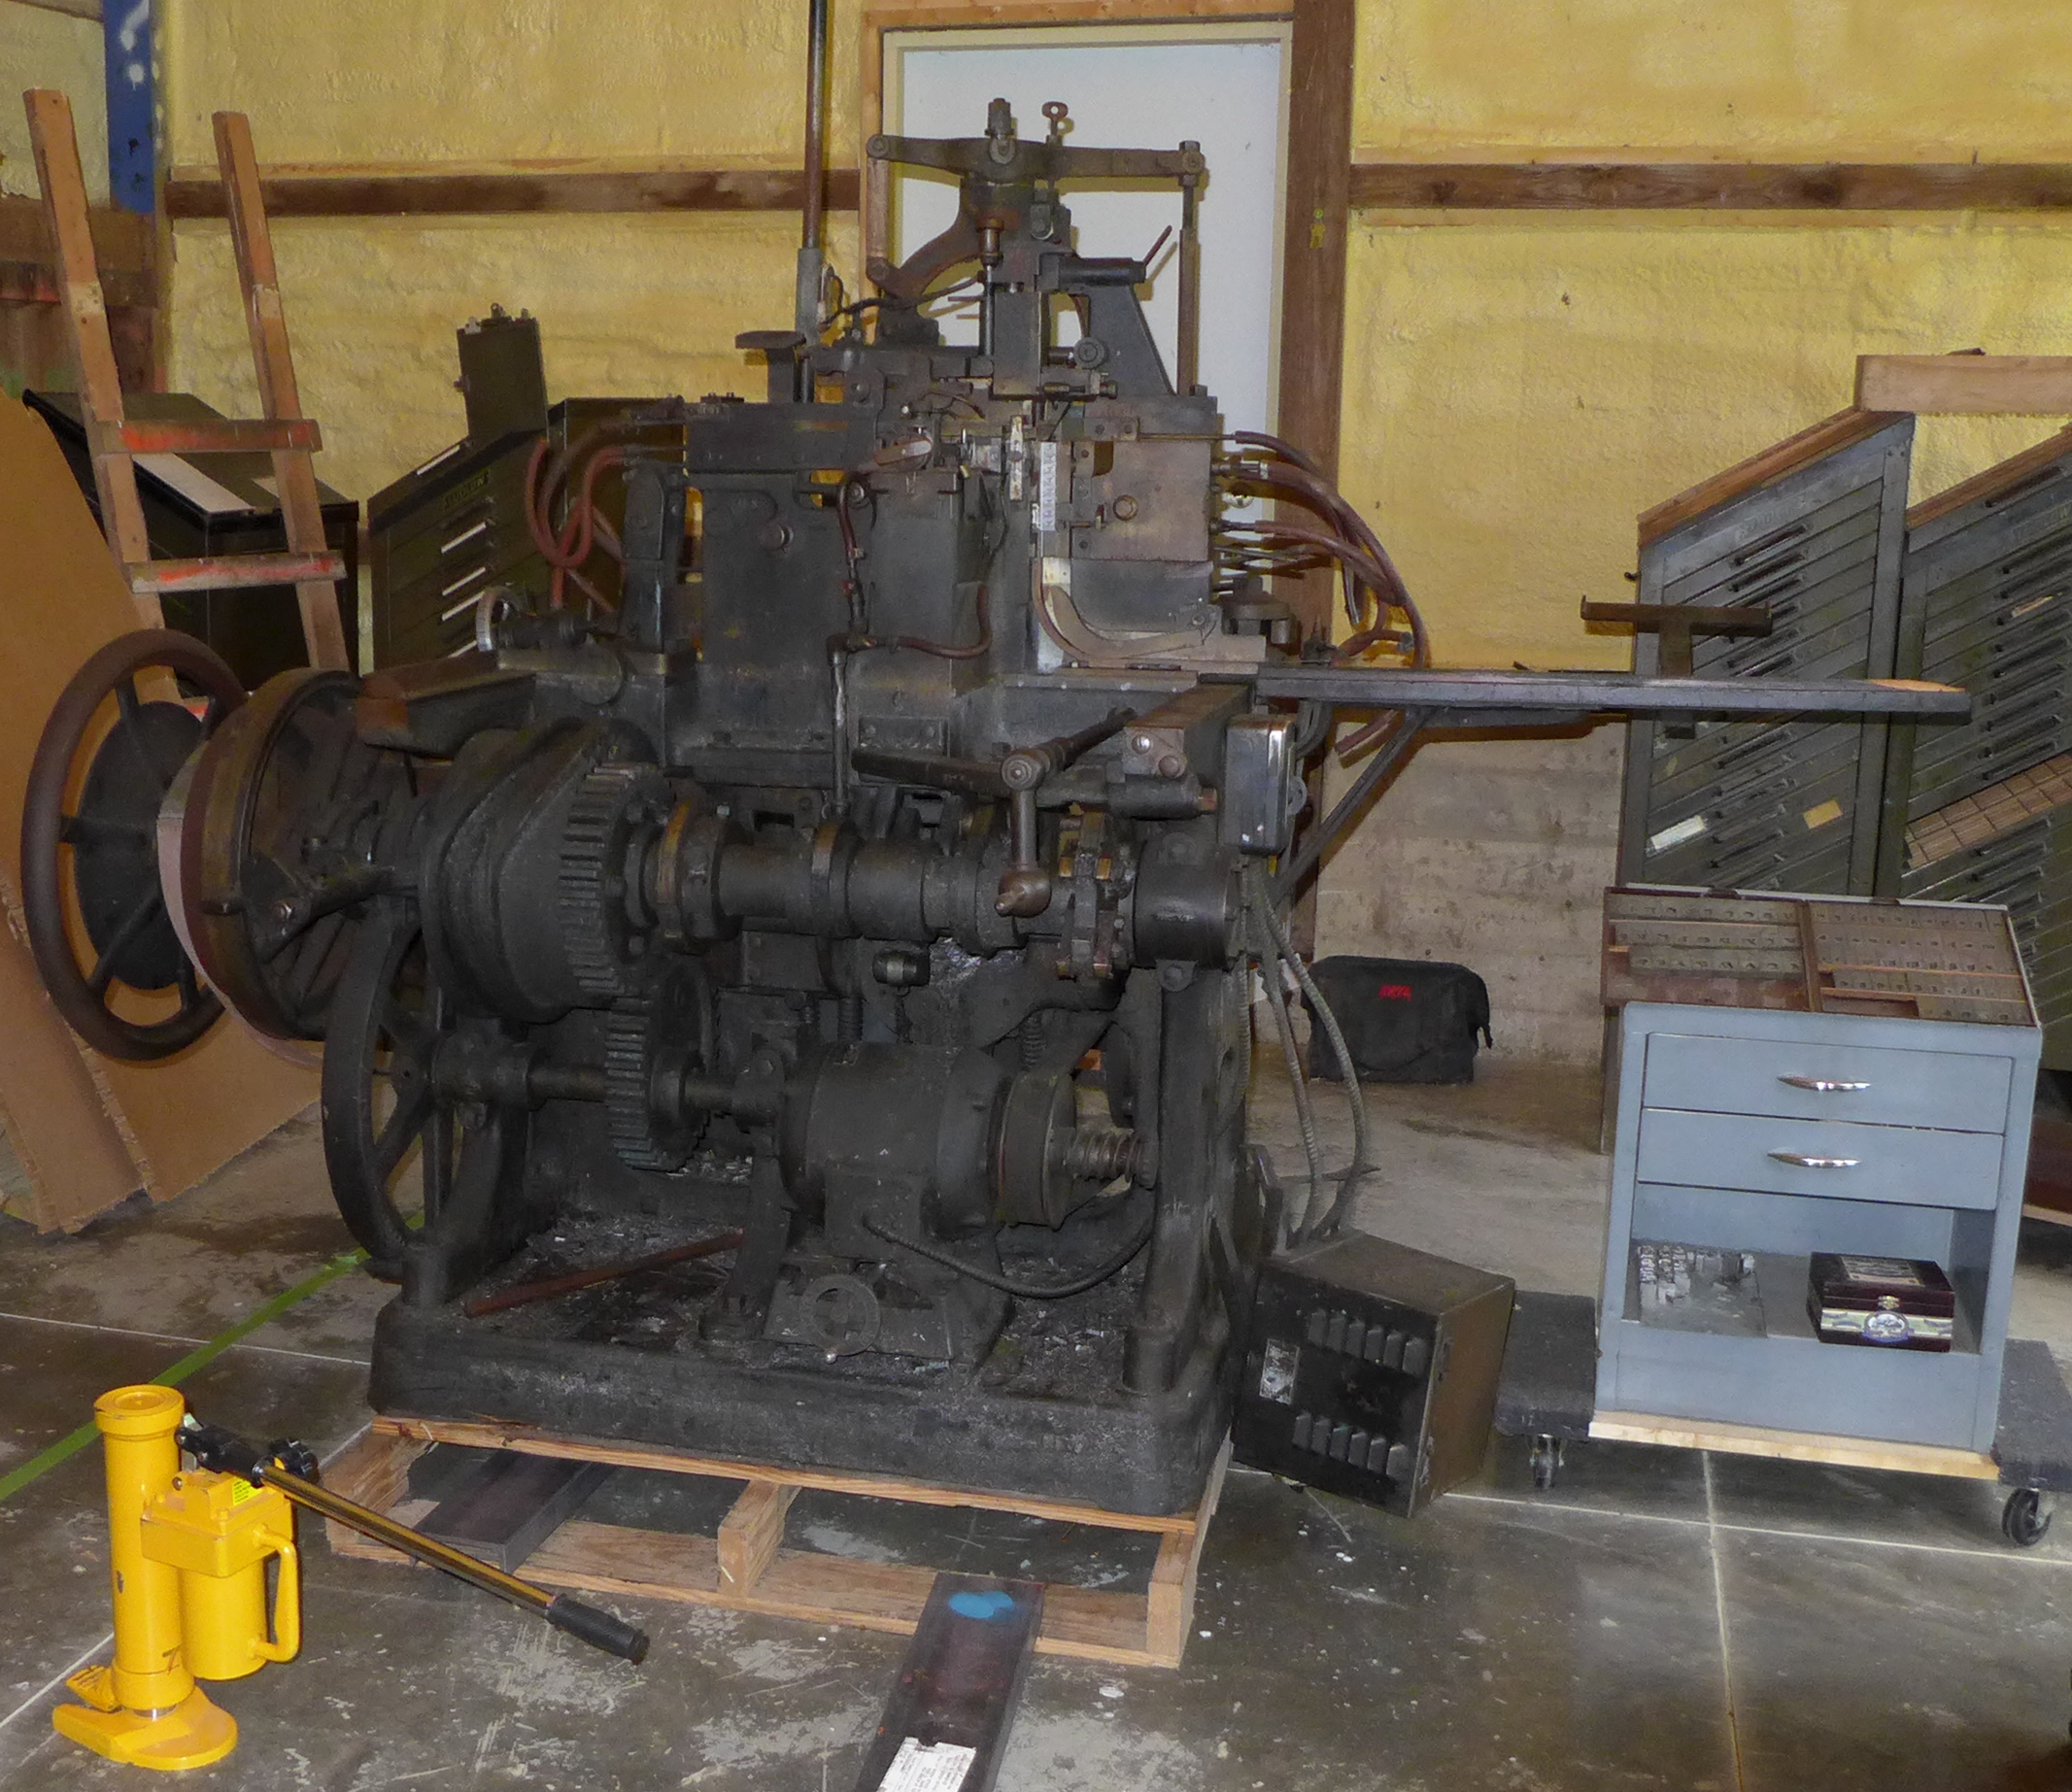
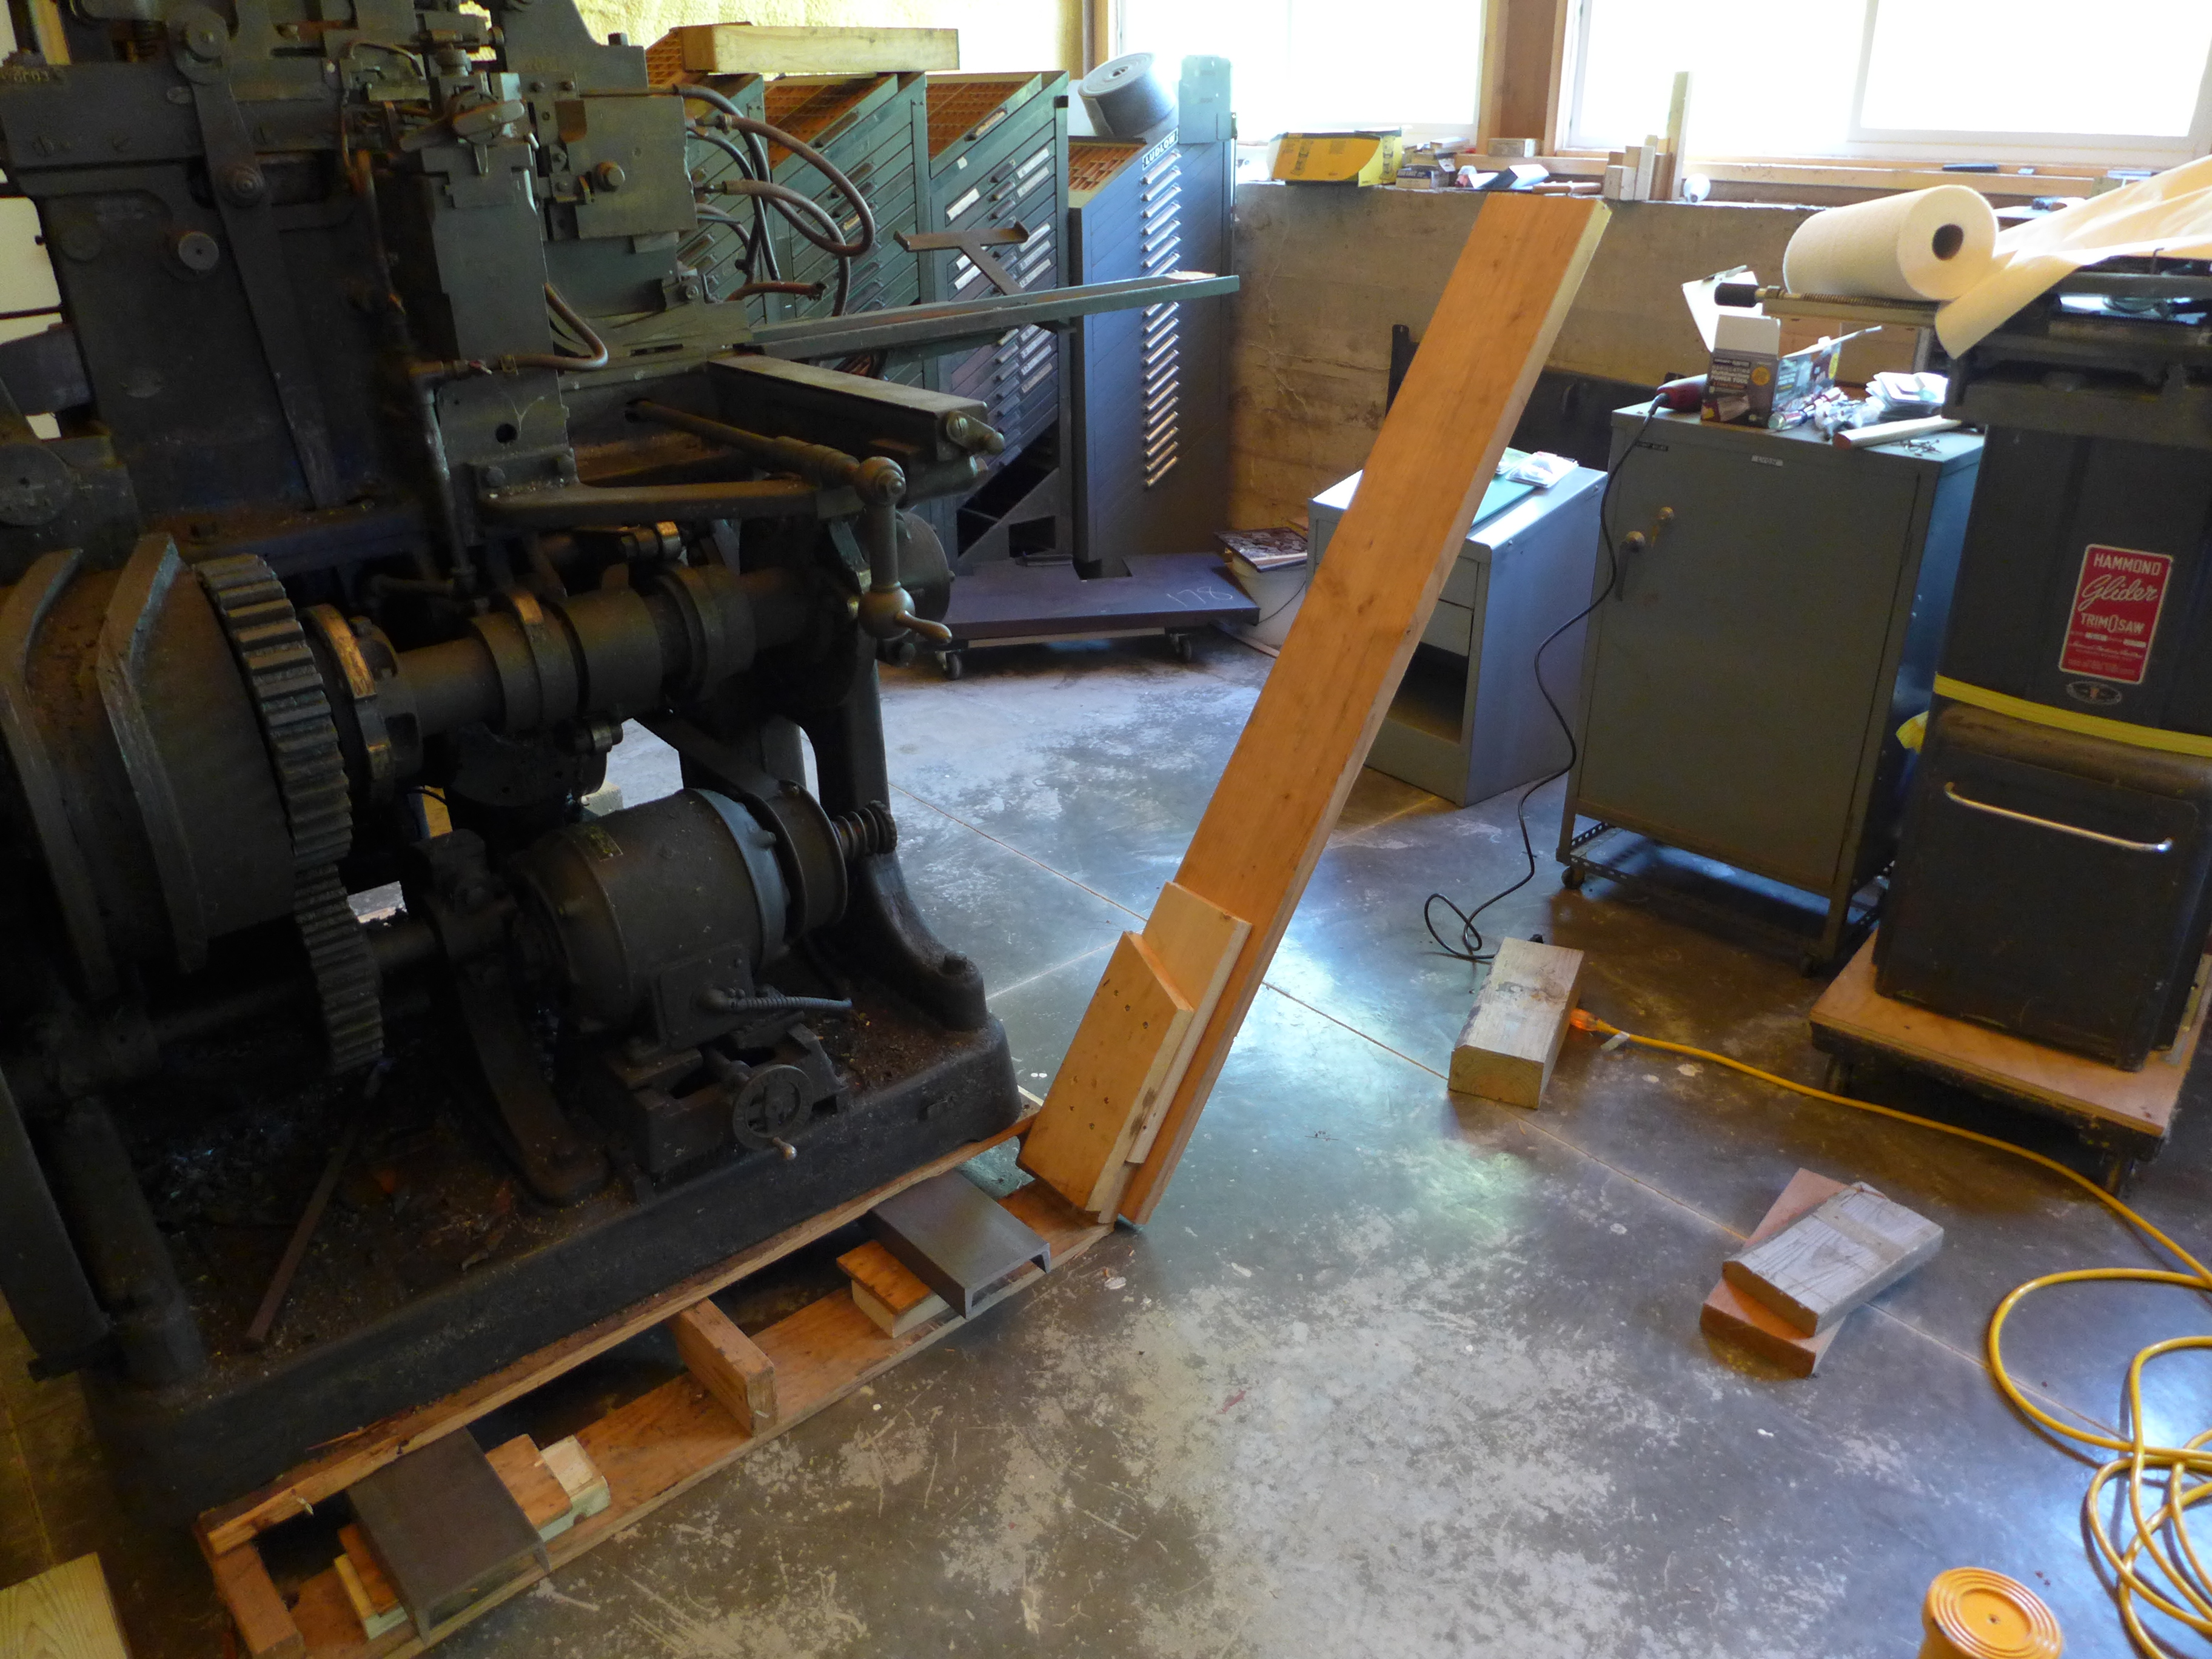
Here's the first problem: the machine is on a pallet (the same one on which it left the 1993 ATF auction). This pallet is probably not even sufficient to move it (safely), and is entirely insufficient as a base upon which to run it. The machine needs to be down on the ground (or at least on very low, solid blocks). I have no hoisting equipment capable of lifting this 4,000 pound machine. It doesn't have any good lift points, anyway. Getting a pallet out from under this much cast iron is an interesting exercise.
There are probably many ways to do this. This is the way I did it: I used two steel beams through the pallet to lift it just a fraction of an inch off the ground. Then I destroyed the four corners of the pallet, put in blocks, and set the machine itself down on these four blocks. Then I removed the steel beams and destroyed the rest of the pallet out from under the machine. Finally, using many shims, I gradually moved the machine down to the ground.
This required several tools and items of equipment:
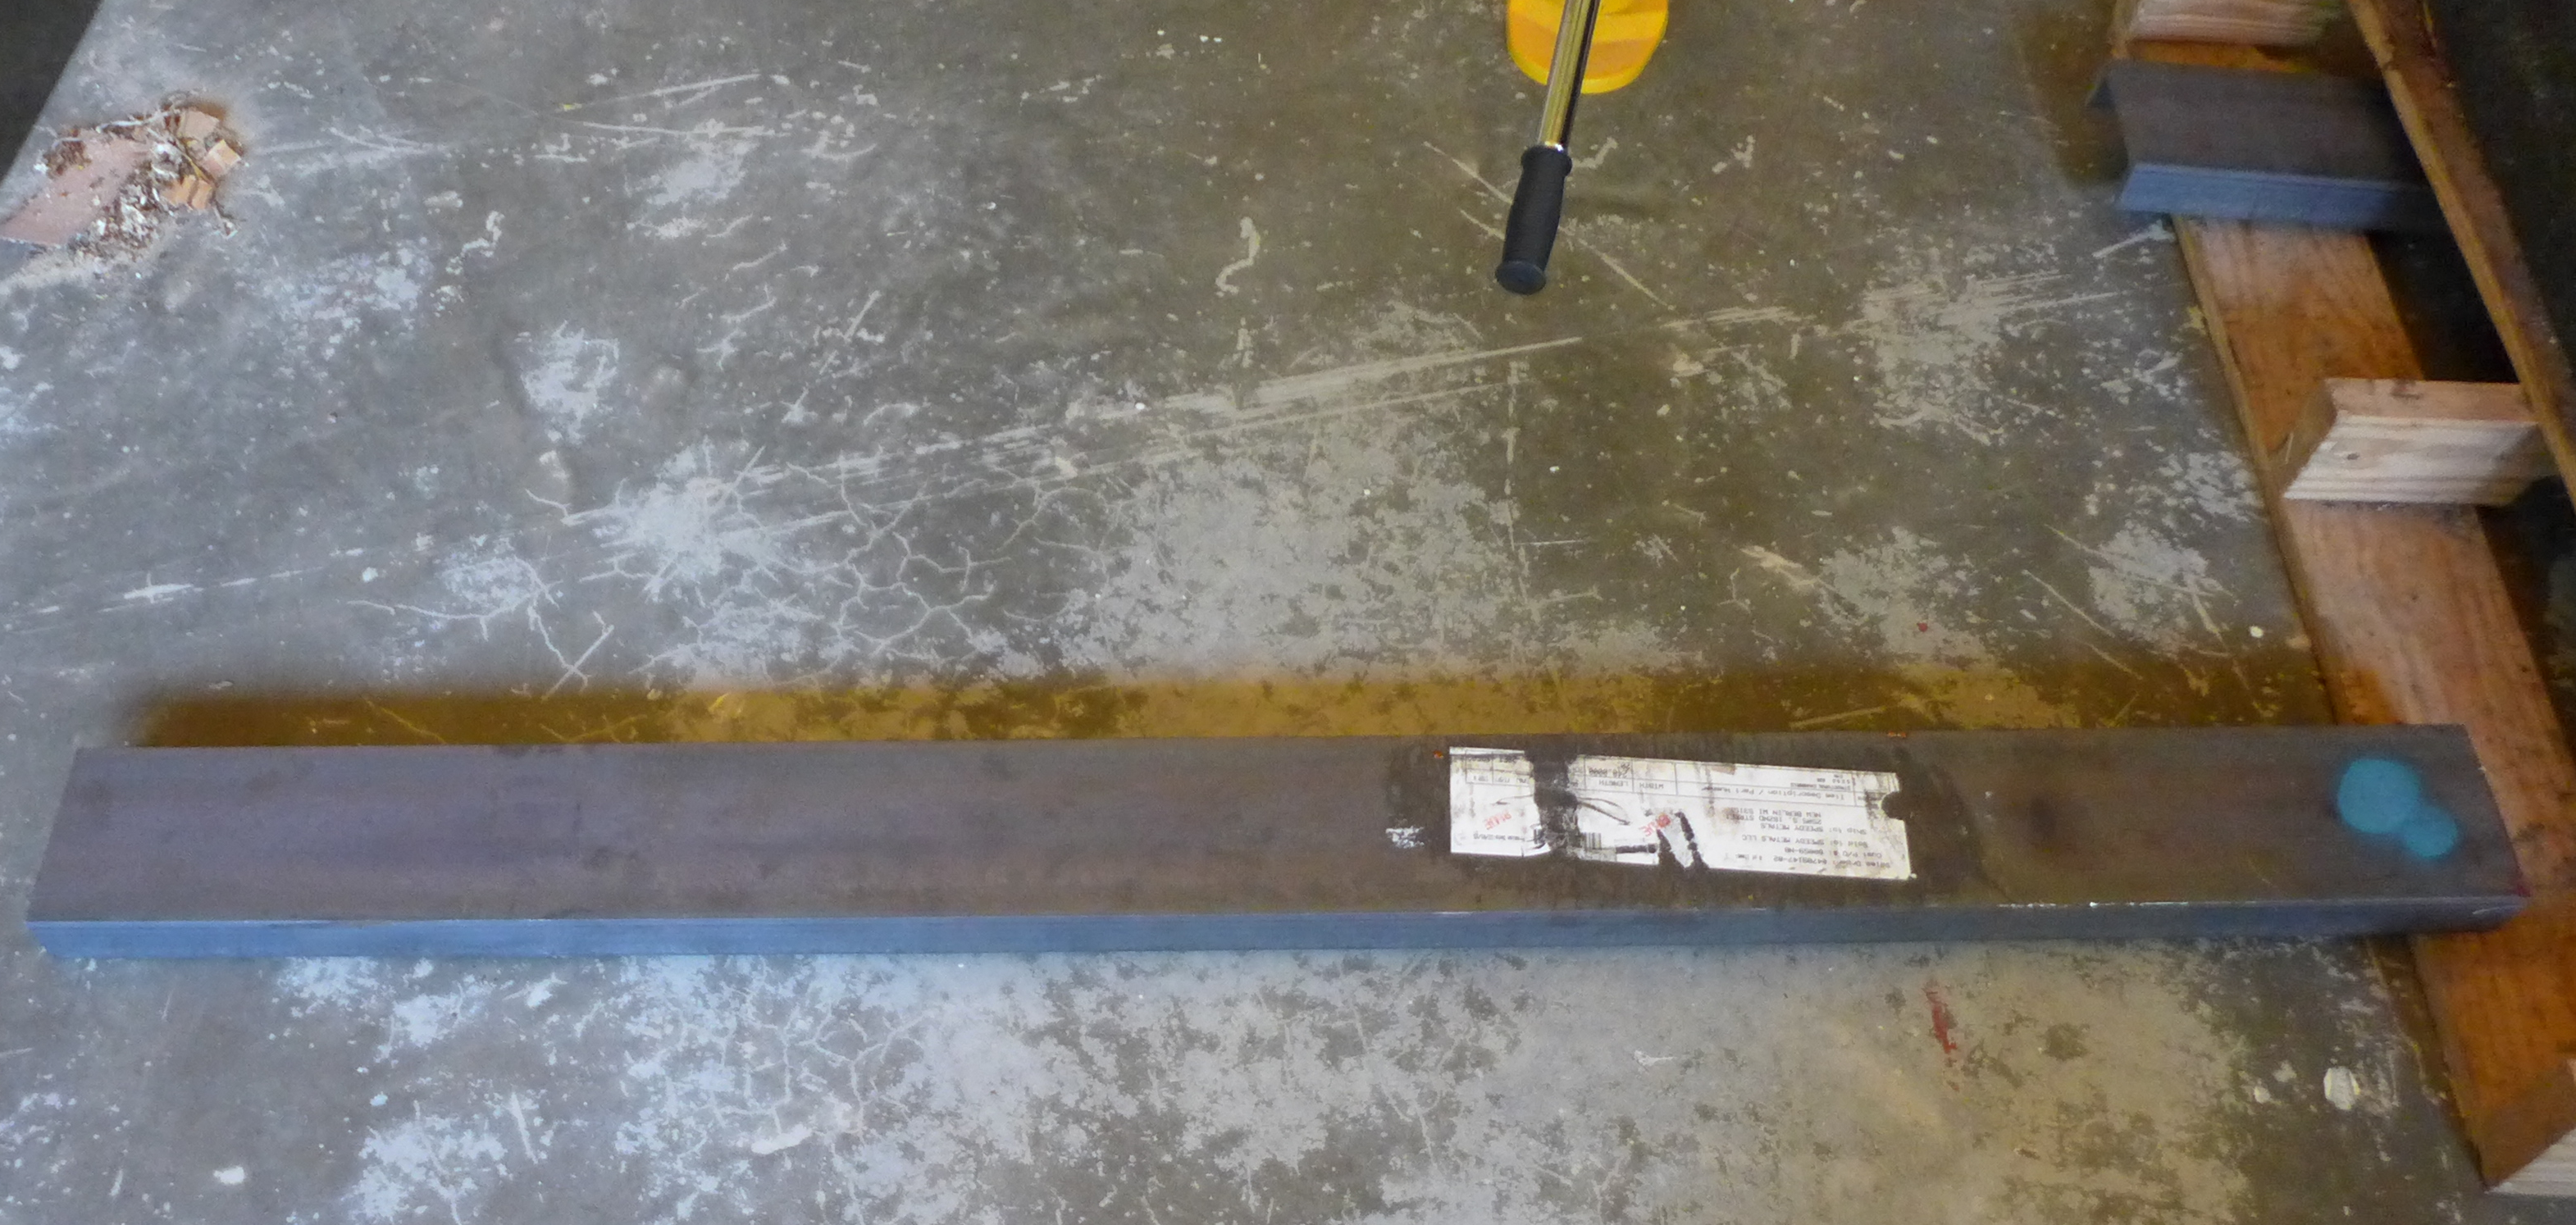
Note 1. In case you were wondering, the two beams cost $140 in 2015, including tax but without delivery as I picked them up from the supplier. I got them originally to perform much the same operation on my Reid 2C Surface Grinder. They're very handy to have. 5' was just barely enough; another 6 or 12 inches would have been nice. (And, yes, the supplier did quote the flange depth to three decimal places, but I'm sure they're not manufactured to such close tolerances.)
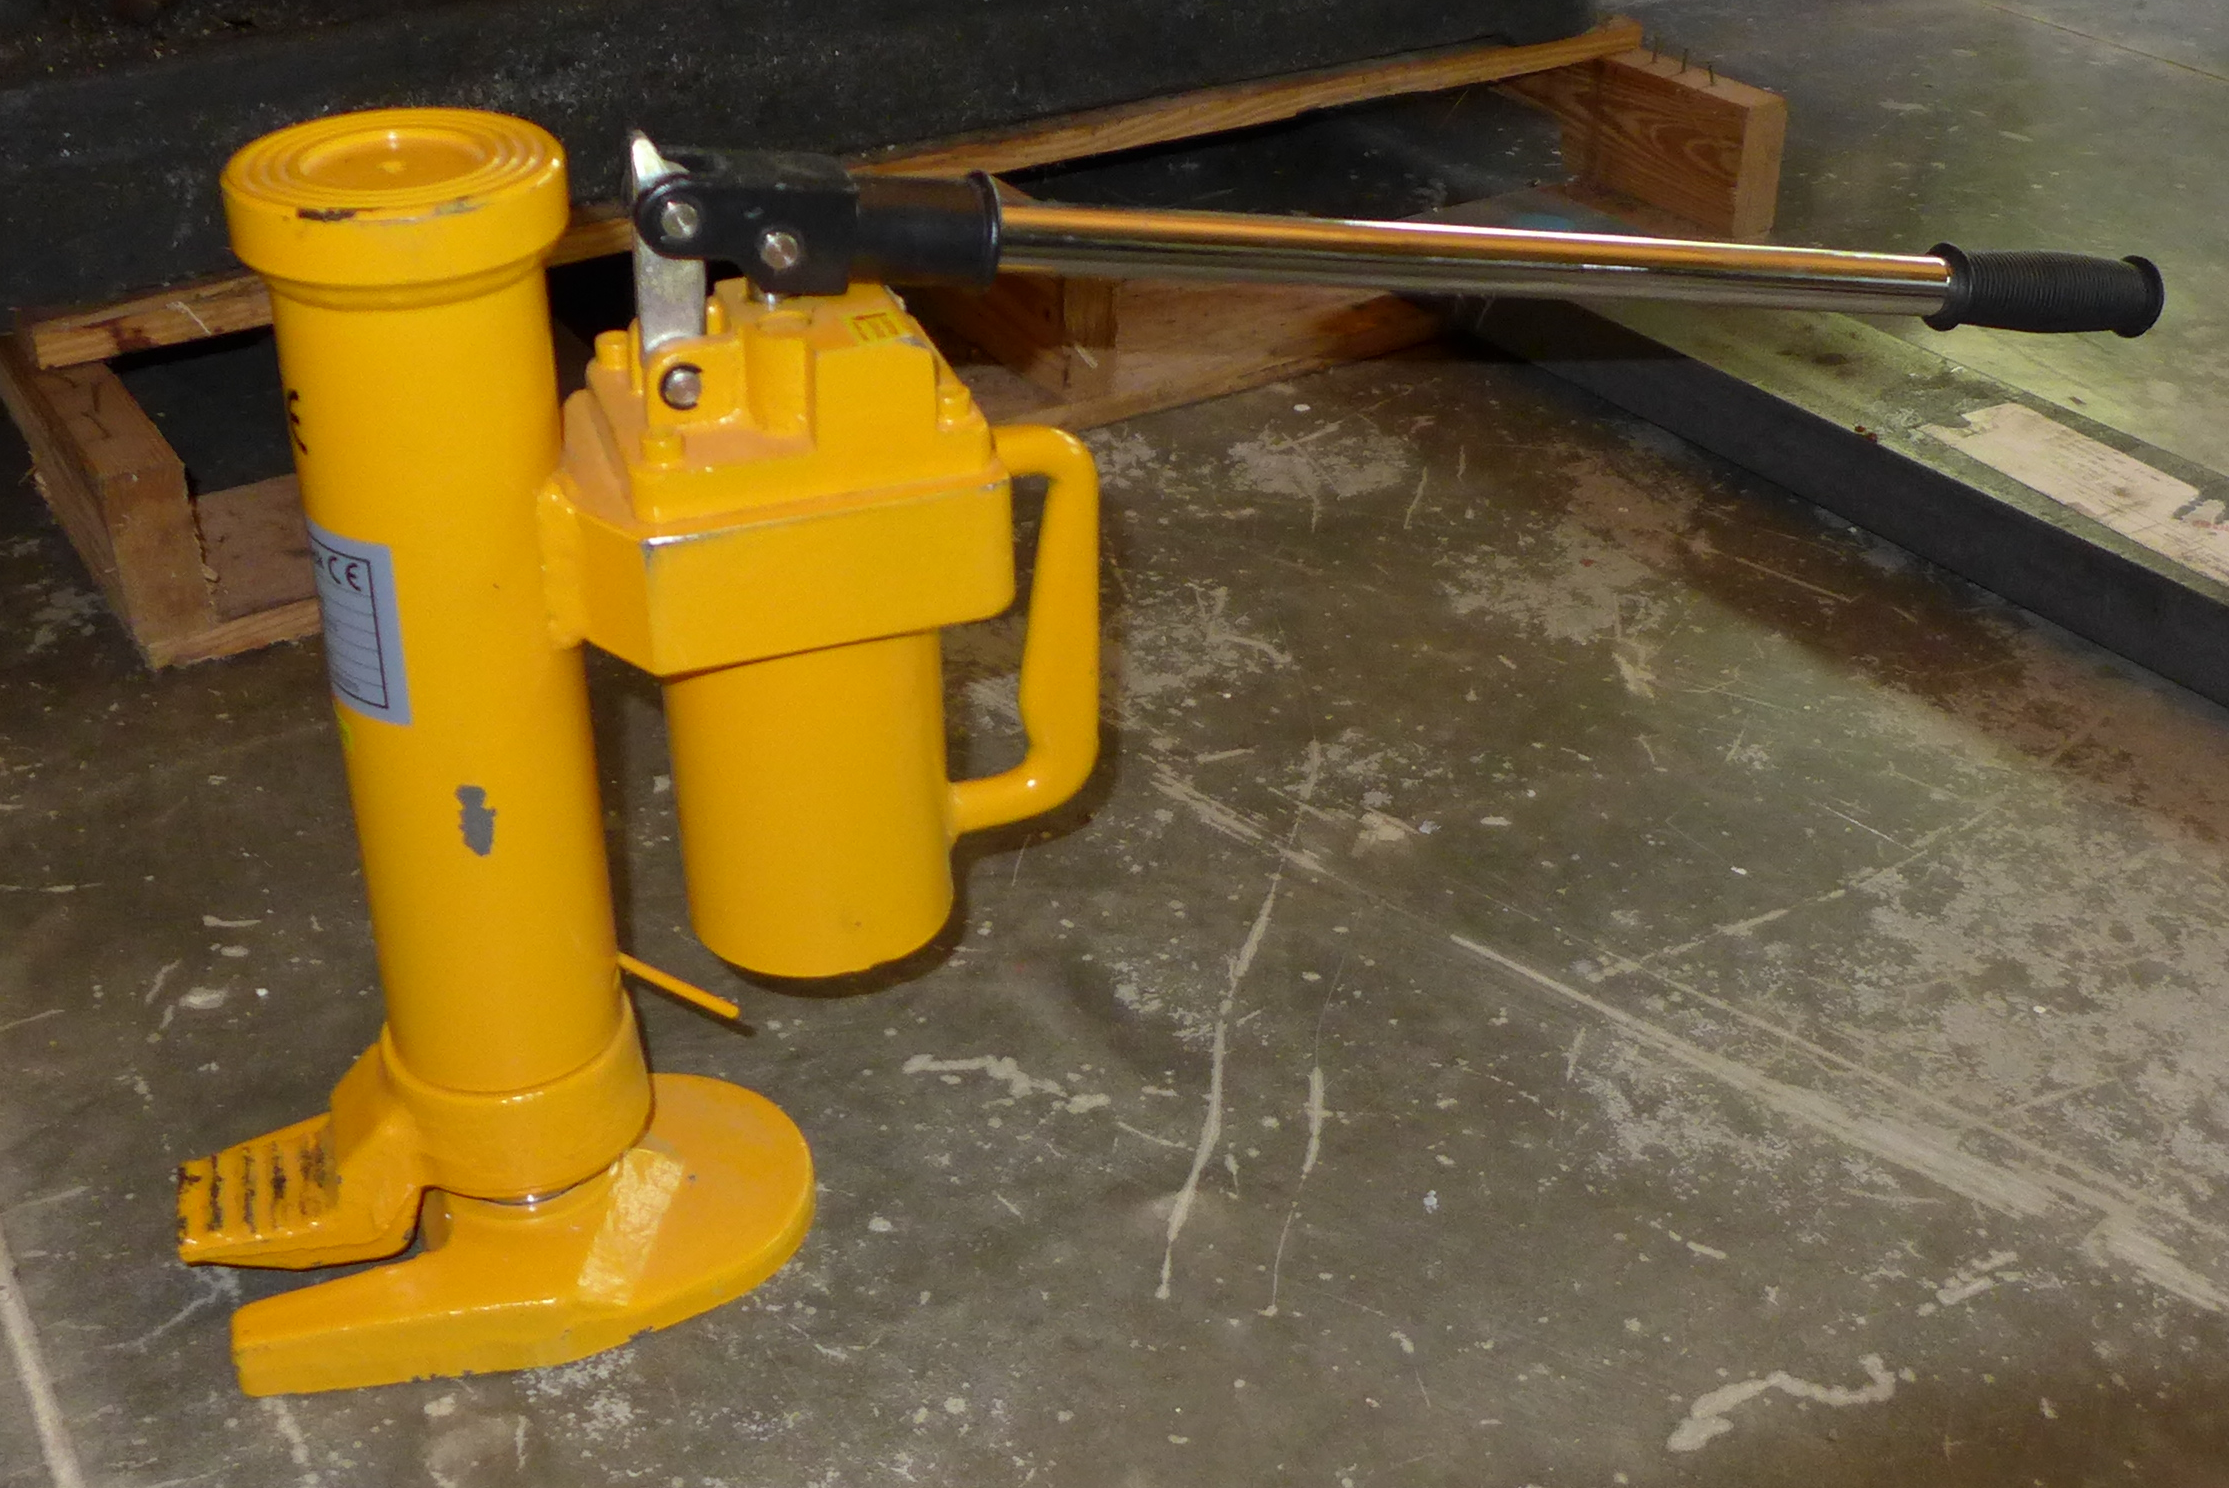
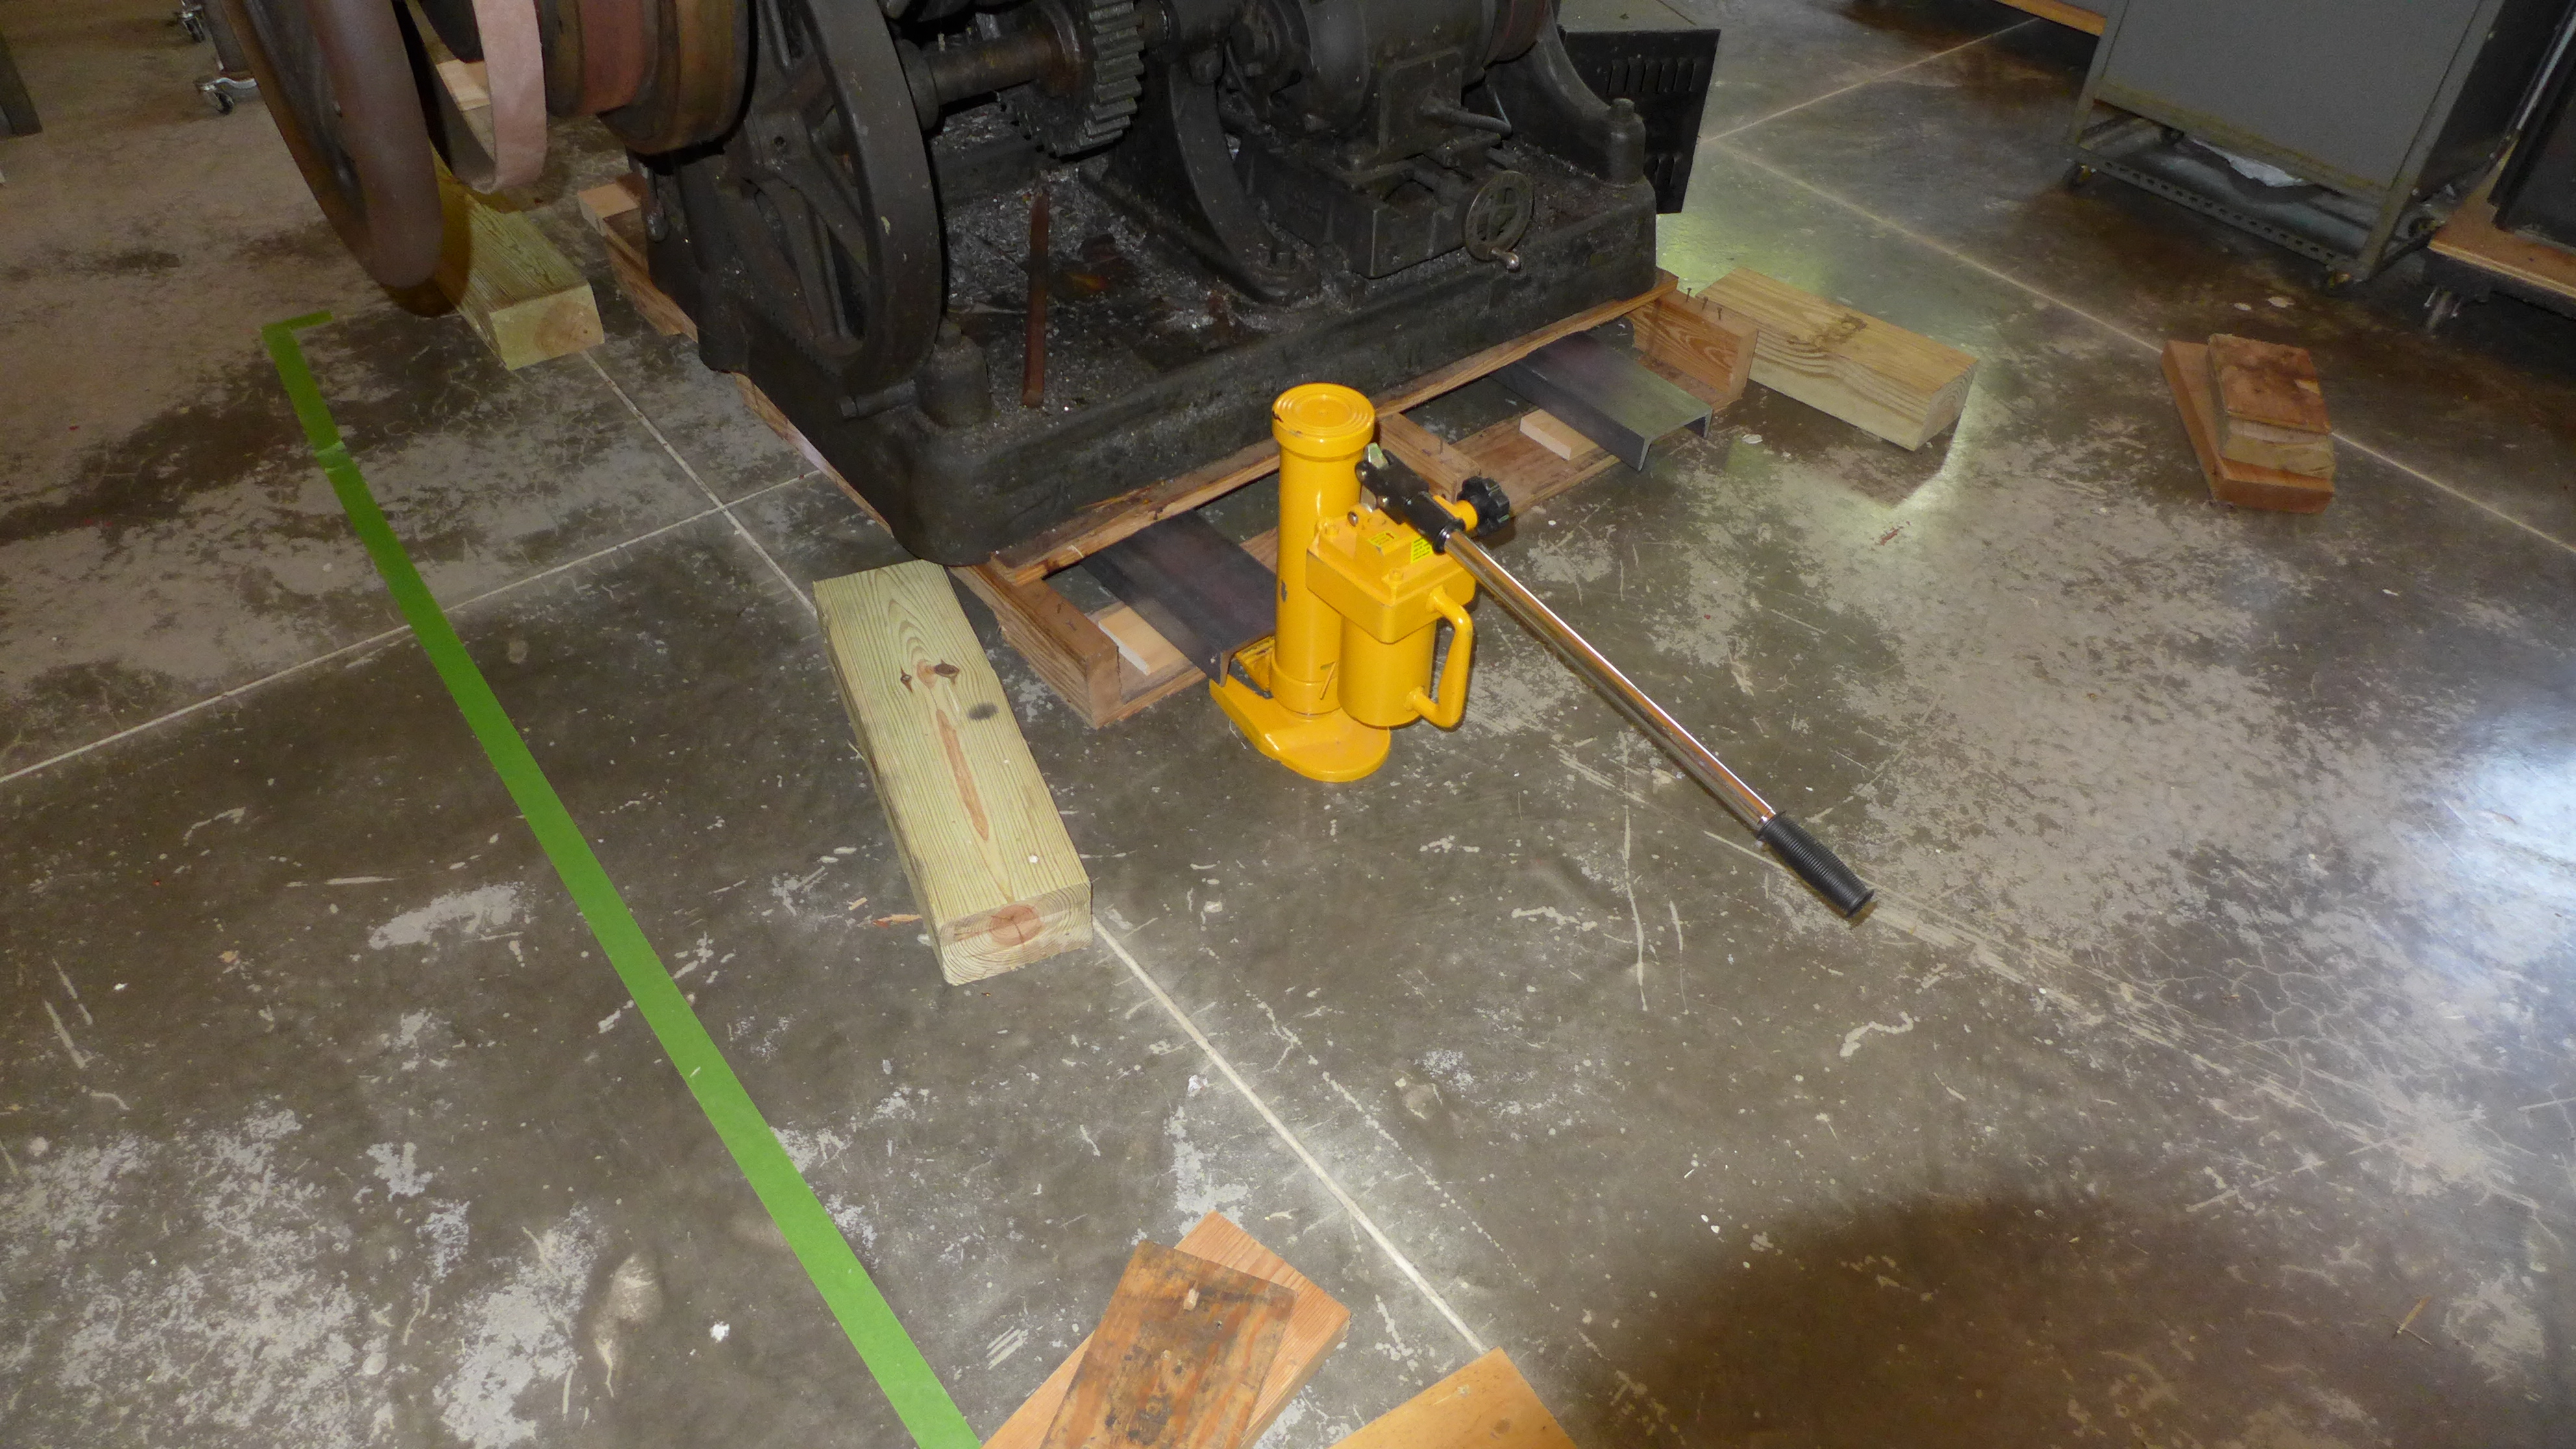
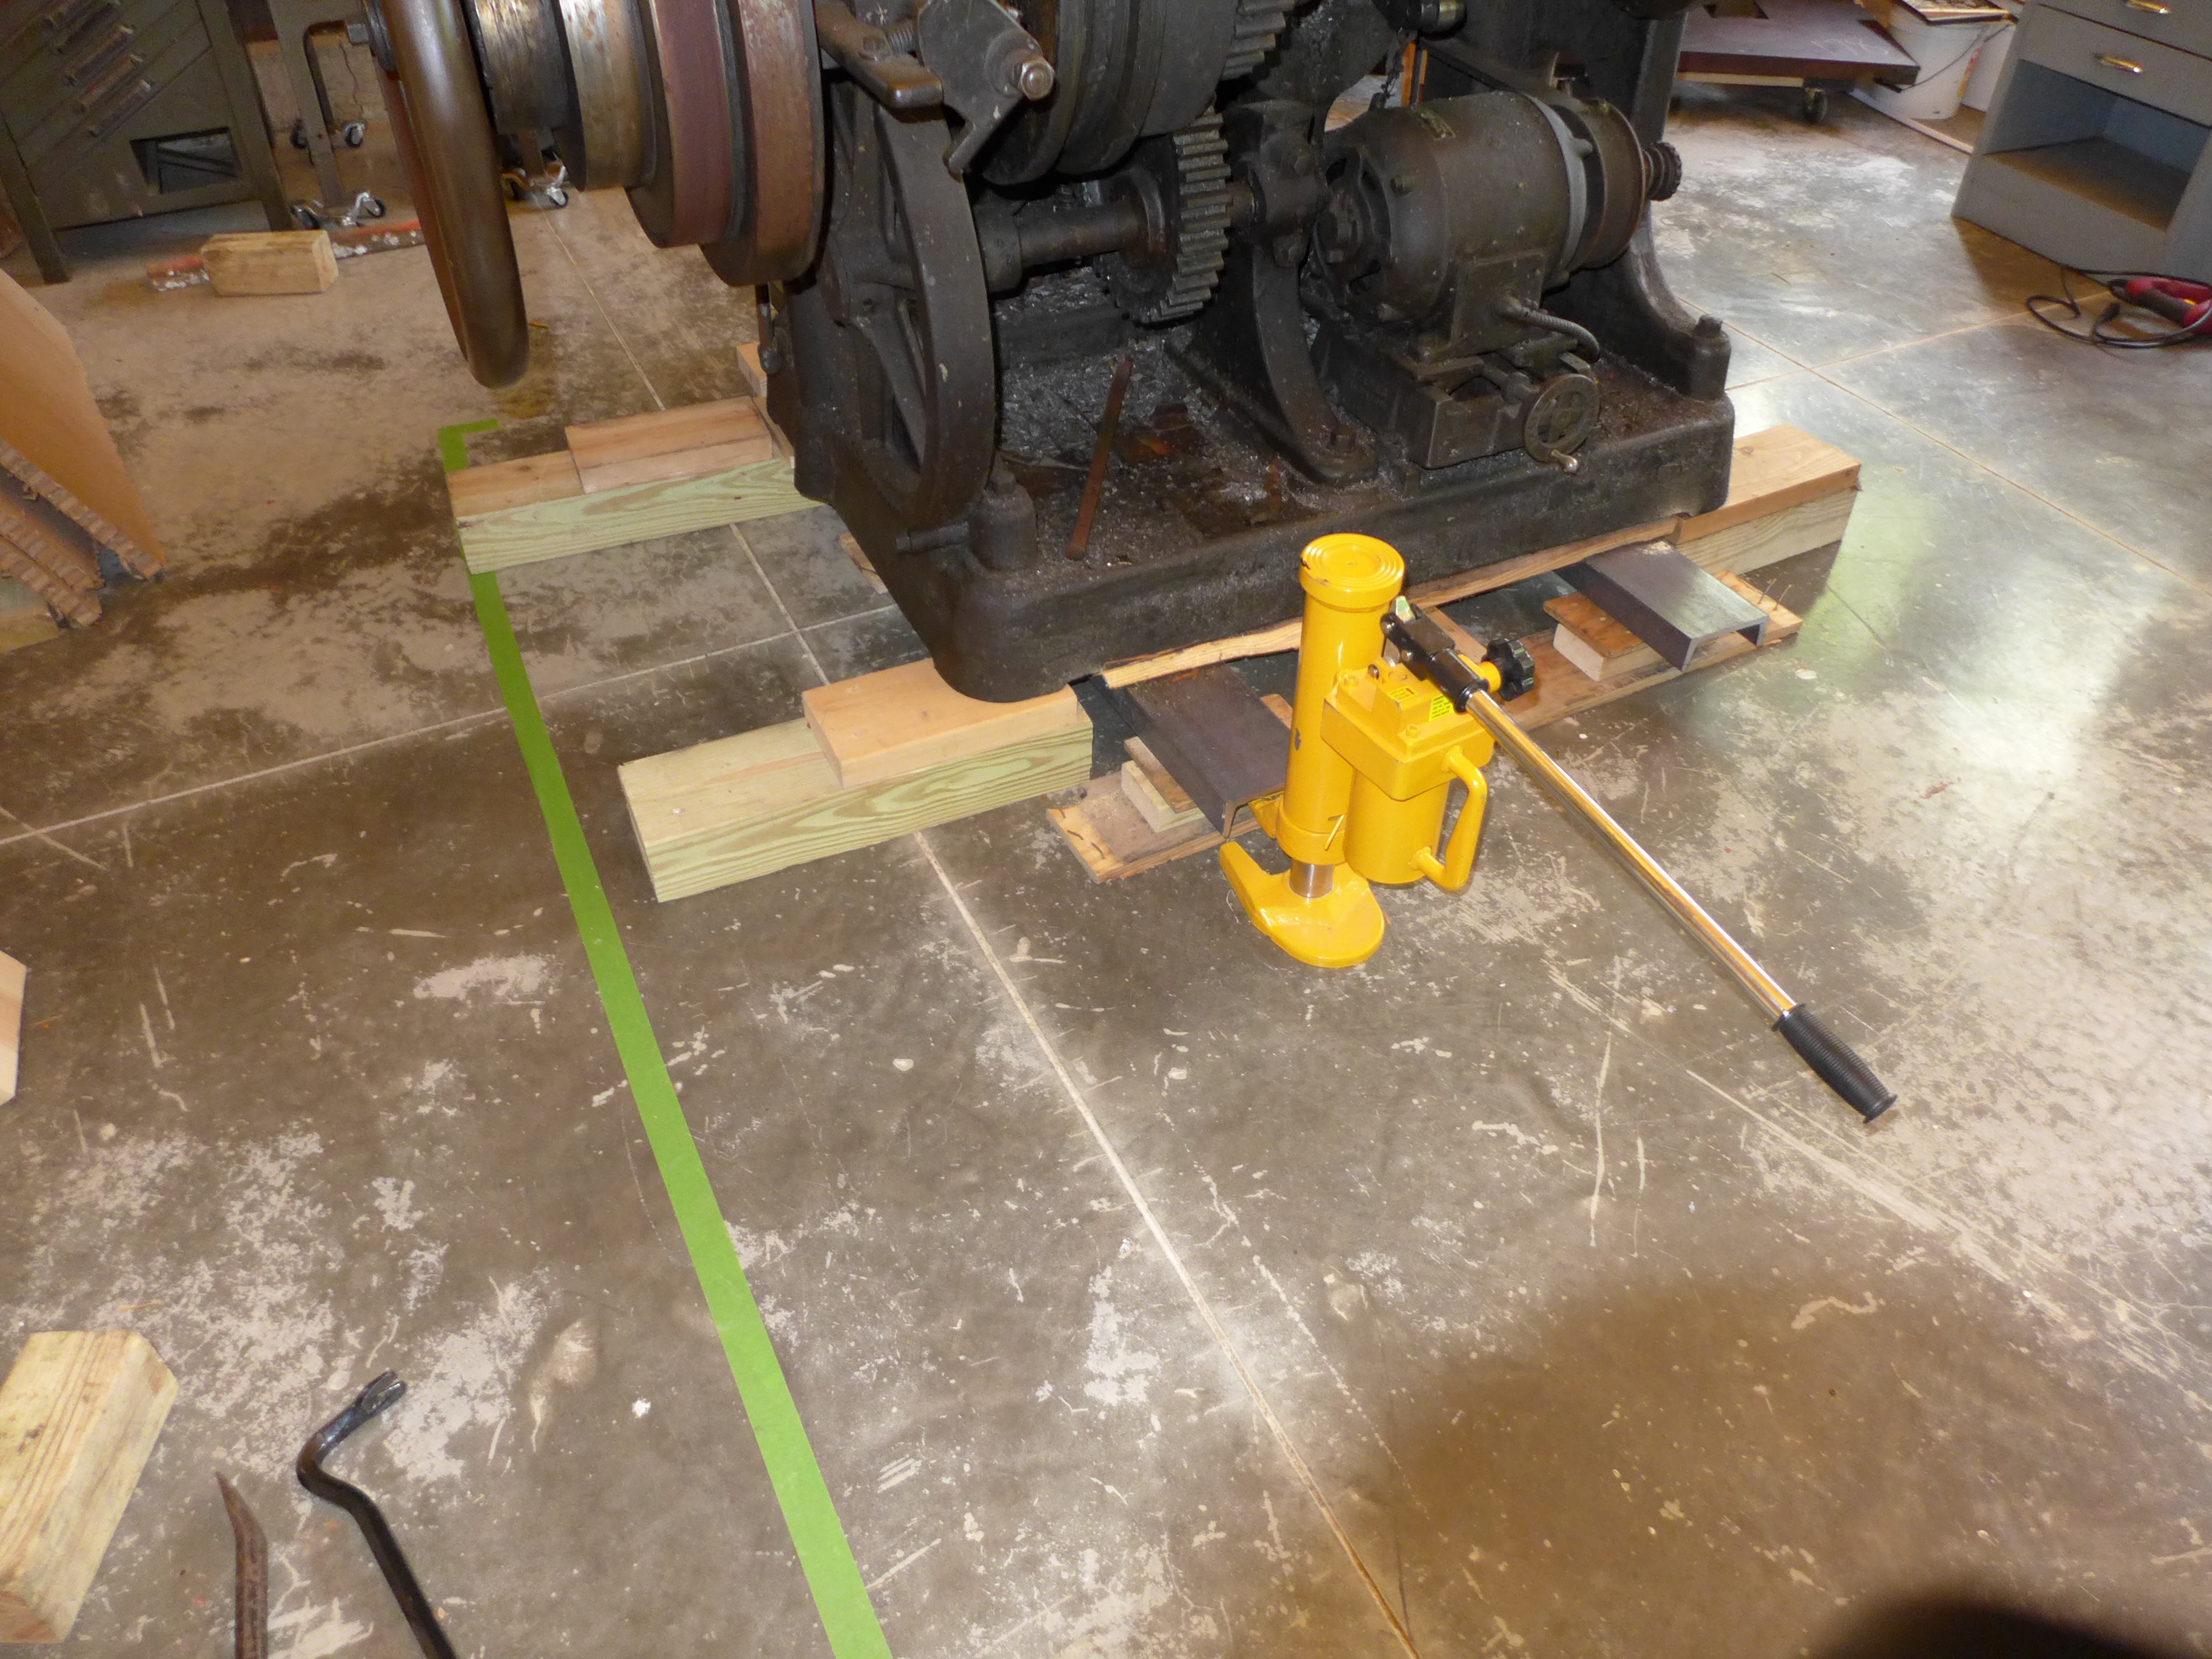
Note 2. The professional brand for this style of Toe Jack is Hilman. If I was using one frequently, I'd definitely get the real thing. Instead, I have the cheap knockoff ("i-Liftequip" brand, via Amazon - their model number, HM50, even encodes the fact that it is a Hilman knockoff). 11,000 lbs rated capacity. It took me years to realize it, but if you move heavy equipment, you really do need a Toe Jack.
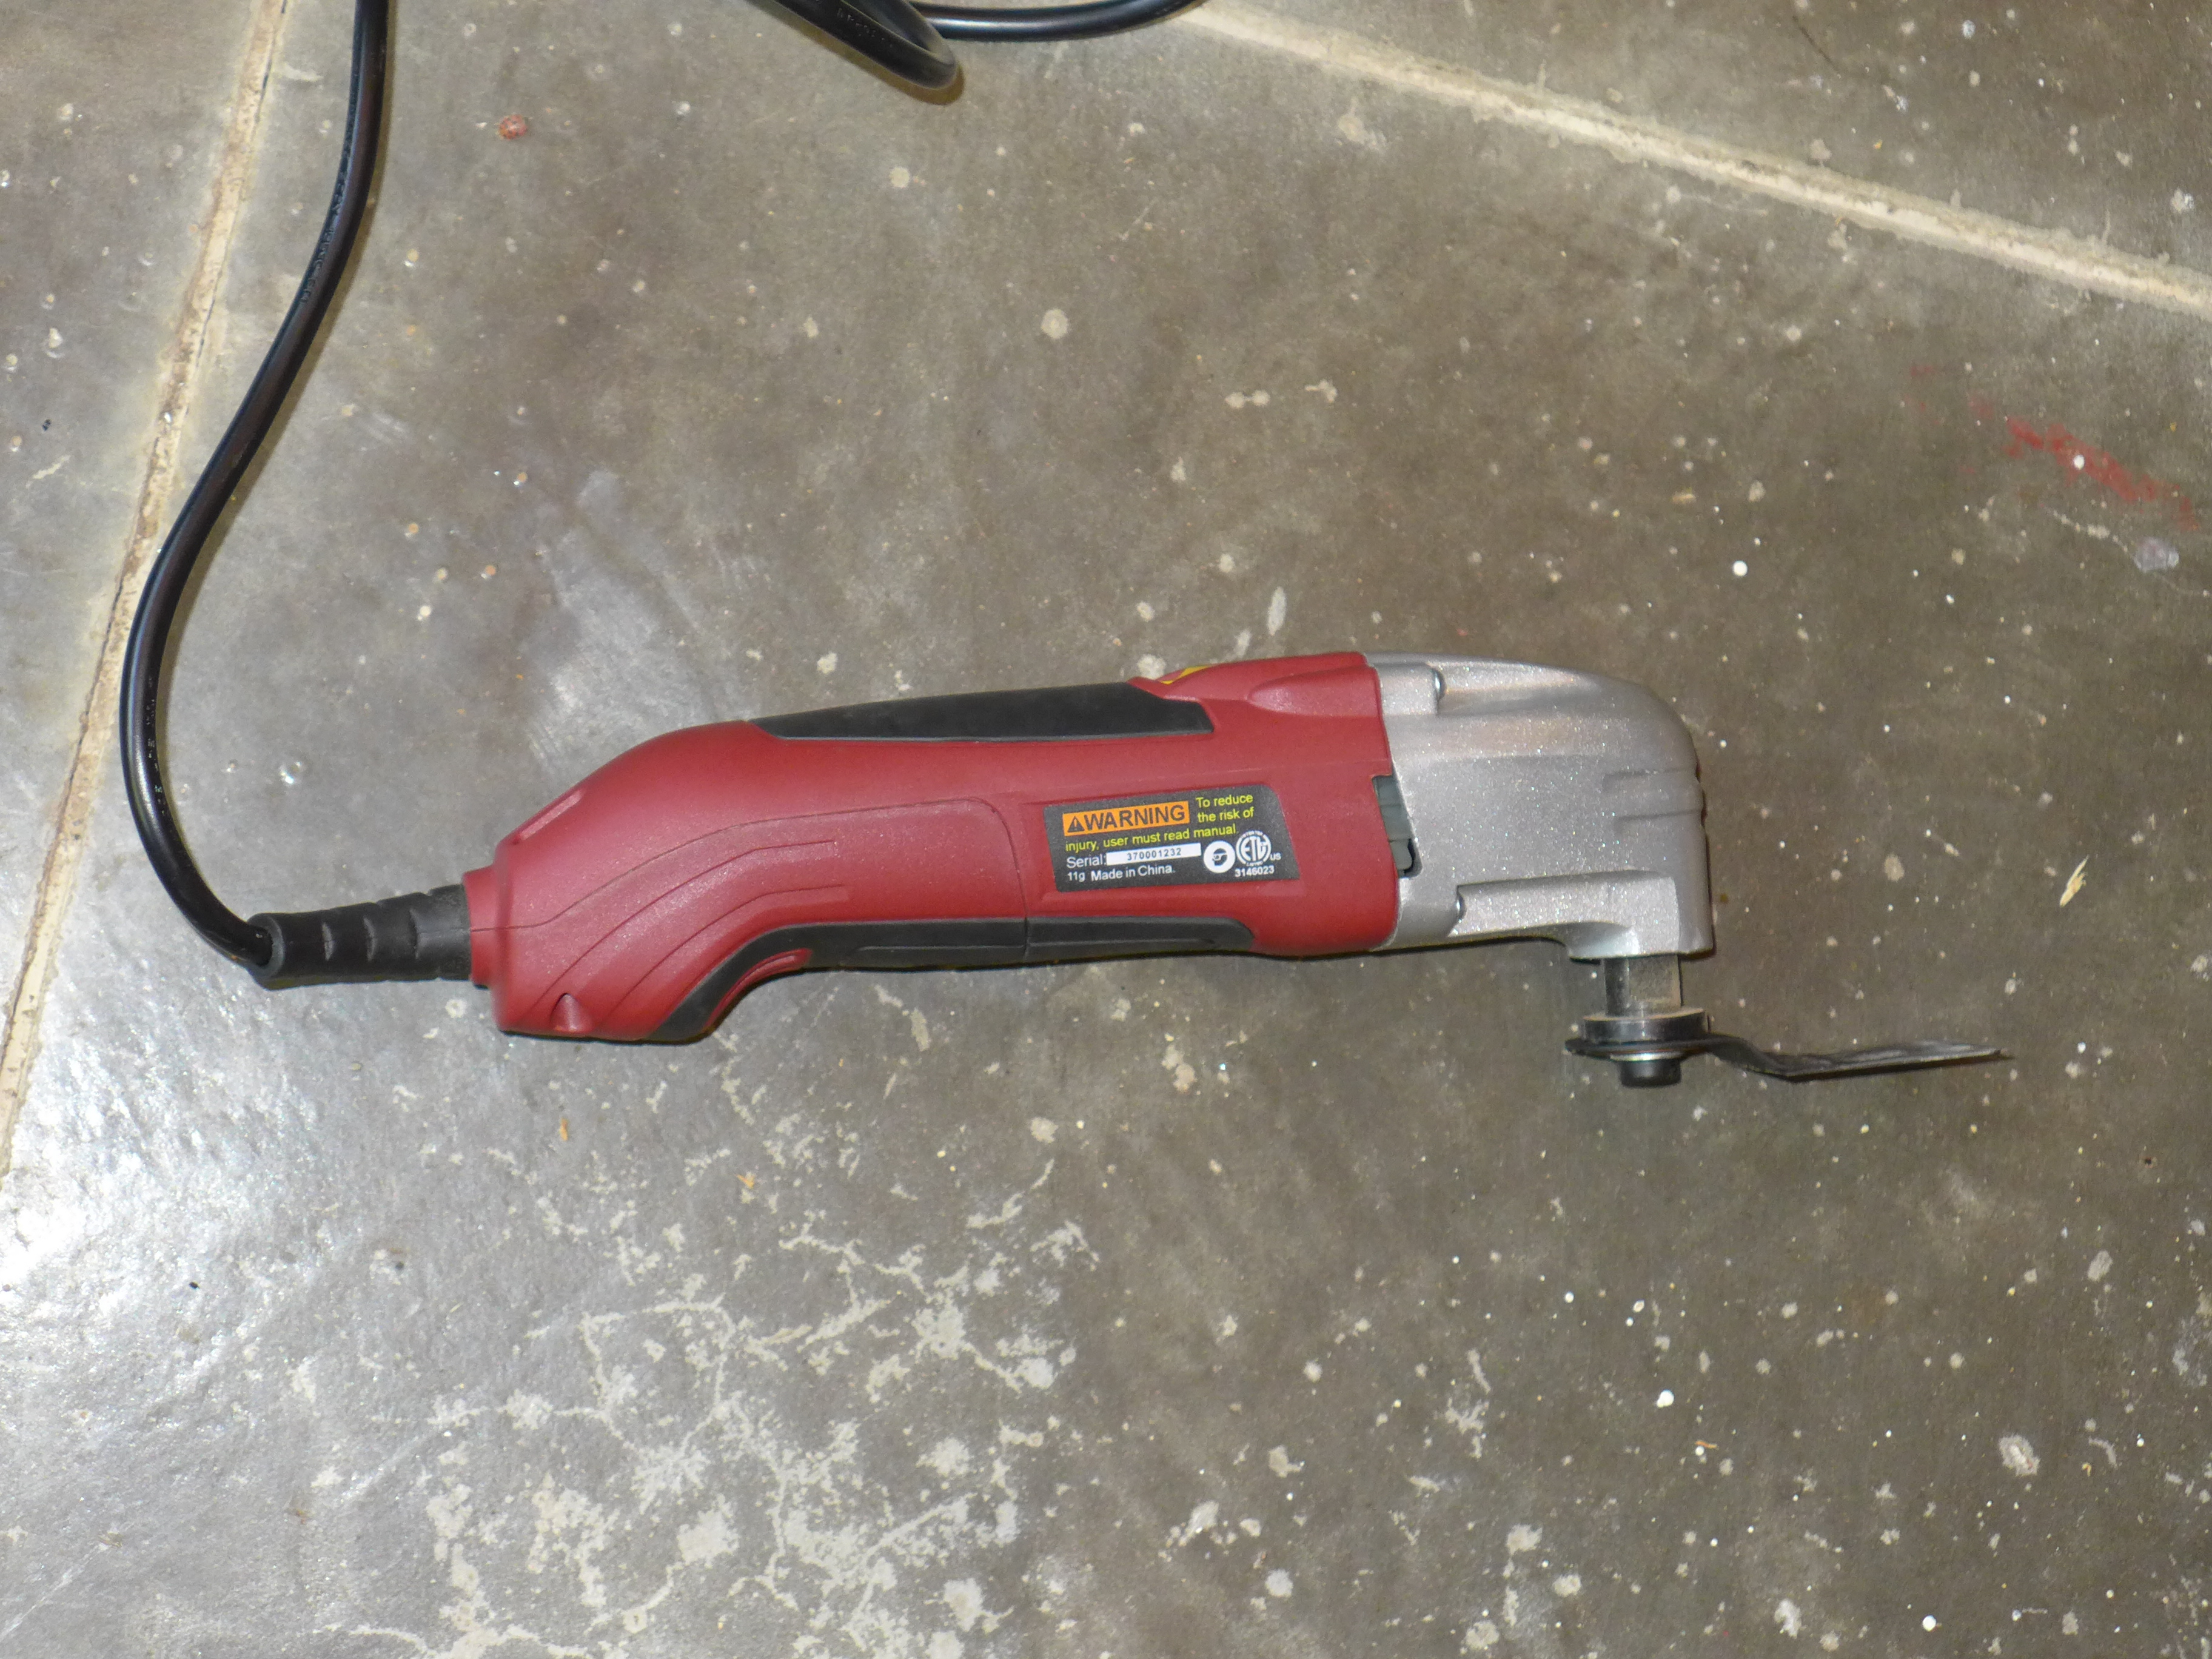
Note 3. The professional brand for an "oscillating multi-tool" is the Fein tools "MultiMaster." Mine is, of course, the cheap knockoff - but it was useful enough in this project that I might someday consider the much more expensive real thing from Fein. This style of tool oscillates a blade over a very small angle at high speed. It can do plunge cuts straight into wood. It can also cut through nails, though doing so wrecks the blade. I needed to cut through nails here, and only went through one blade for each side of the pallet (about twelve nails each).
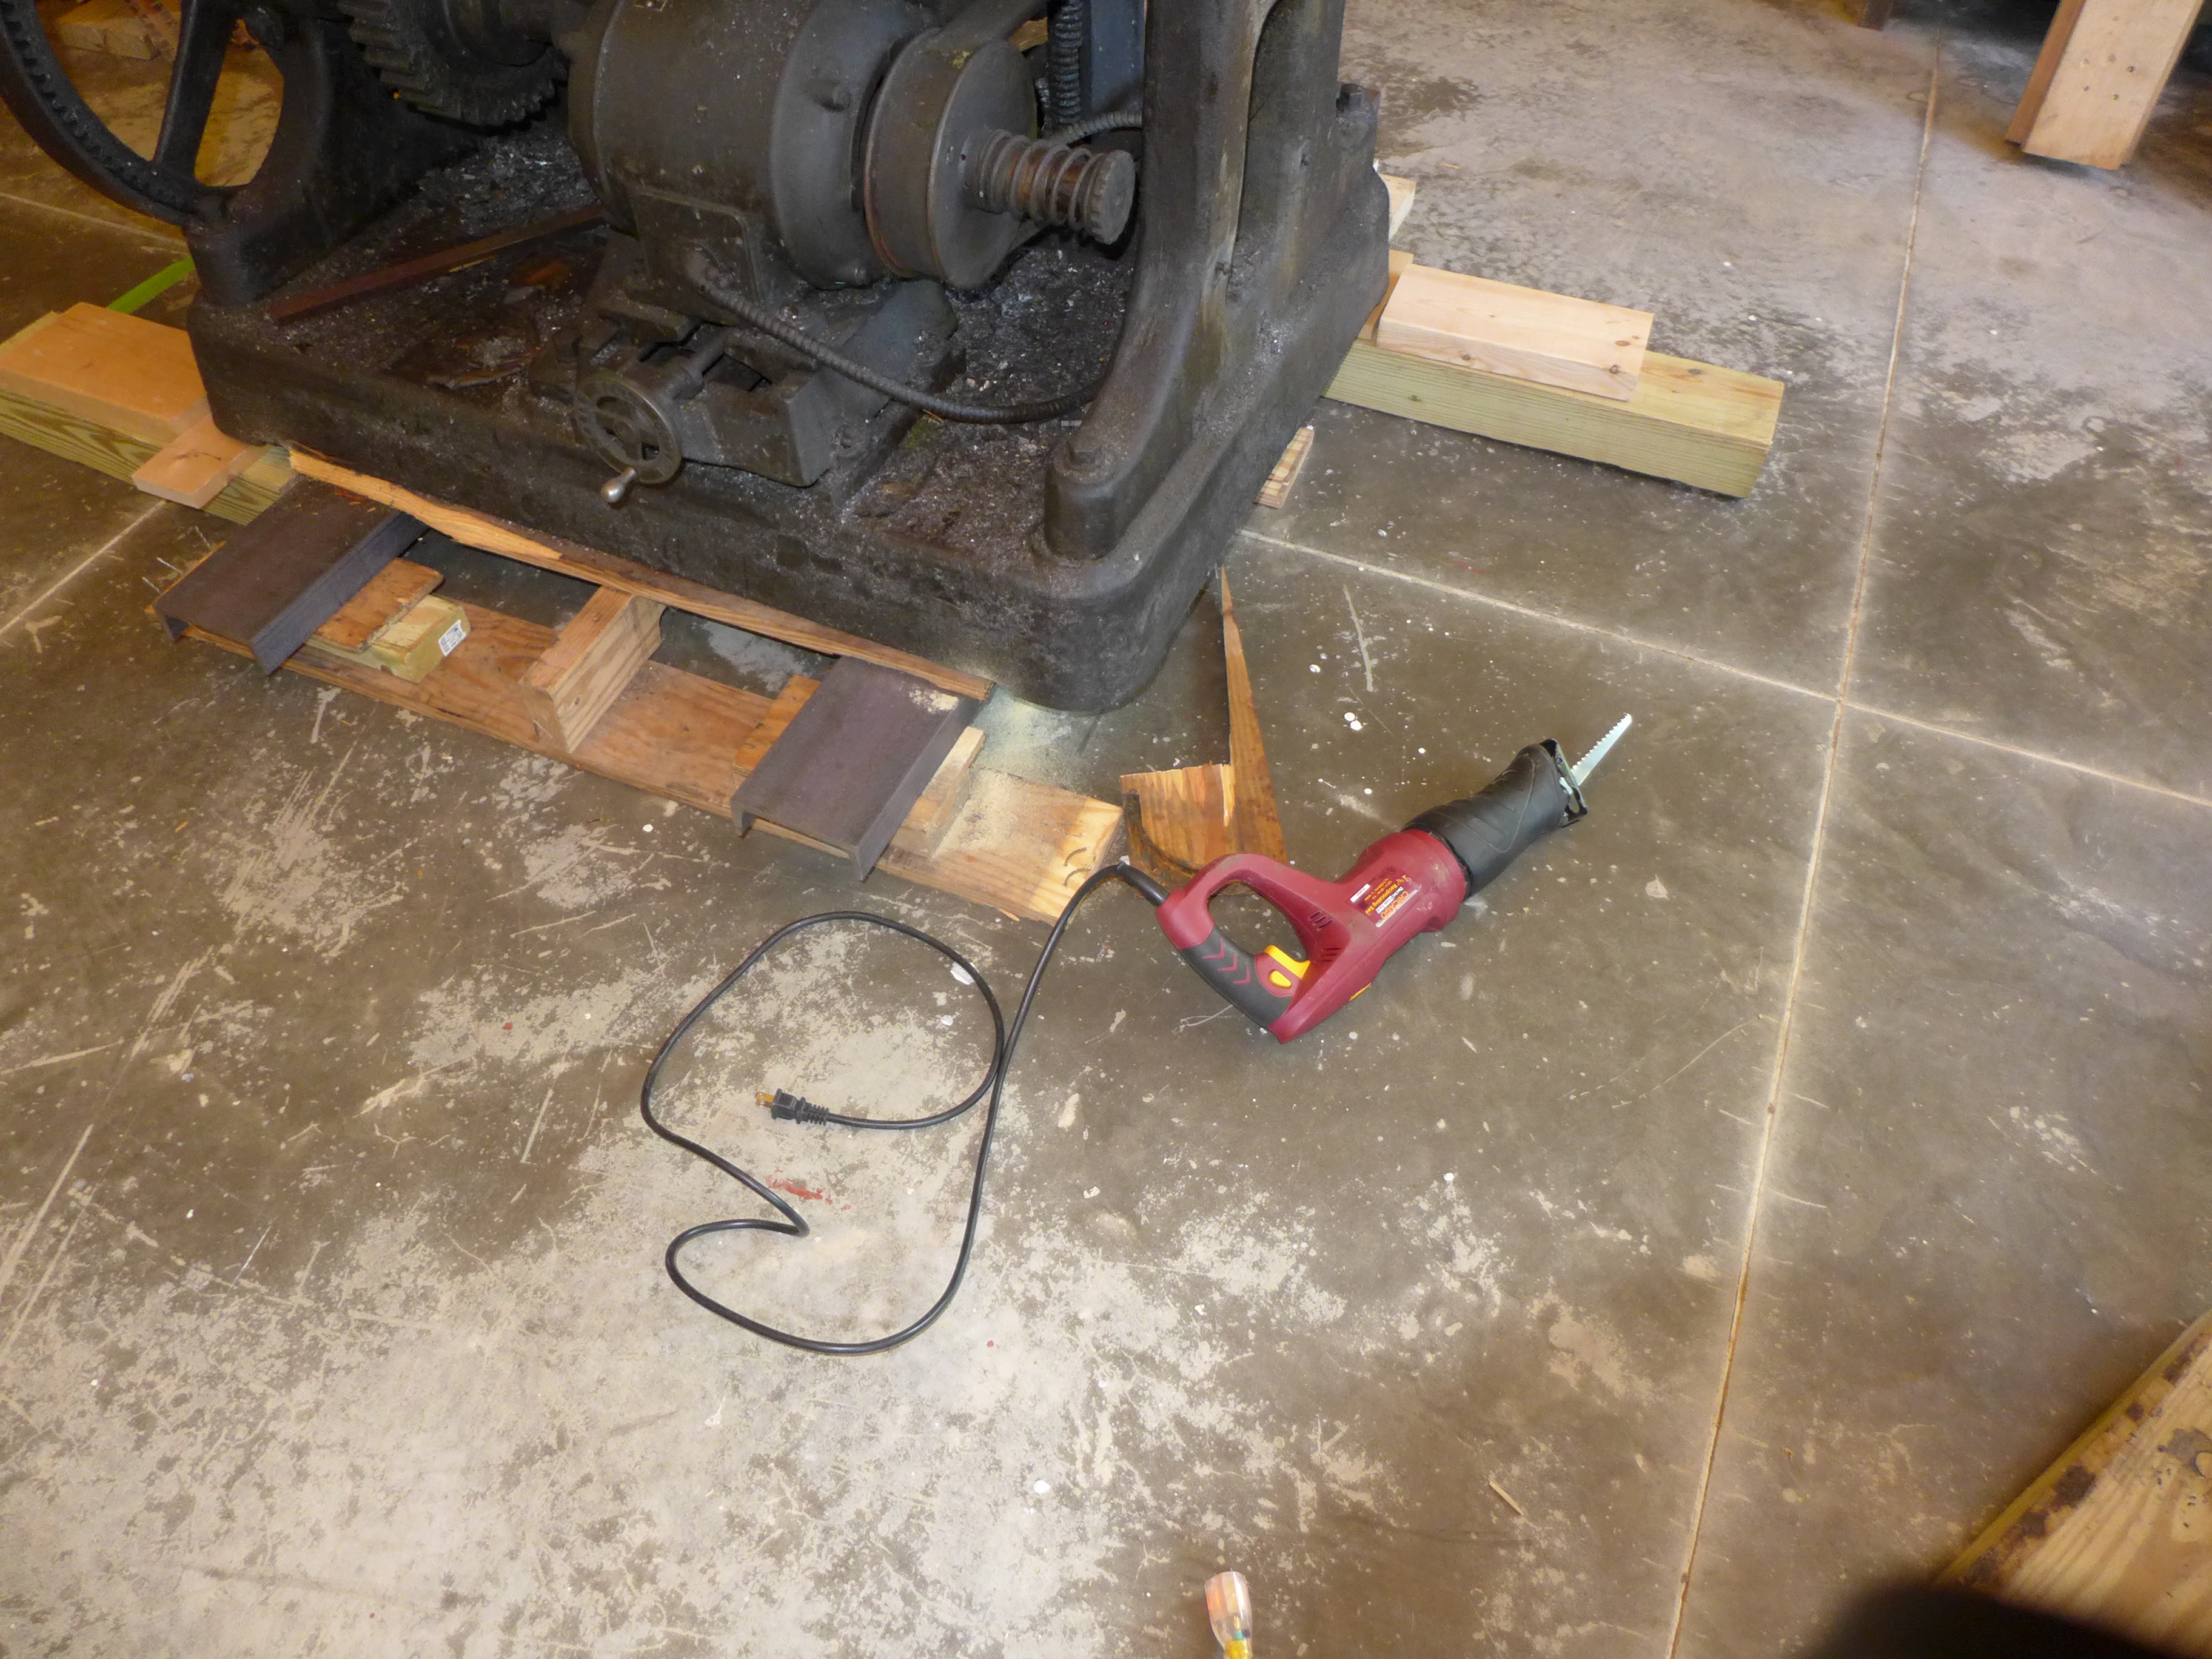
Note 4. It's really rather depressing to realize how many cheap knockoff tools I have when I really should have the real thing. The real thing, in this case, would be a Milwaukee Sawzall. I should get one (I've just upgraded my cordless drill to a Milwaukee product, and now will use no other). Instead, I've got the clone. Of the various tools shown, this was the least useful; I could have made do with the Oscillating Multi-Tool.
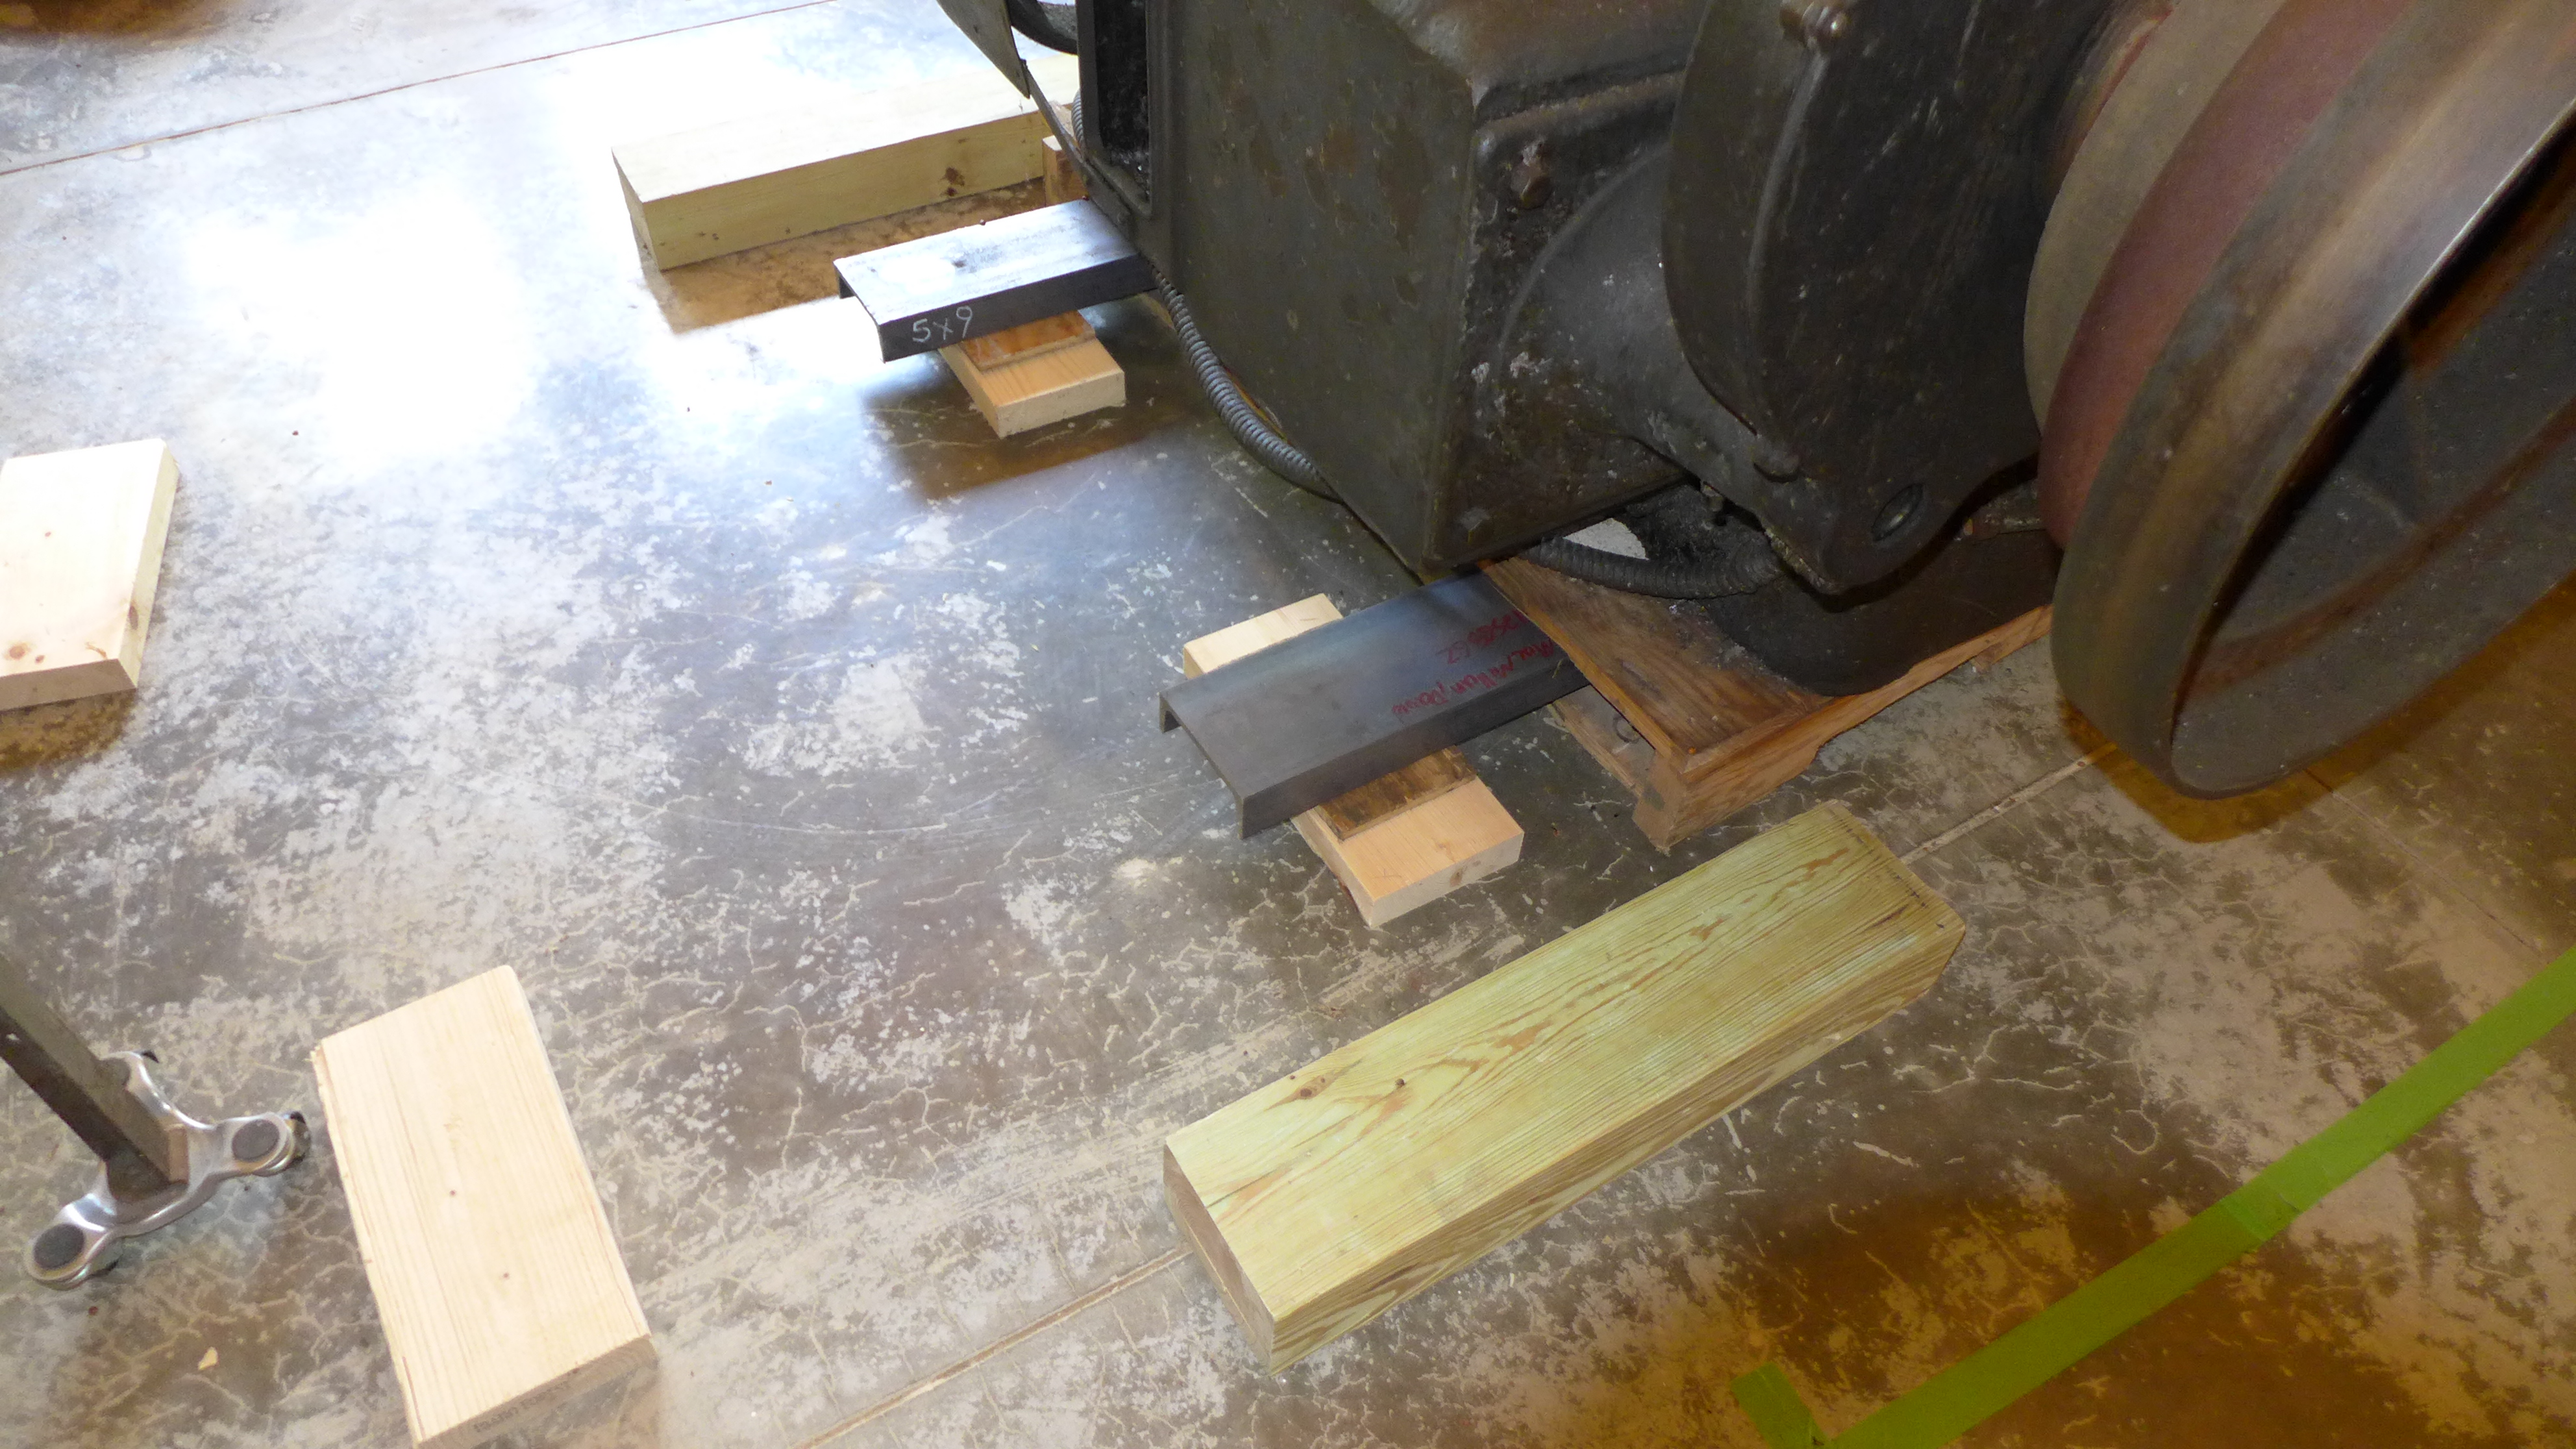
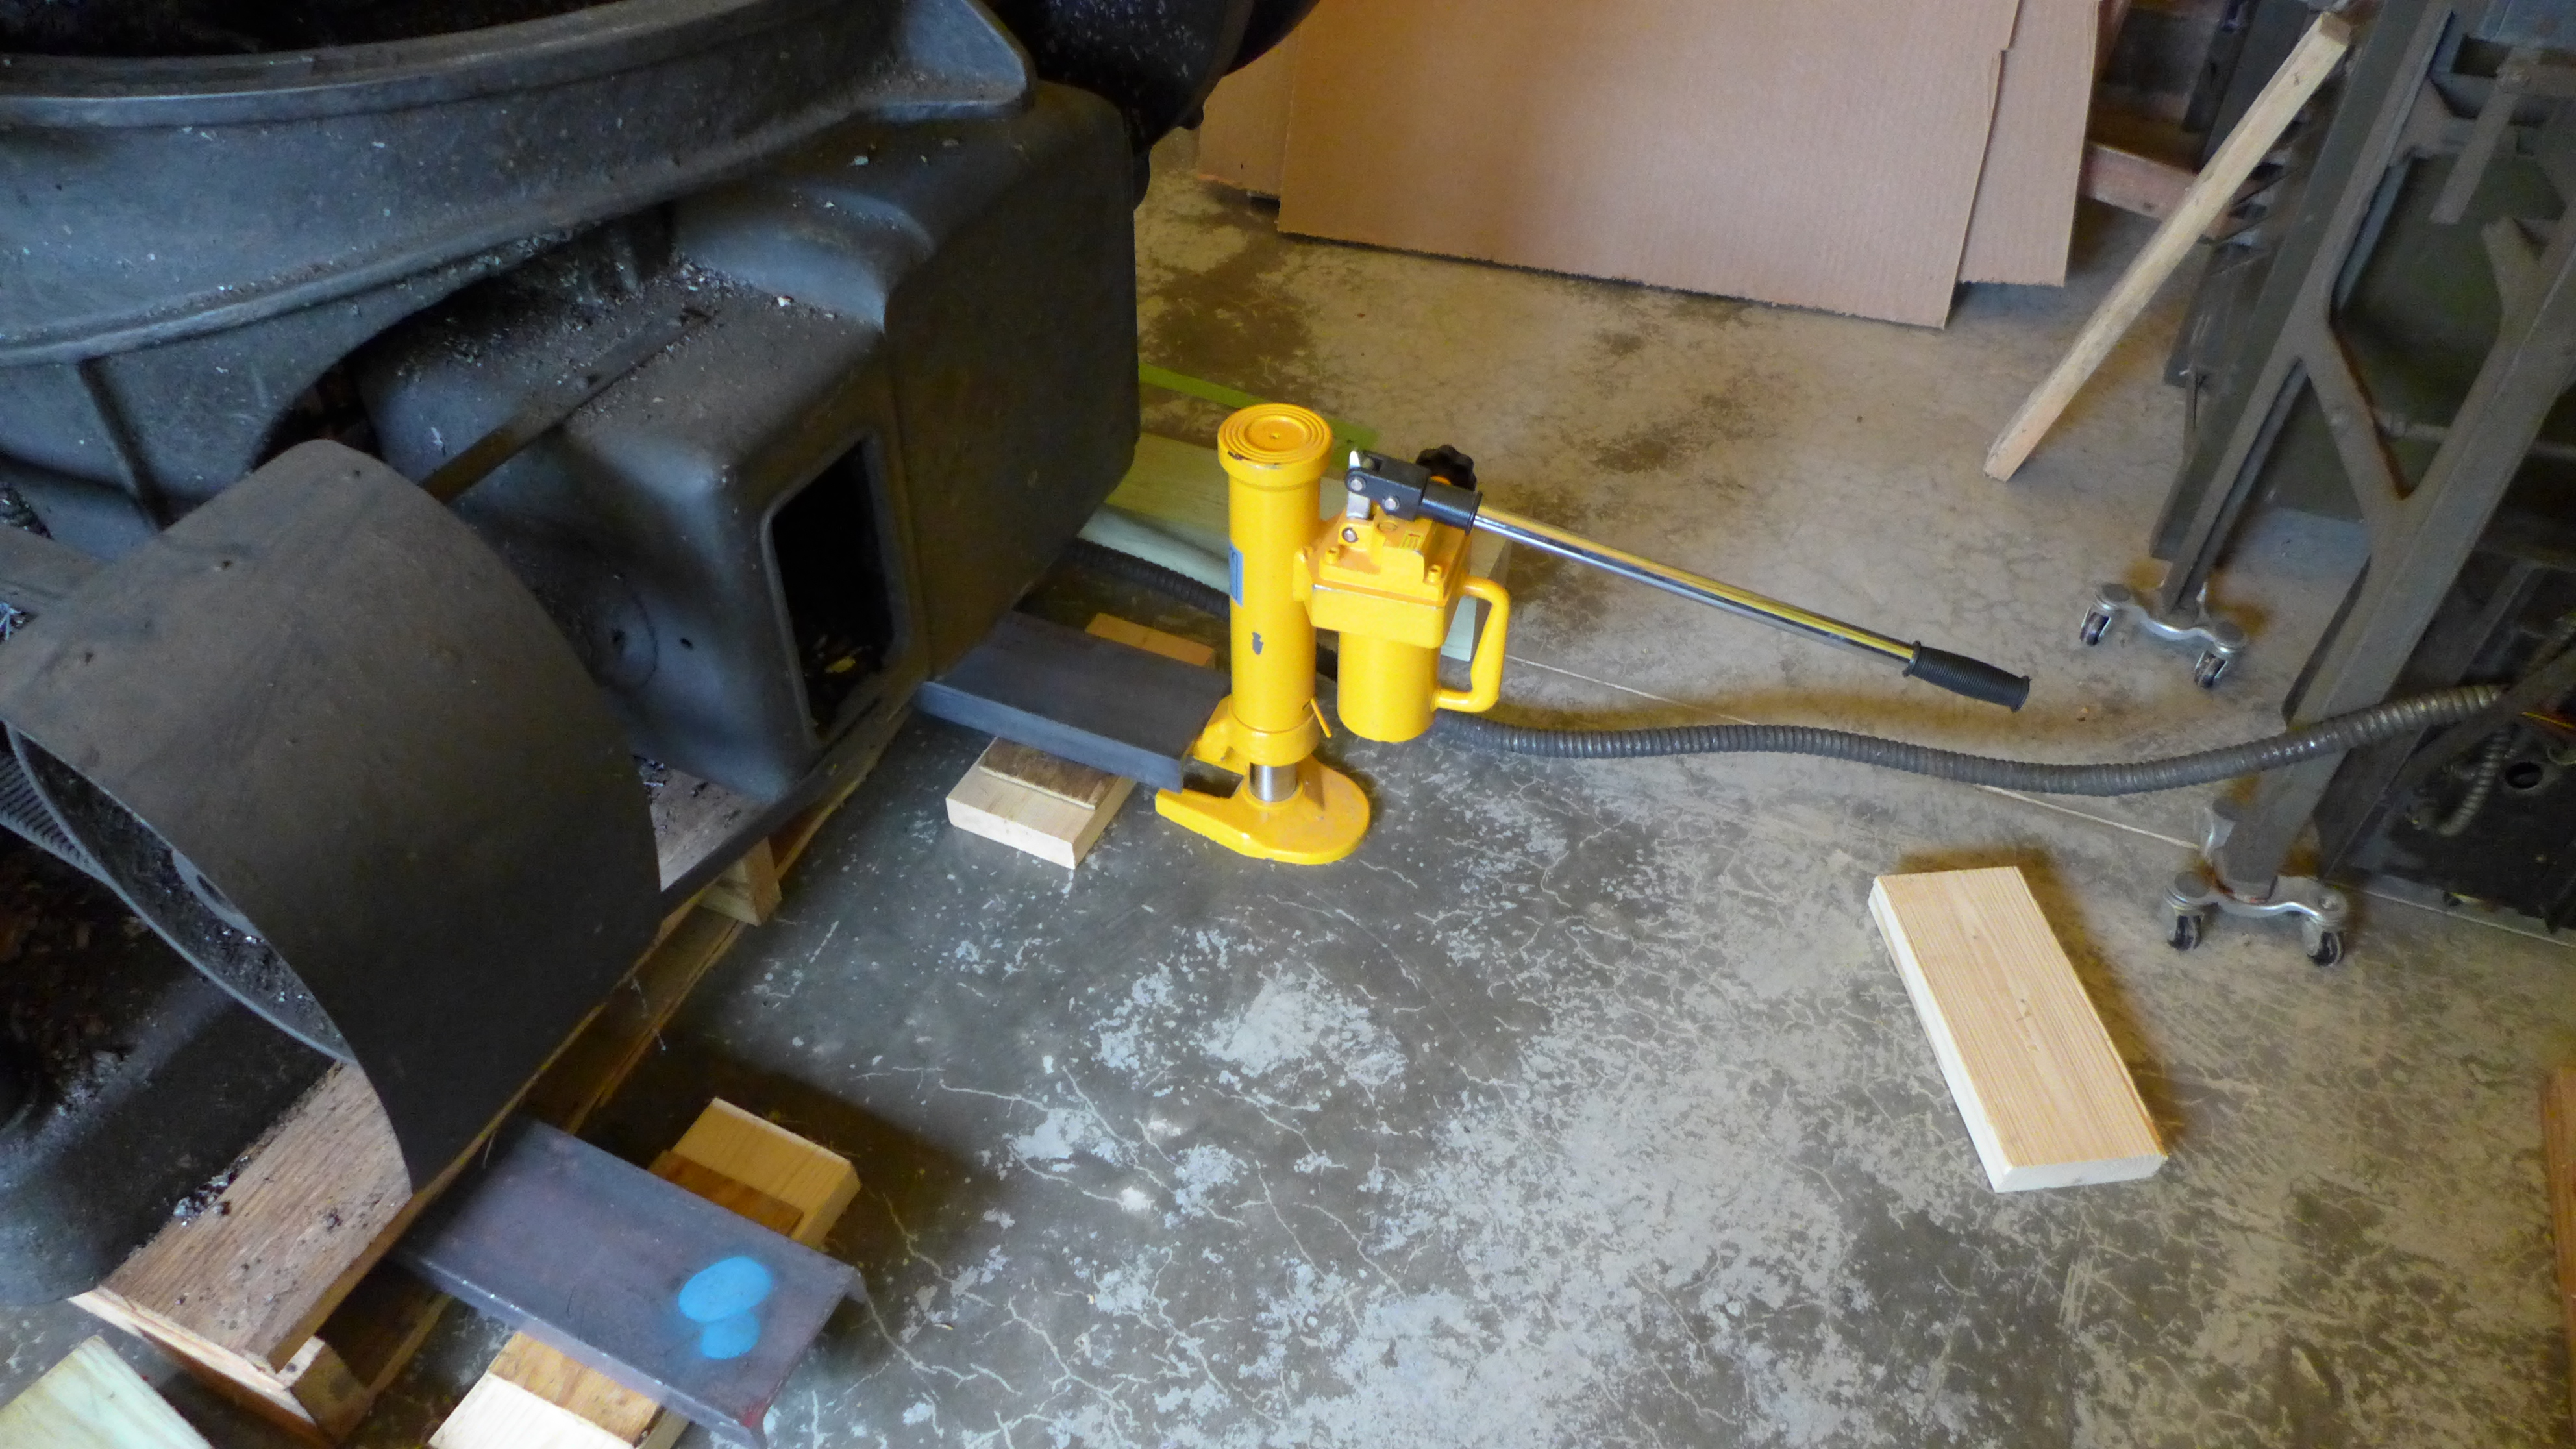
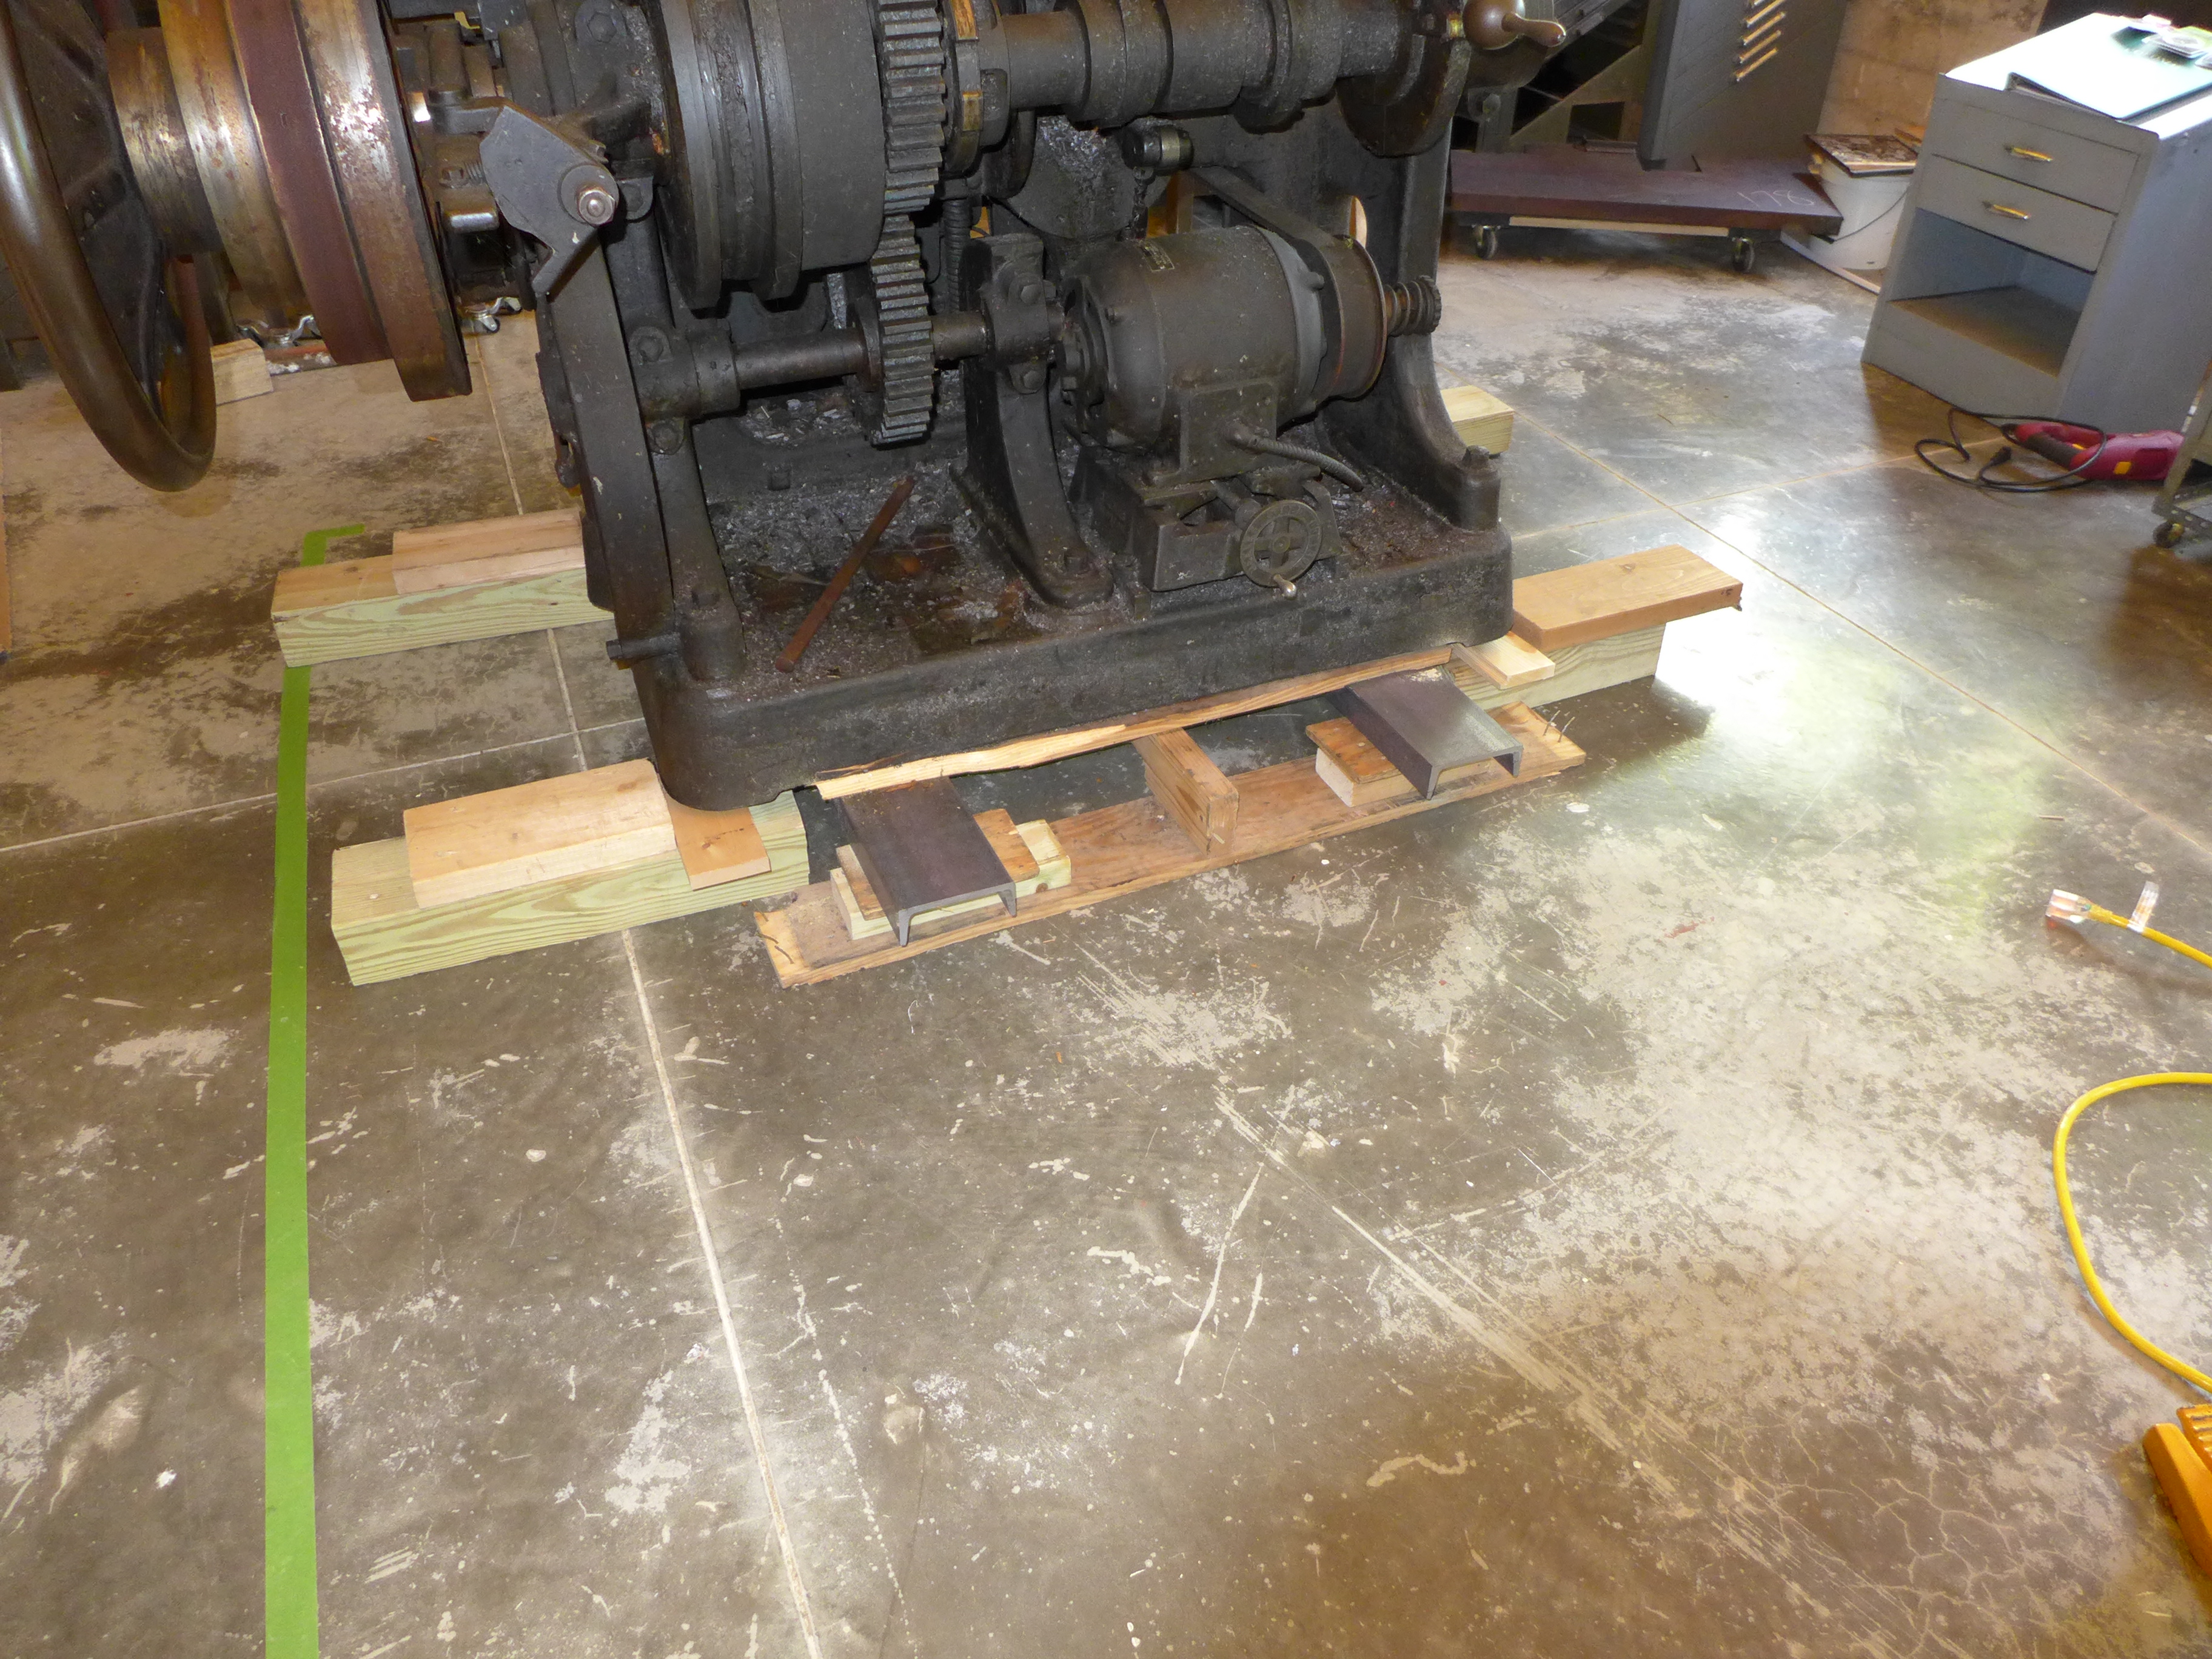
After assembling the tools and tidying up the area a bit (not that this will be apparent in the photos) the first step is to slip the two steel beams through the pallet and loosely block them up on wood shims so that they're close to the bottom of the pallet. You'll note that this means that the top of the pallet is captive between the beams and the Barth. This will make removing the pallet slightly harder, but is actually a good thing. You don't want to use steel beams directly under a machine, in contact with it. Steel on steel (or cast iron) slips. (The catchphrase to remember this in rigging is "Steel on steel? No deal.") Putting wood in the middle reduces the chance that the Barth will slip. The angles we'll be inclining the beams/machine at are so small it probably isn't a problem, but I prefer to be overly cautious.
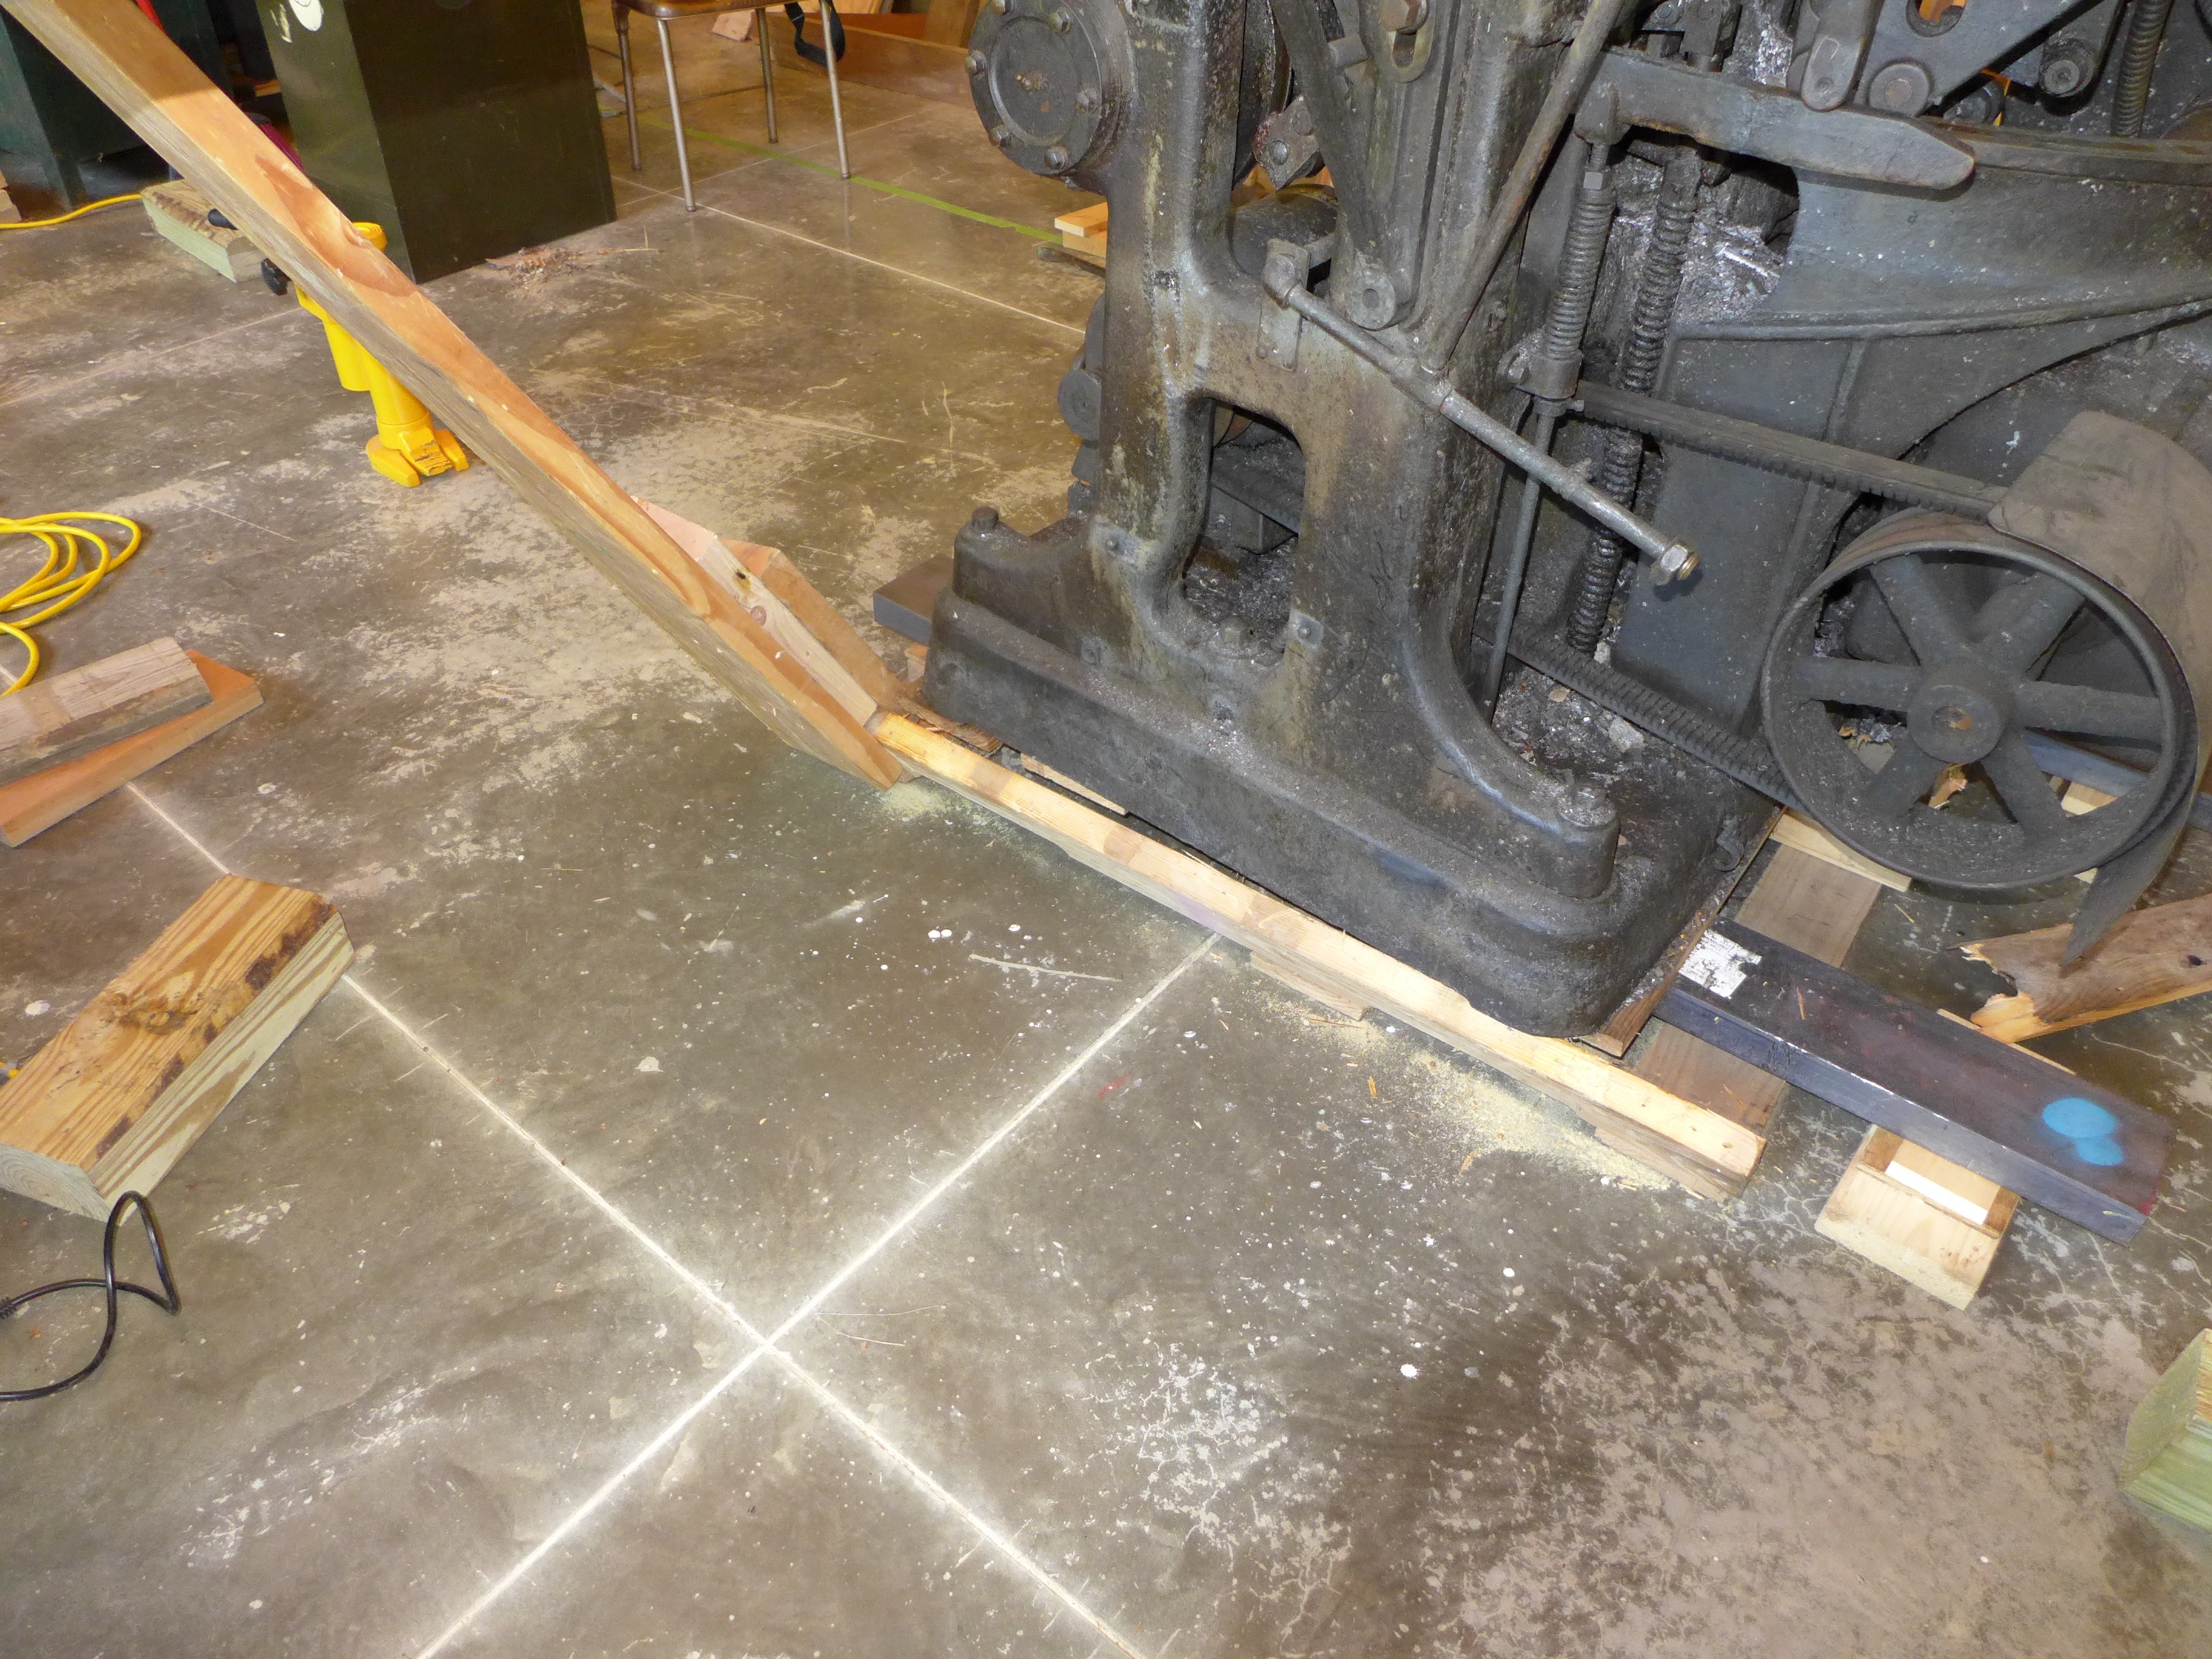
You'll also note that in this particular setup one end of the steel beam rests on the already partly broken pallet bottom. This is slight problem, and made things harder. Having an extra six inches of steel beam would have saved a lot of trouble. The beams themselves would have been long enough had this been 1888, before the electrification of the Barth (but then, the pallet hadn't been invented in 1888). The problem is that the original motor casing, which was retained as a part of the reduction gearing, wouldn't permit me to get the toe jack in close to the pallet in the back.
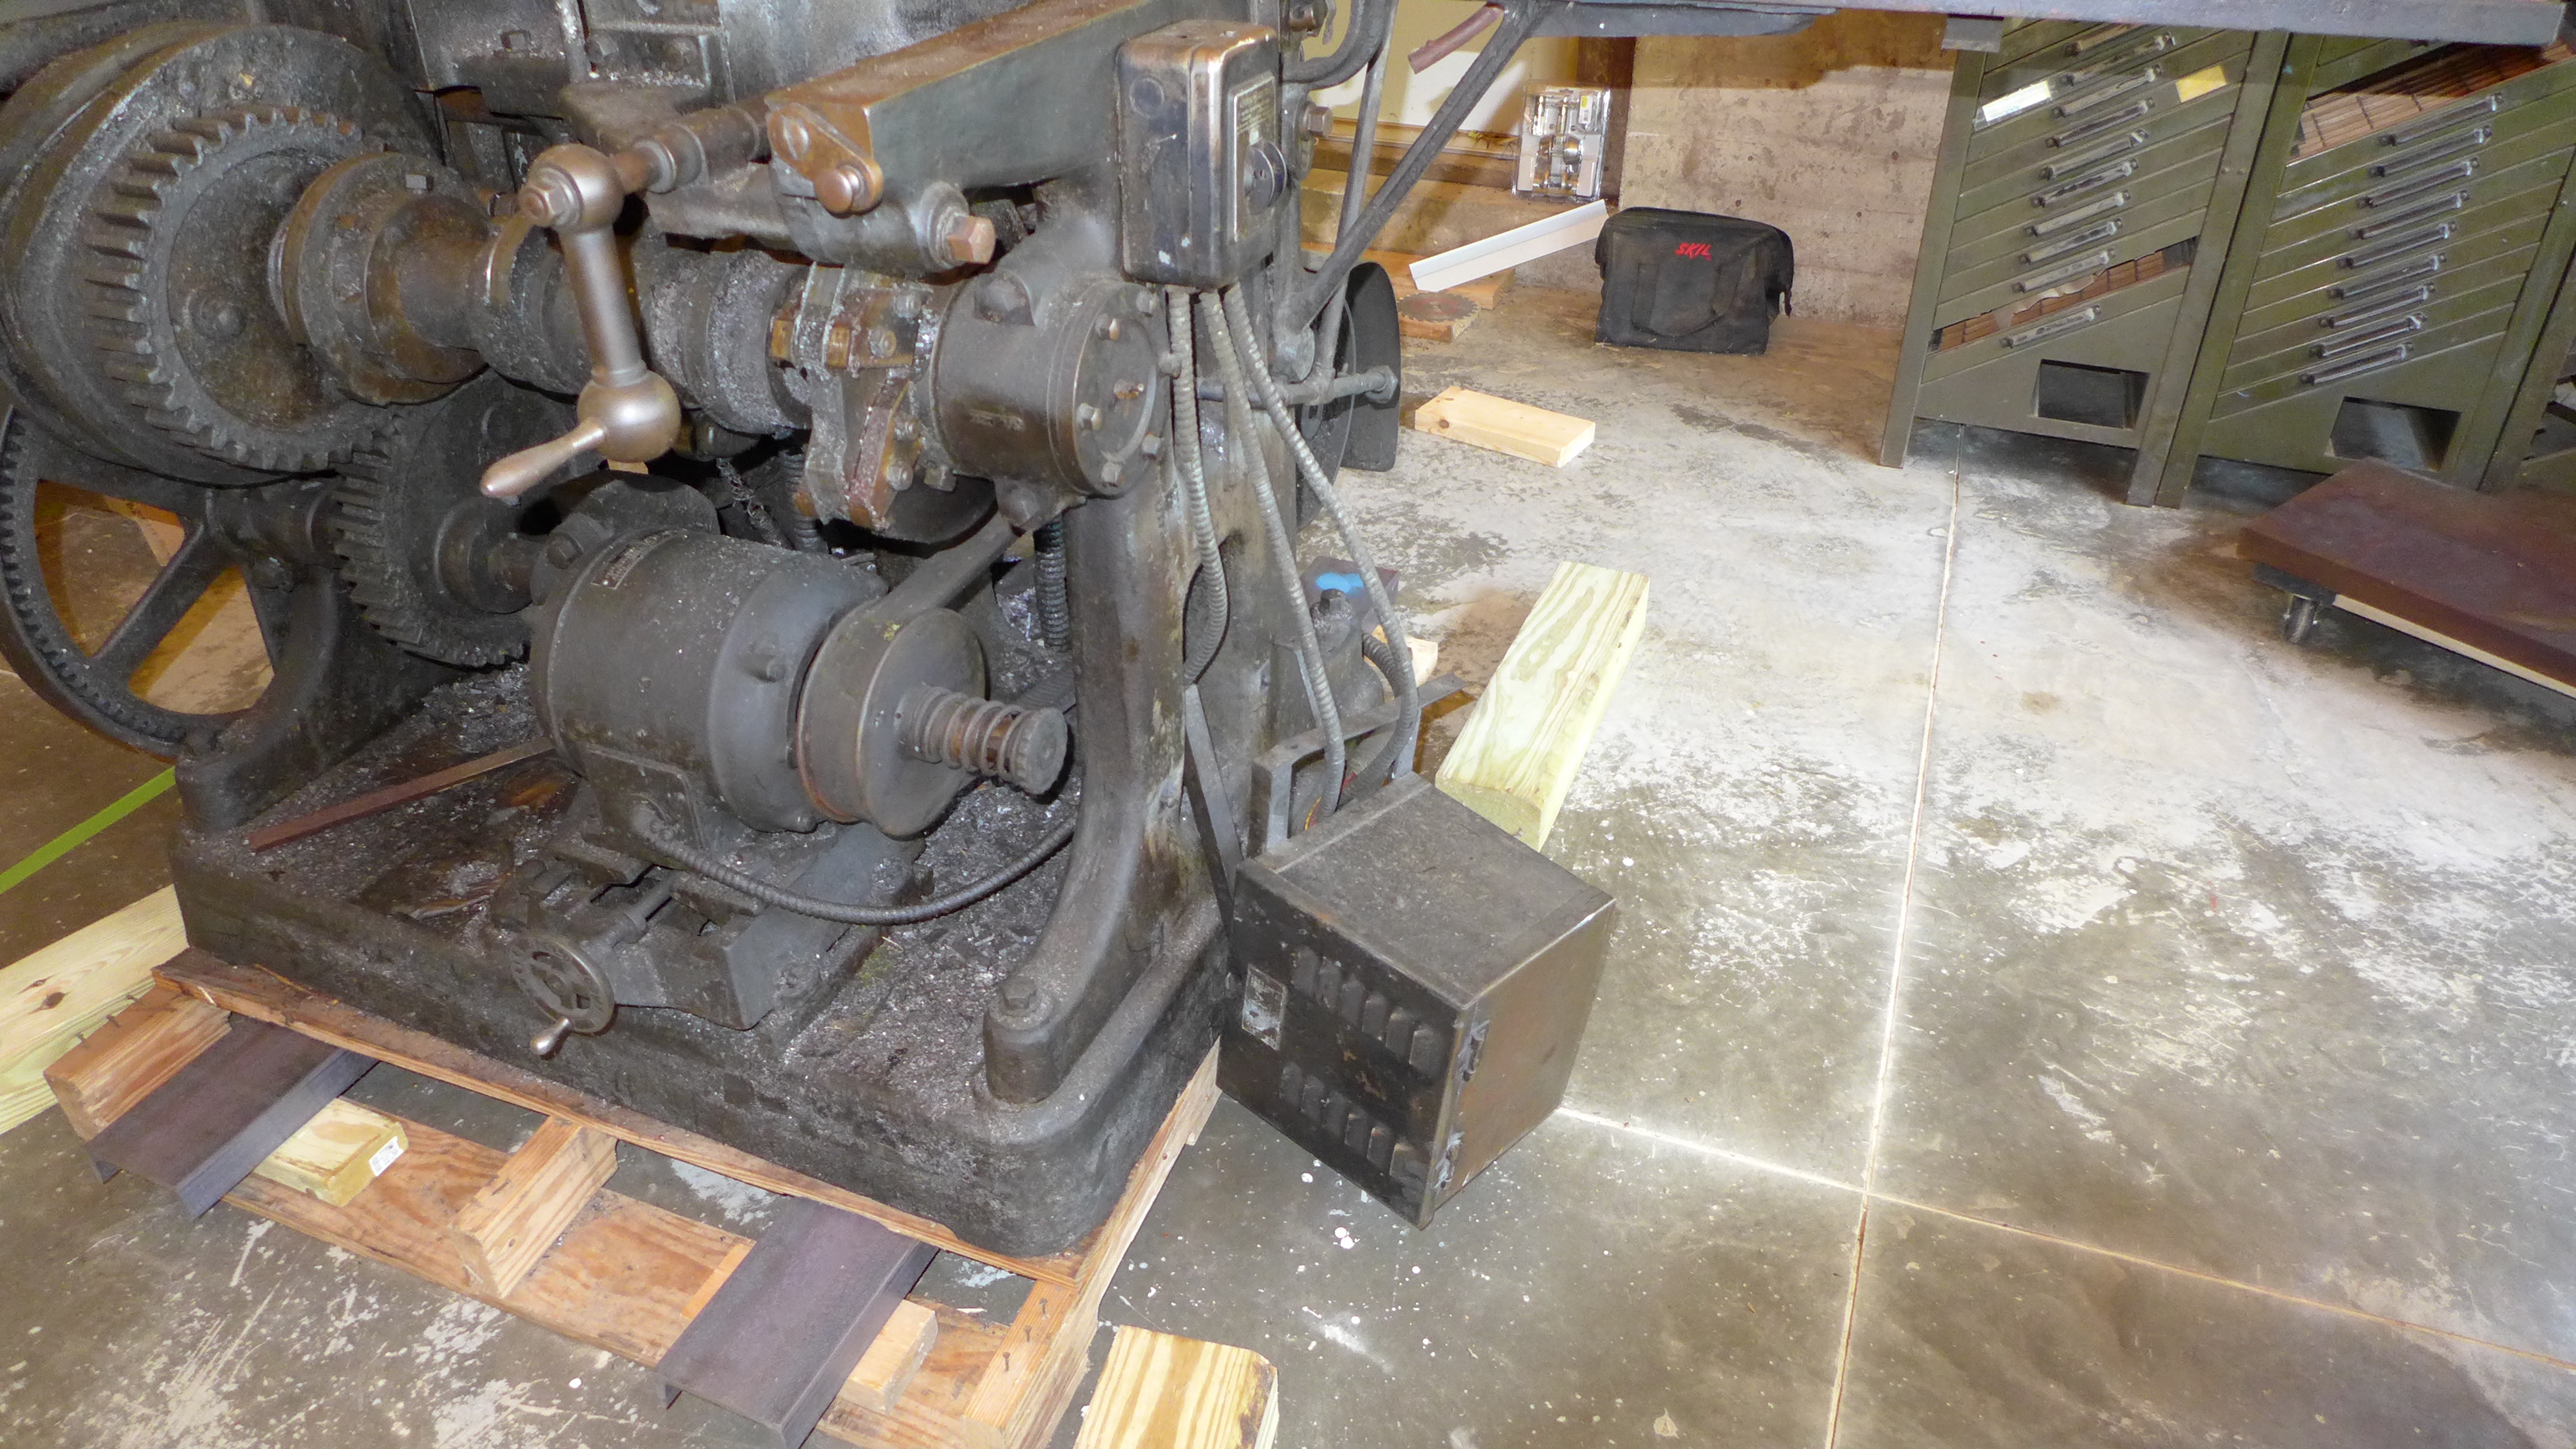
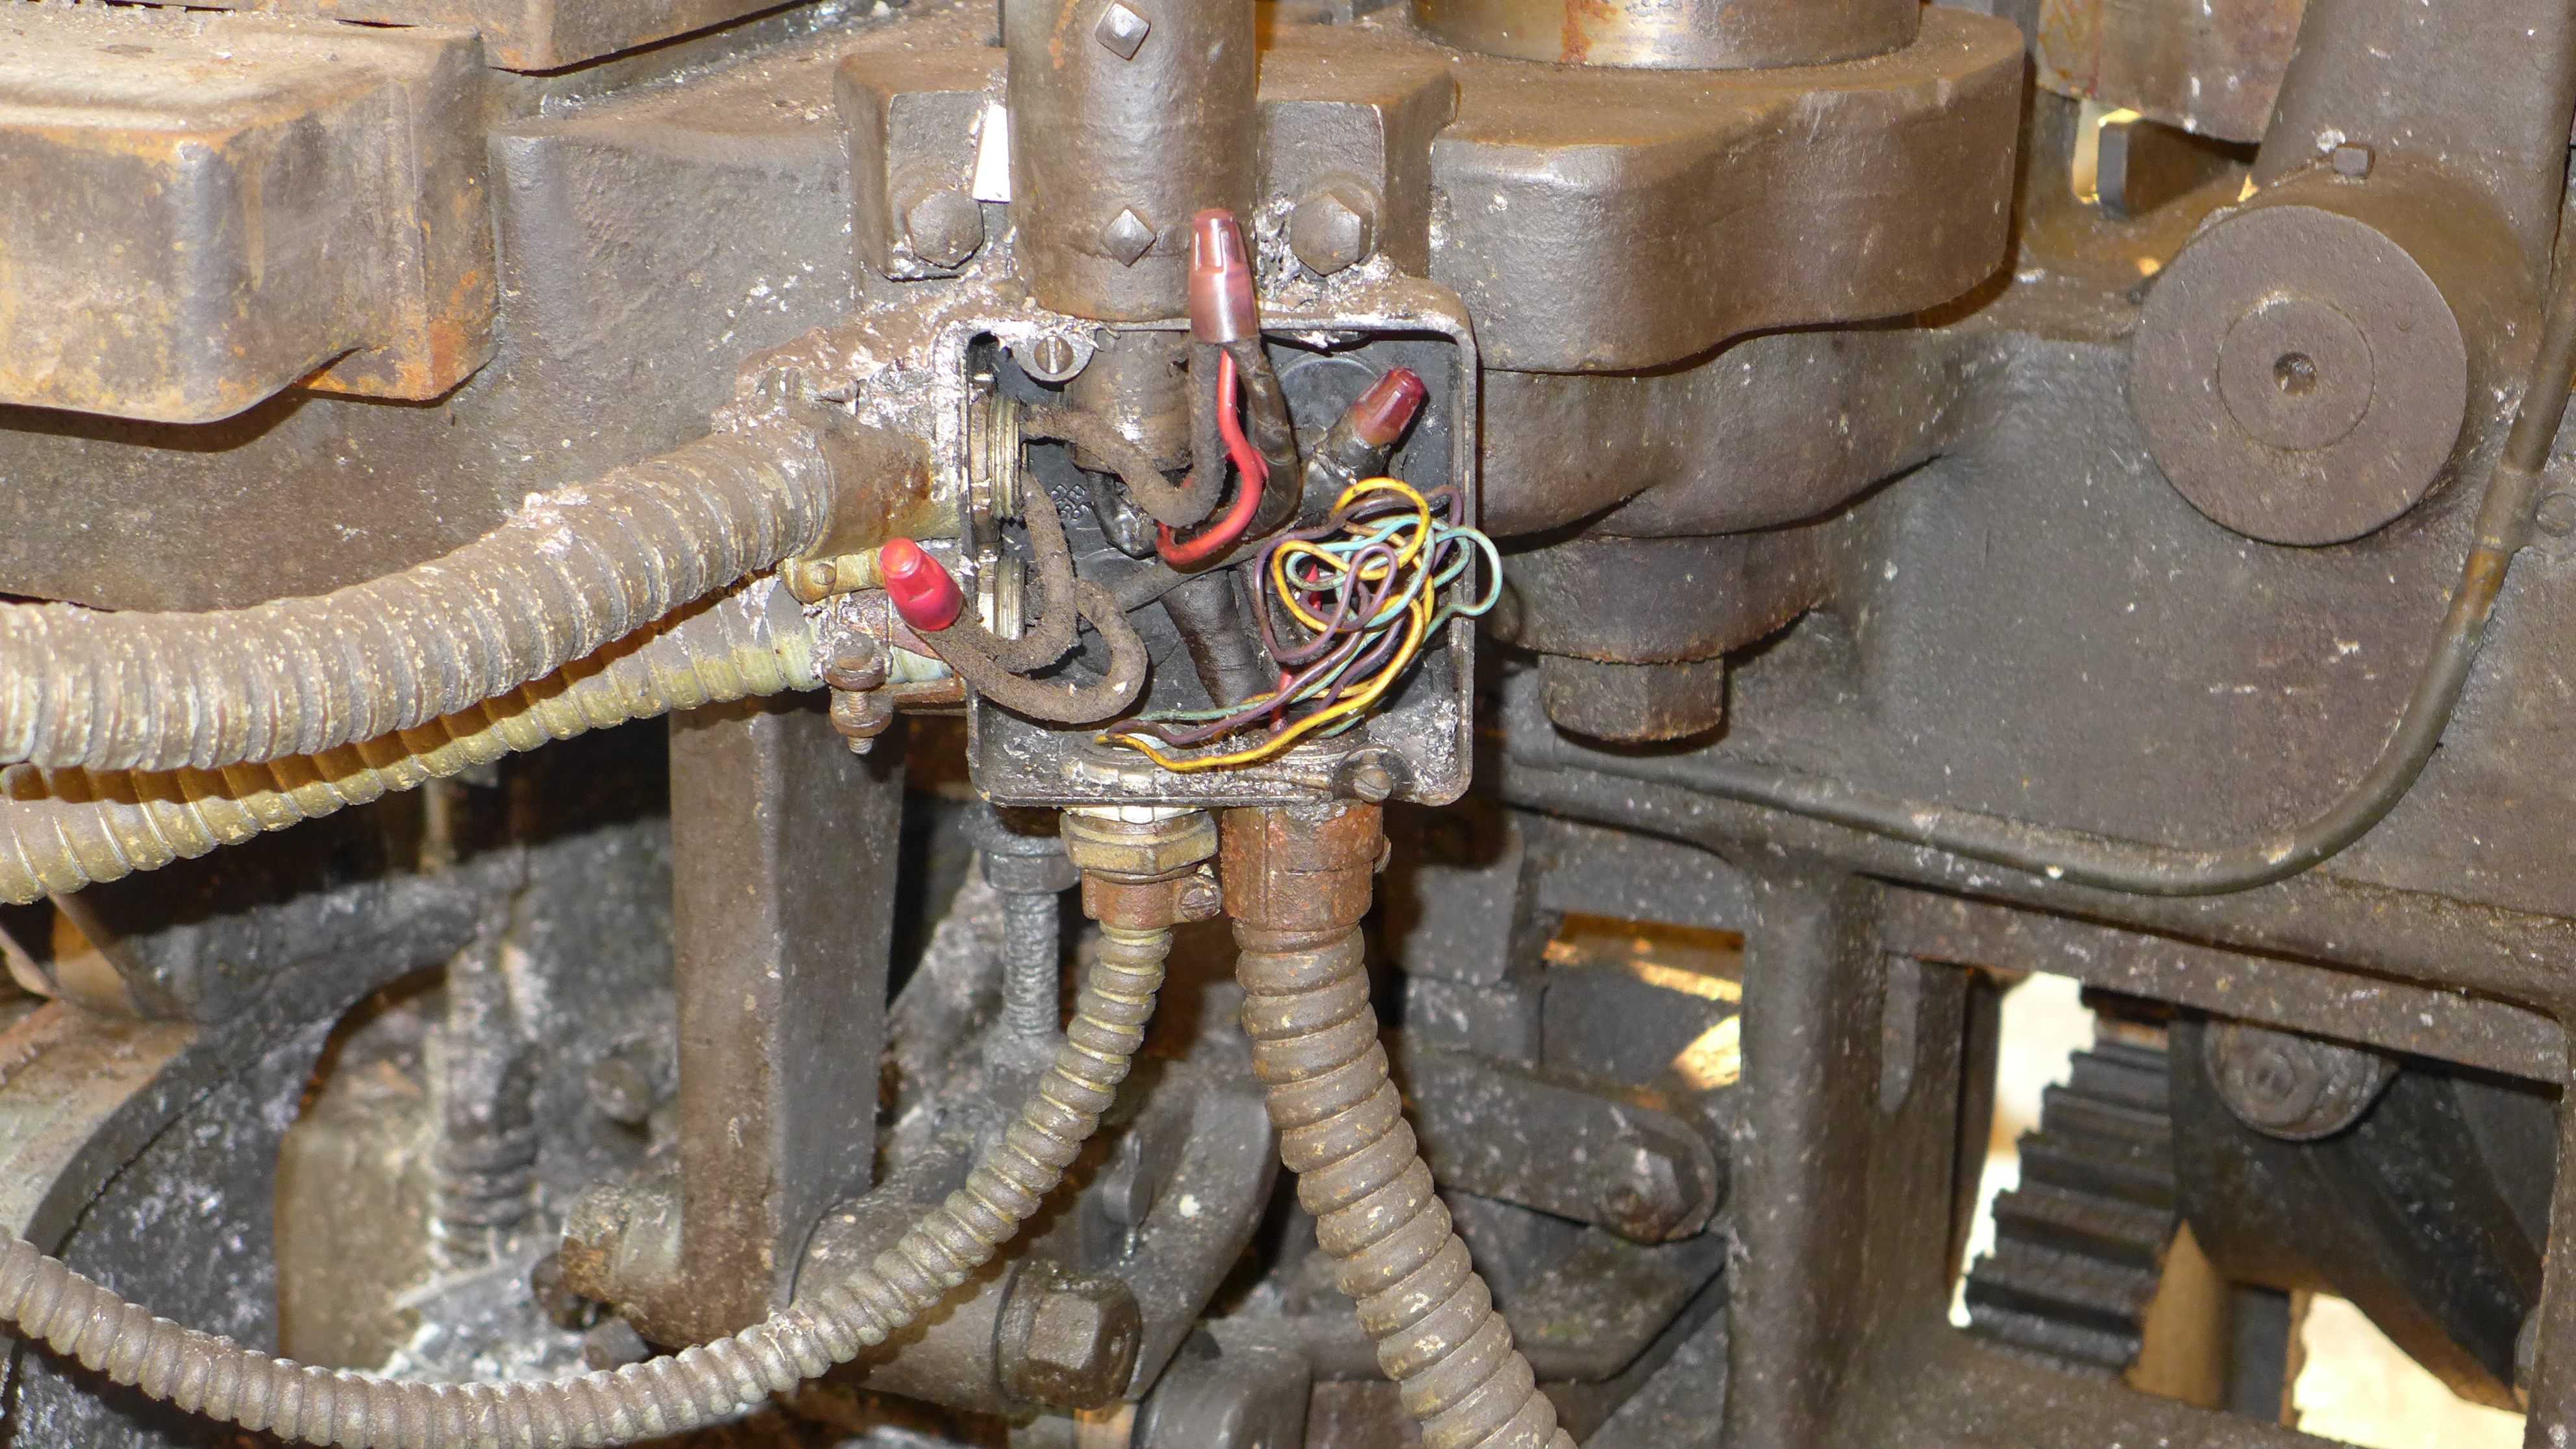
Part-way through the process, I realized that the main electrical box for the machine (which was just hanging by its cables loosely at the side of the machine) was going to get in the way. I removed the wiring to the main motor switch (attached to the right Standard of the machine), of course writing down the existing wiring configuration, marking the wires, and photographing the process. But then I discovered that some of the thin control wiring from the box to the pot was not in fact terminated at the junction box at the back of the machine, but ran straight through it. So the entire unit could not be removed without cutting wires (which I was not prepared to do). Still, I was able to get it relatively cleanly away from the machine, attached only by one cable in back.
Here it is, still connected to the Barth by flexible conduit but tucked out of the way. (It's under the stand for a Lino-Slug Router which has nothing to do with Barths.)
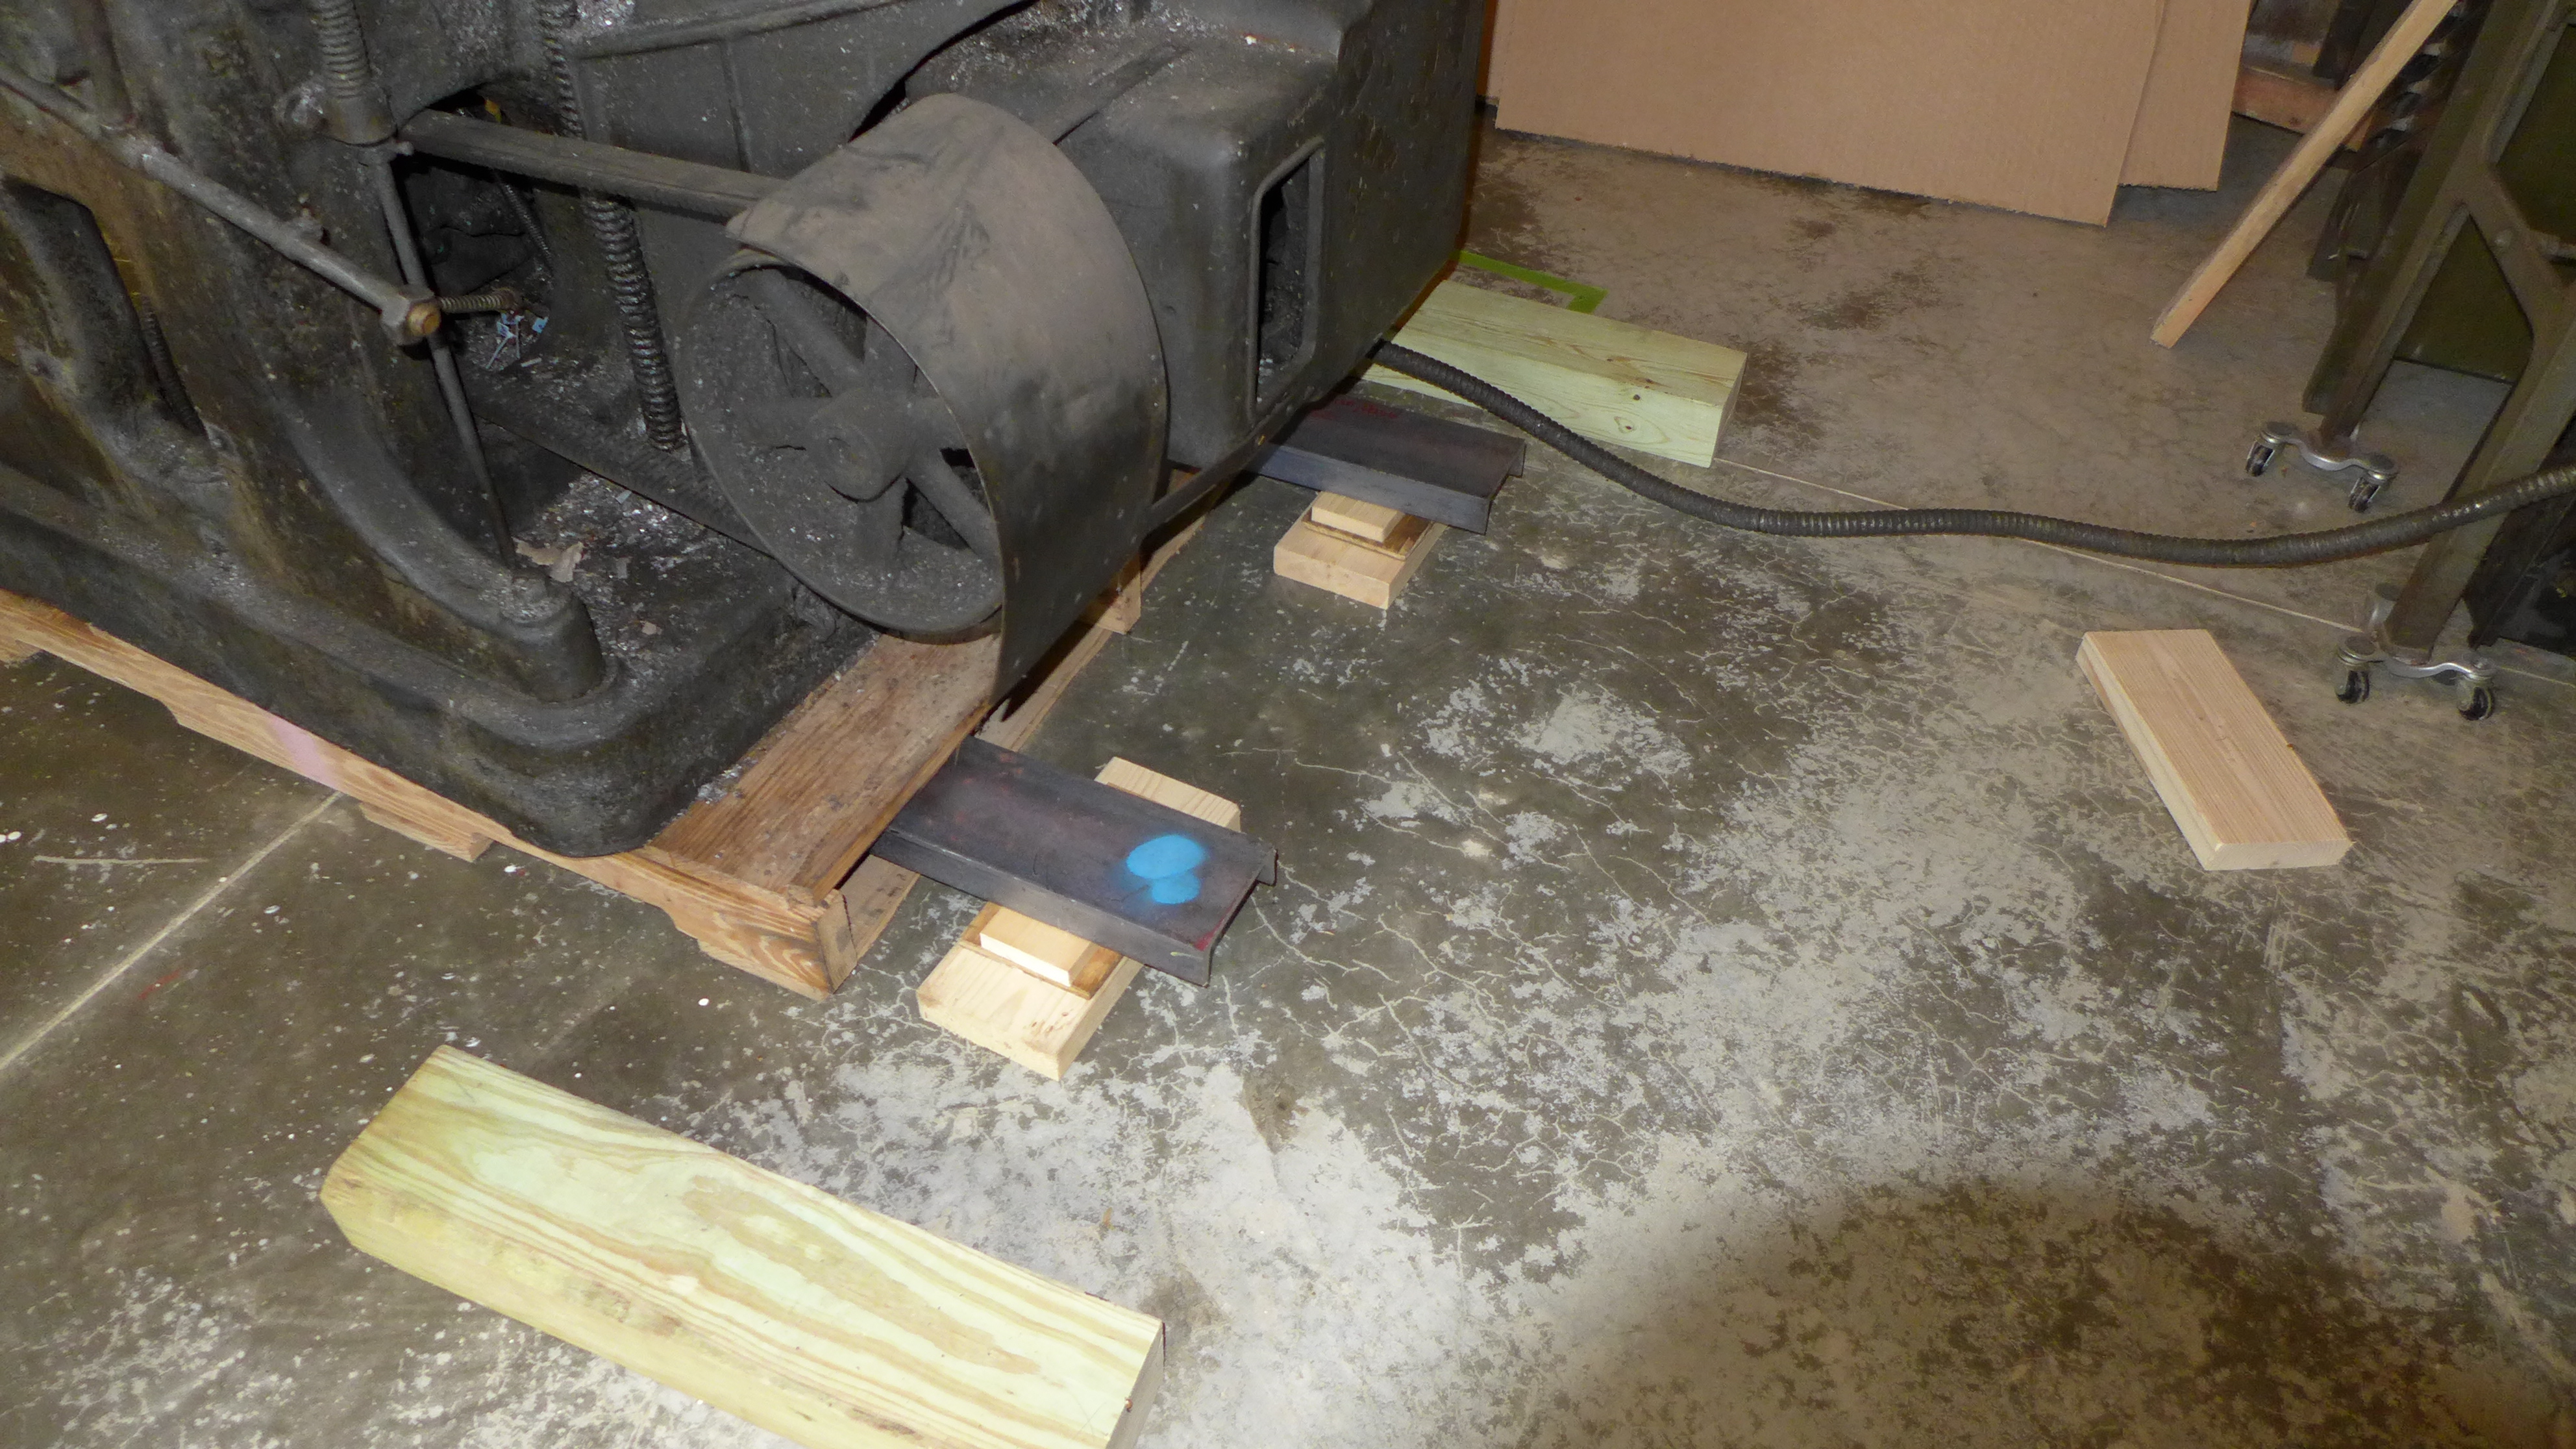
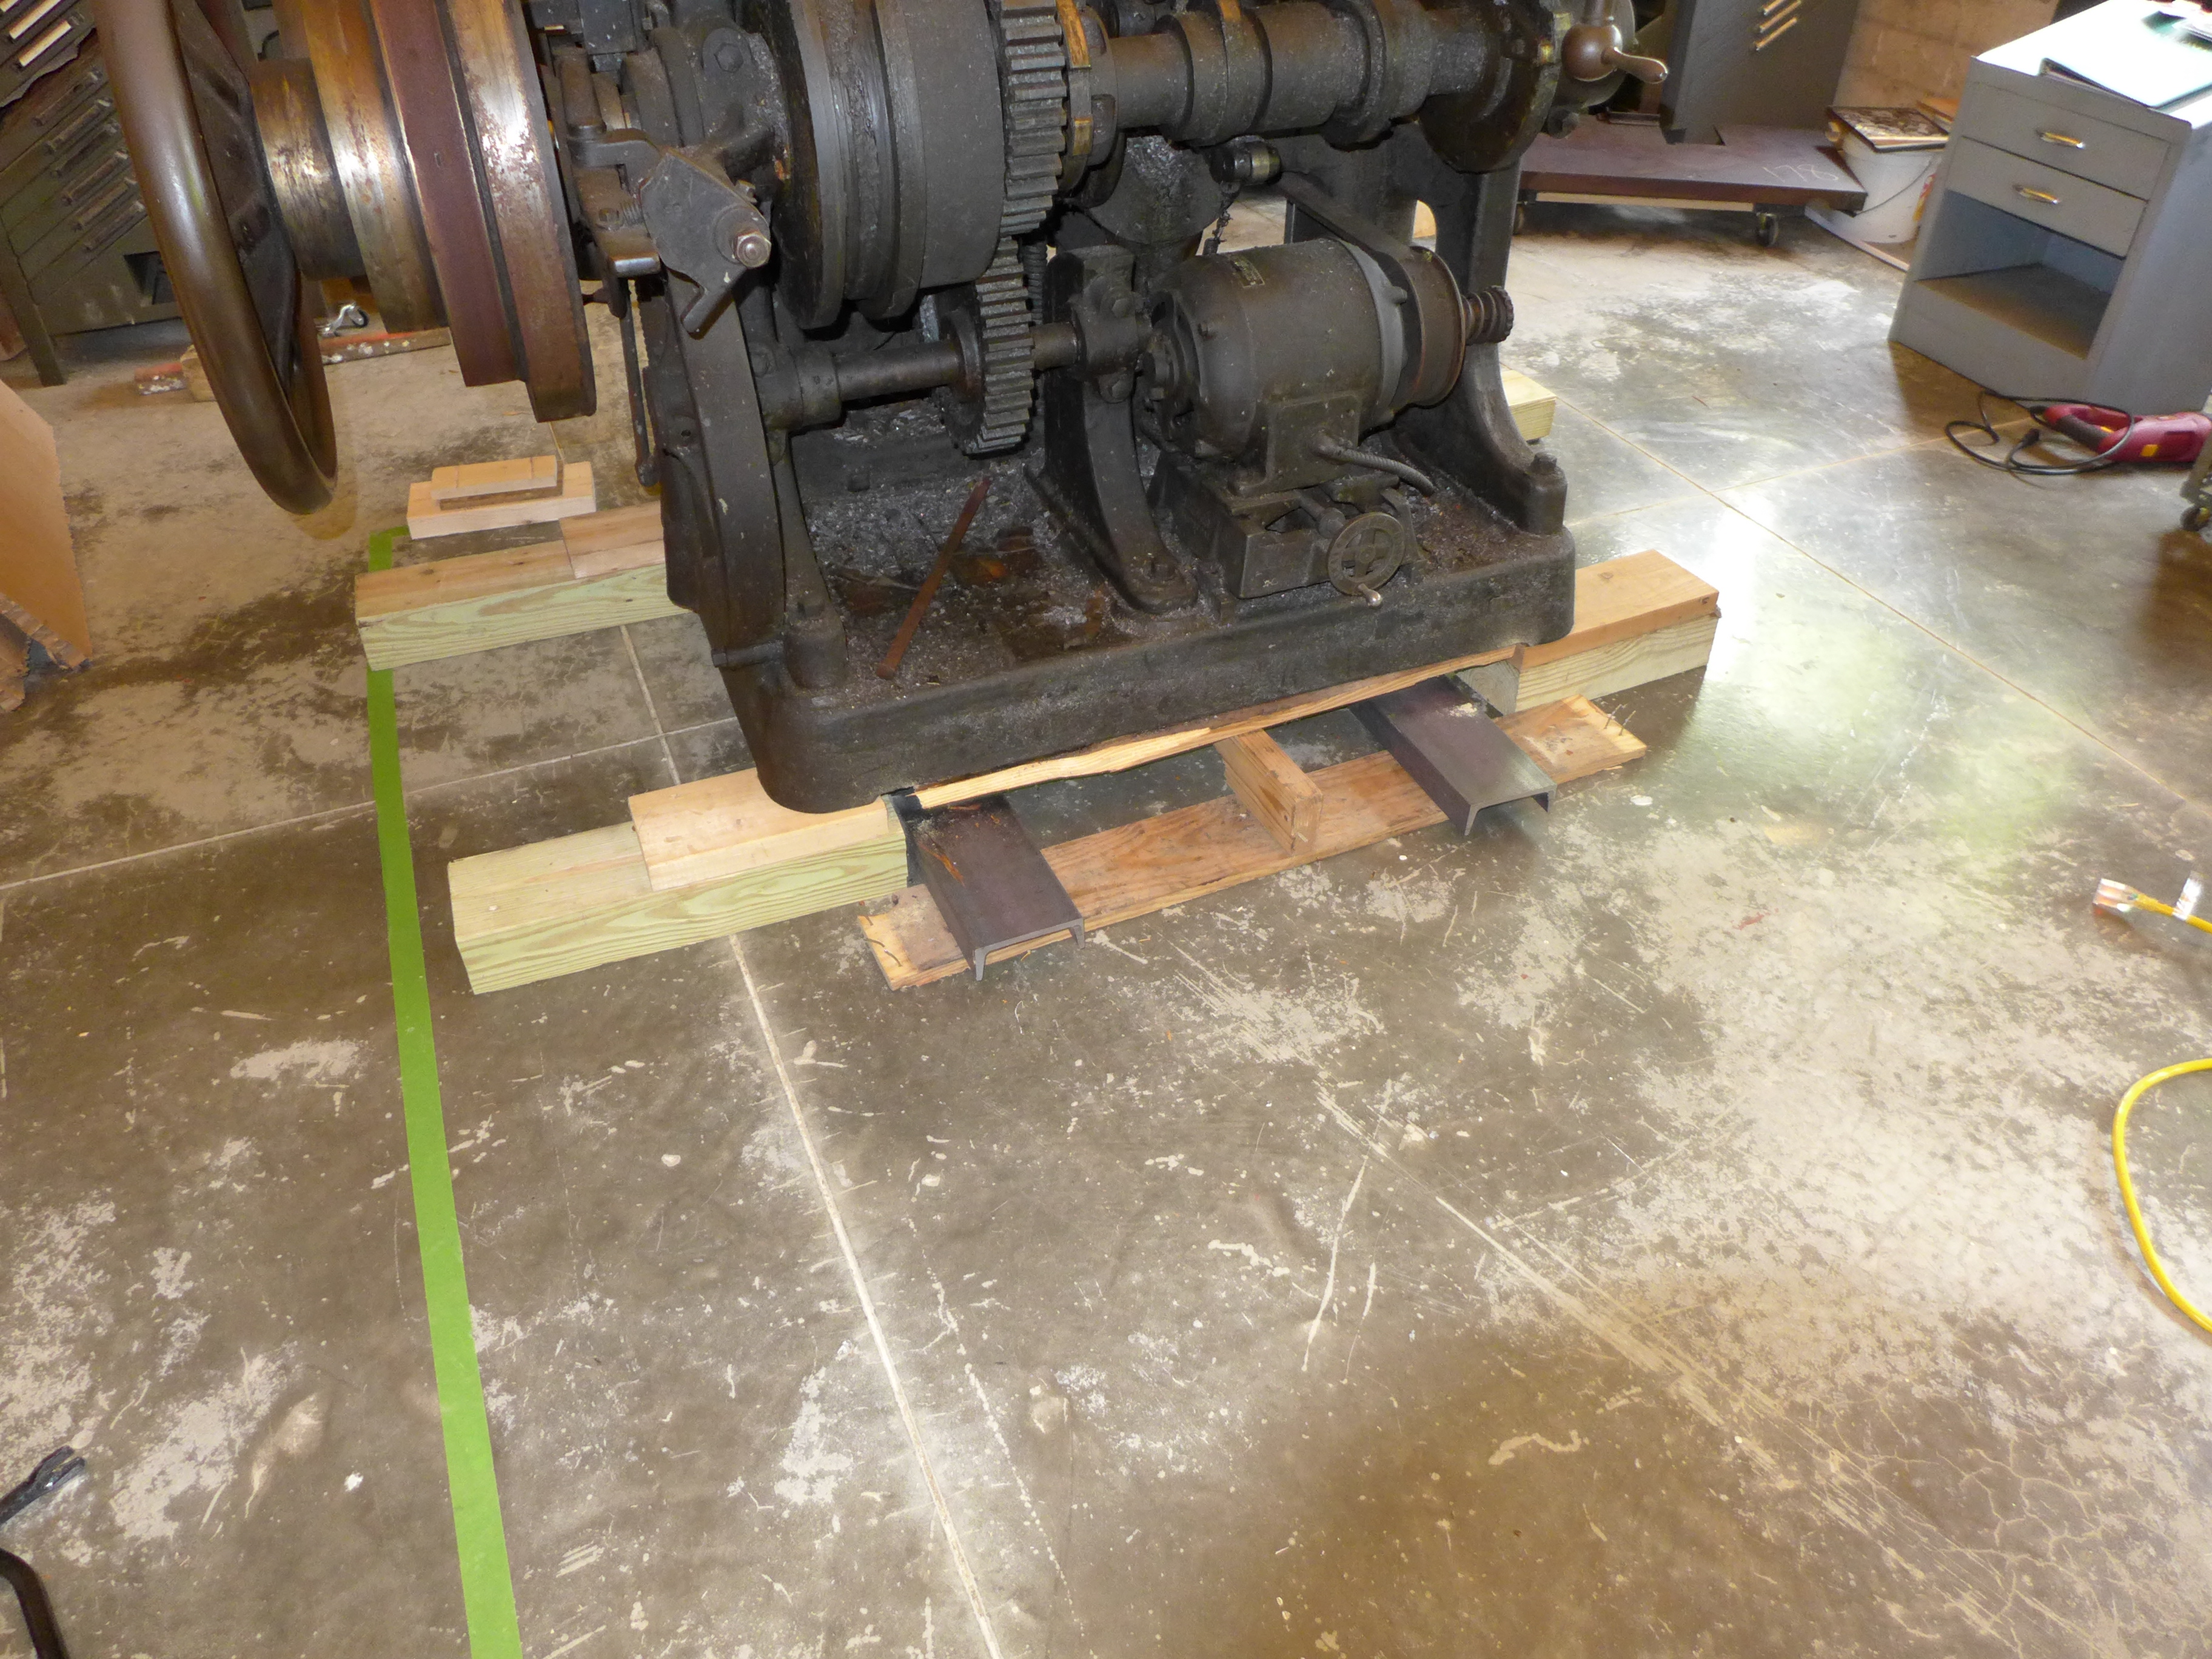
After the steel channels are lifting the machine just a tiny bit off the ground (left), you can whack down the pallet boards to expose a bit of clearance.
The use the Oscillating Multi-Tool to cut through all of the nails on top of the pallet 2x4s. (But I didn't photograph this - sorry.)
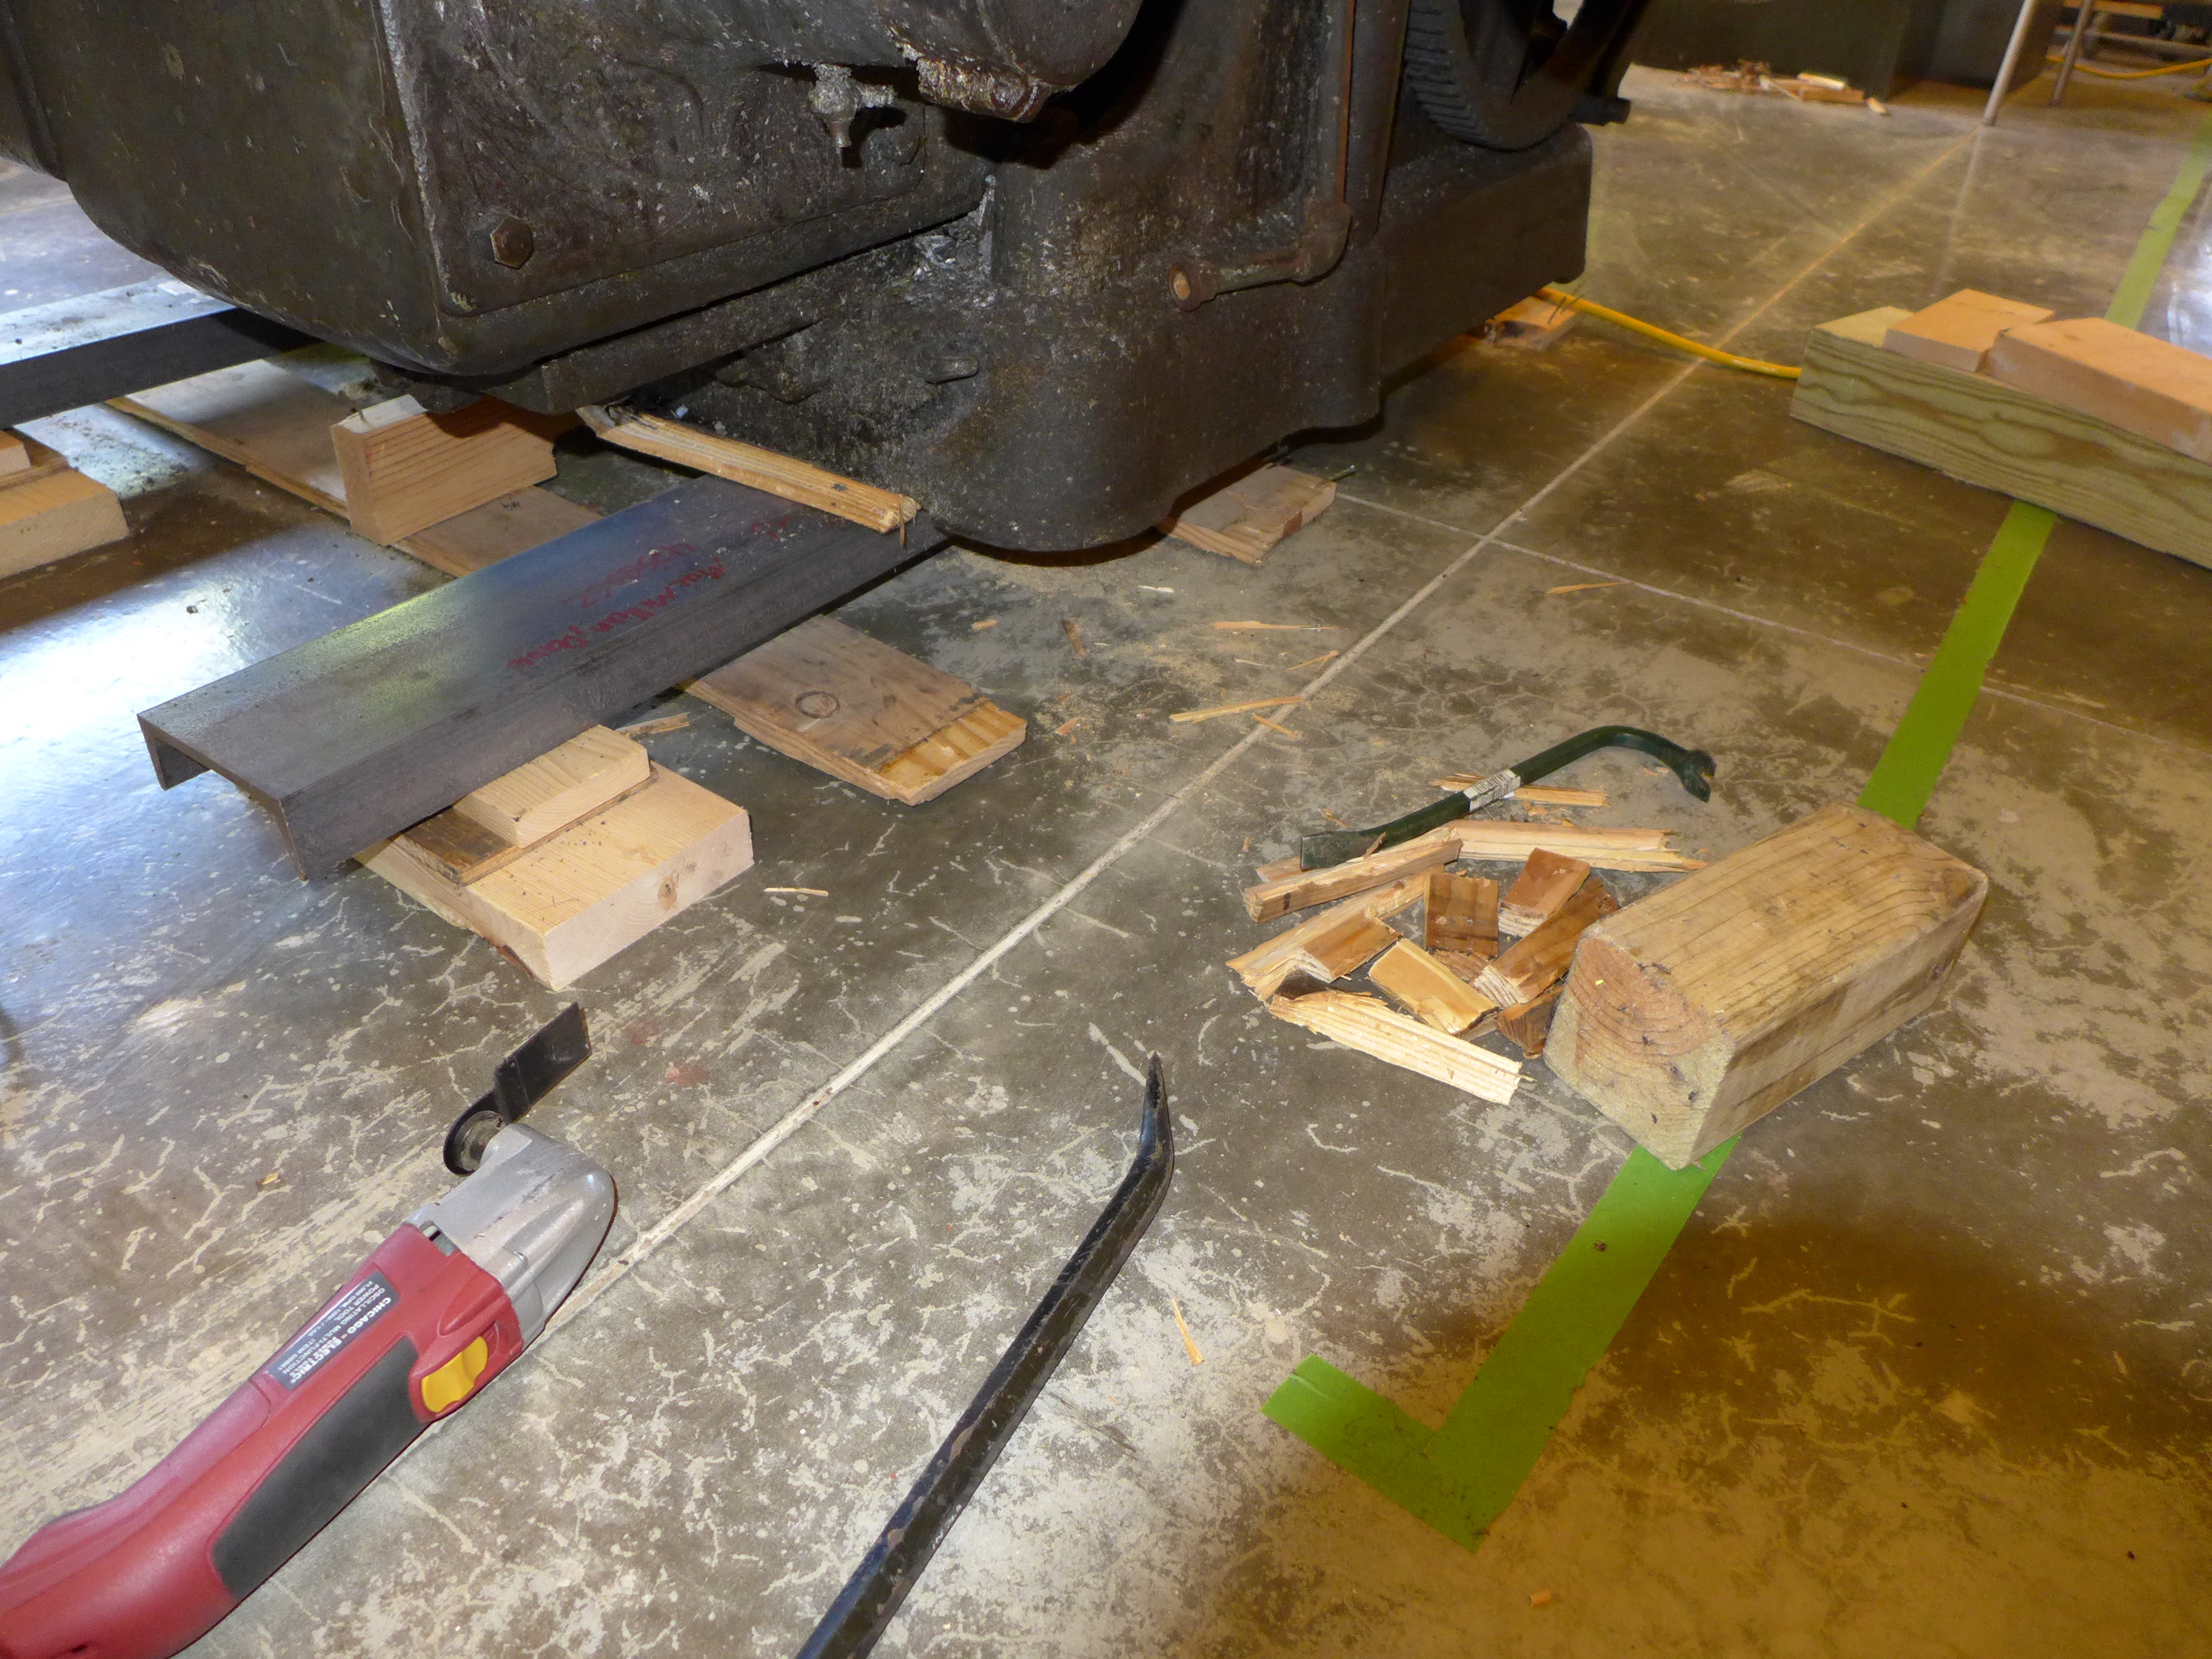
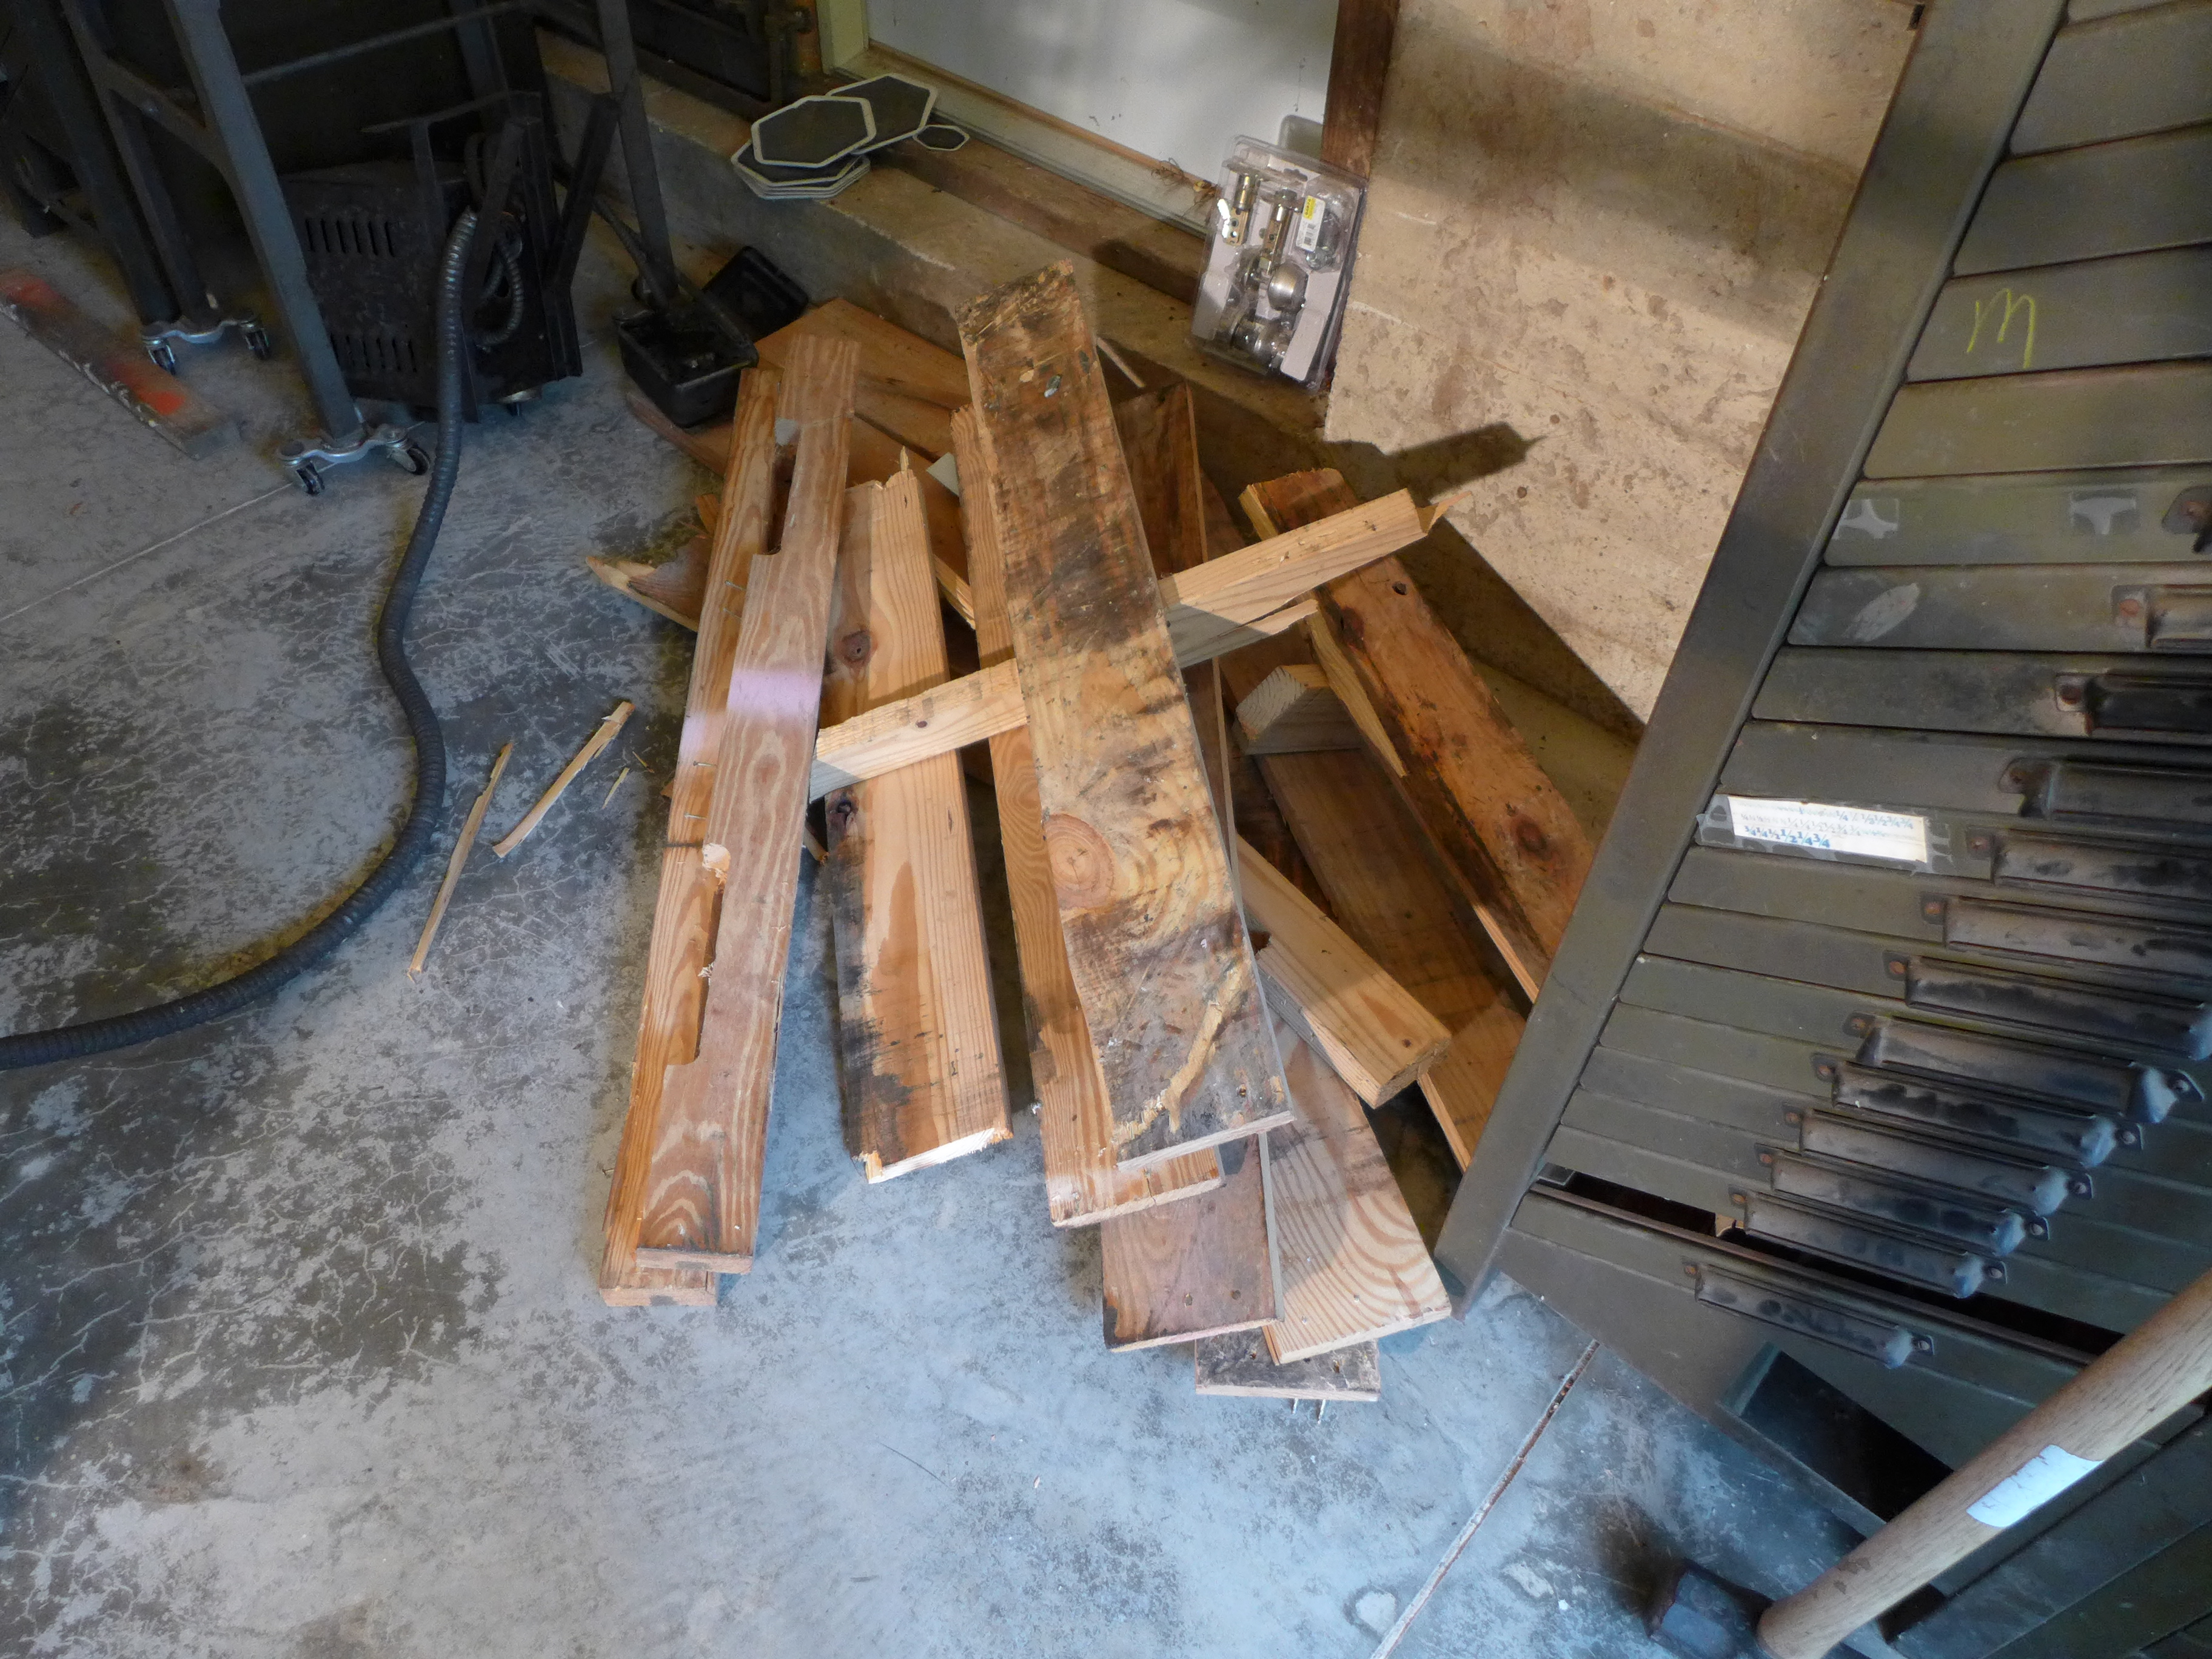
Then I used my special pallet-breaking tool to wrench away the side 2x4s. This is a crude but astonishinly effective tool. I threw it together out of scrap 2x6 lumber and construction screws last year to break a different pallet. I had planned to disassemble it to recover the scrap wood, but now I think I'll keep it as a permanent demolition tool.
Demolishing the corners of the pallet was the hardest part. In front, where there was more room to work, I used the reciprocating saw. This seems like the right tool, but really isn't - it's hard to get in close enough to the beam (so we cut enough of the corner off) while still being able to rest the saw against something solid (they'll shake your arms off if you just try to use them freehand). For the tight back right corner, I used the Oscillating Multi-Tool to nibble off 1 or 2 inch sections of pallet, and then I broke these off with small wrecking bars. They broke off surprisingly cleanly.
Put blocks under all four cleared corners.
Then on each of the corners use the Toe Jack to lift the beam just clear of the beam's supporting blocks. Set the corner down on its independent blocks. We now have a partially demolished pallet more-or-less loose under a machine supported by four corner blocks.
Then bend, cut, and wrench the remainder of the pallet apart and out from under the machine.
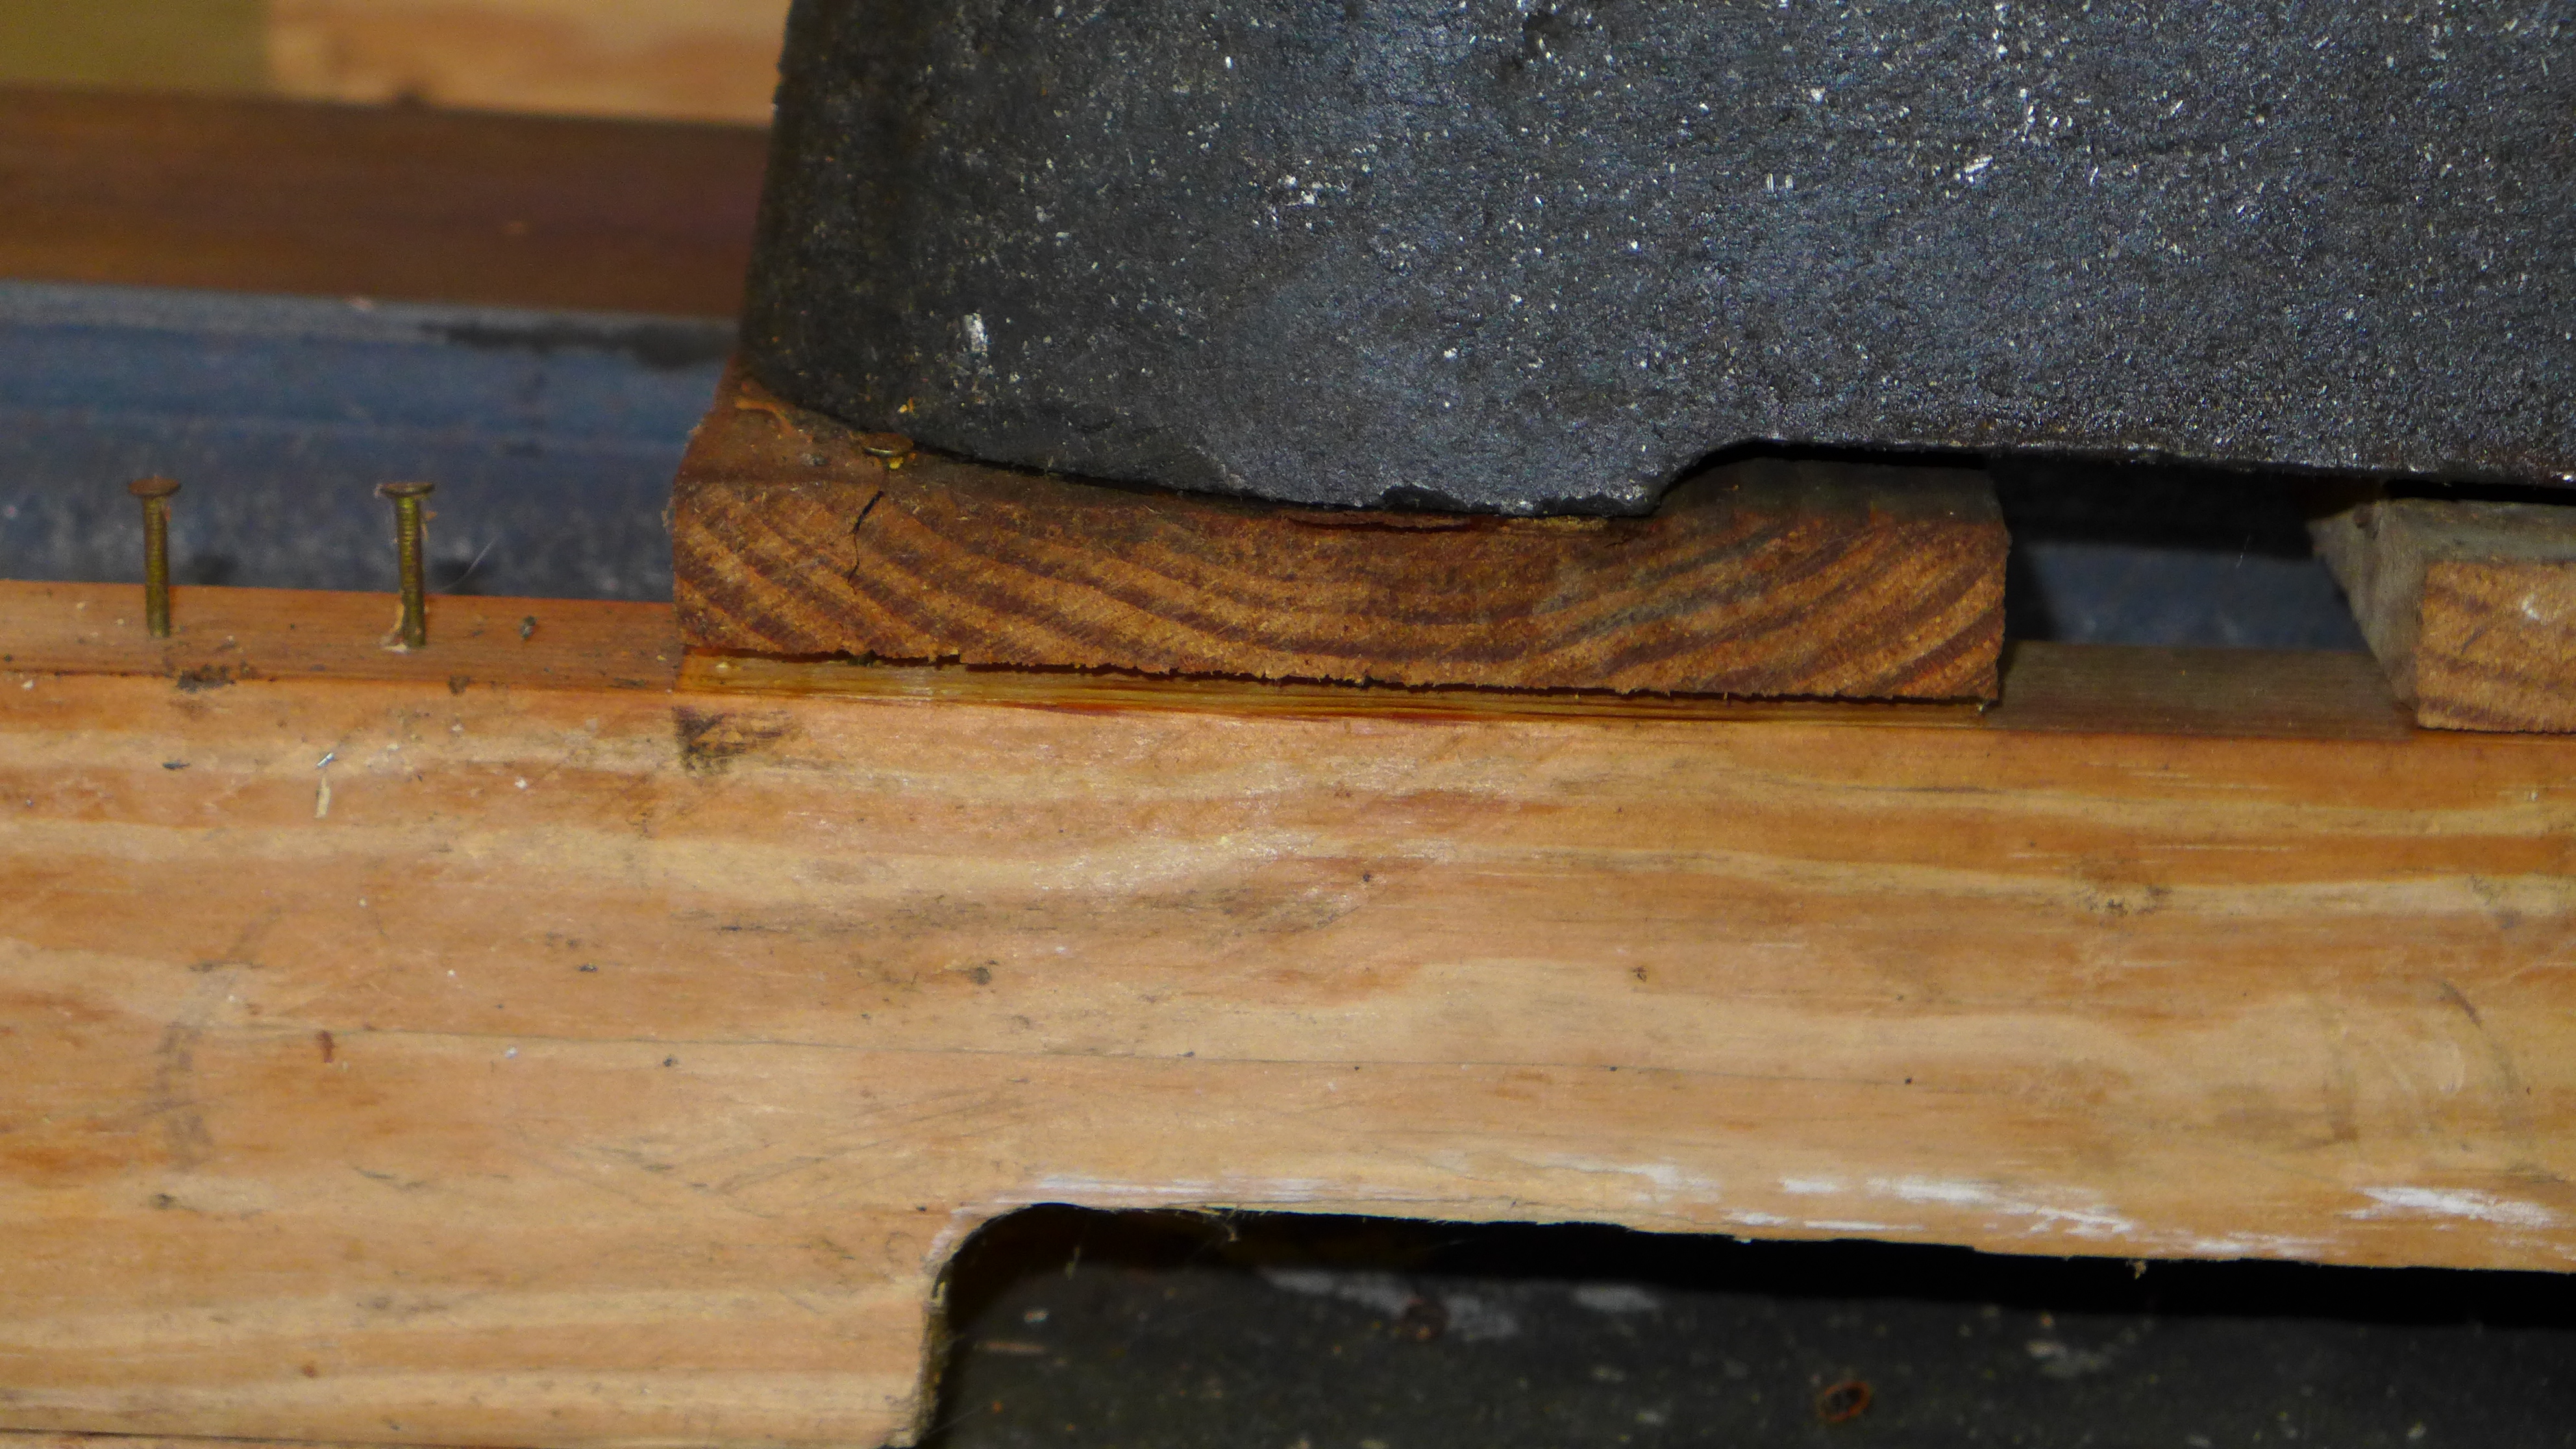
CAUTION: The Barth is an impressively stiff machine. My floor is very flat, but is still out-of-level by perhaps a millimeter or 16th of an inch or so over the width of the machine. The front right (operator-right) corner blocks are actually loose. During the relatively rough operations in demolishing the rest of the pallet, it's easy enough to knock it away by accident. The machine remains unmoved, because (as it happens in this case) most of the weight is in the opposite corner. But, still, without this block it is balanced on the front-left and back-right blocks. It wouldn't be hard to tip it on that balance axis (I didn't try). It would have been best had I wedged this corner block in place.
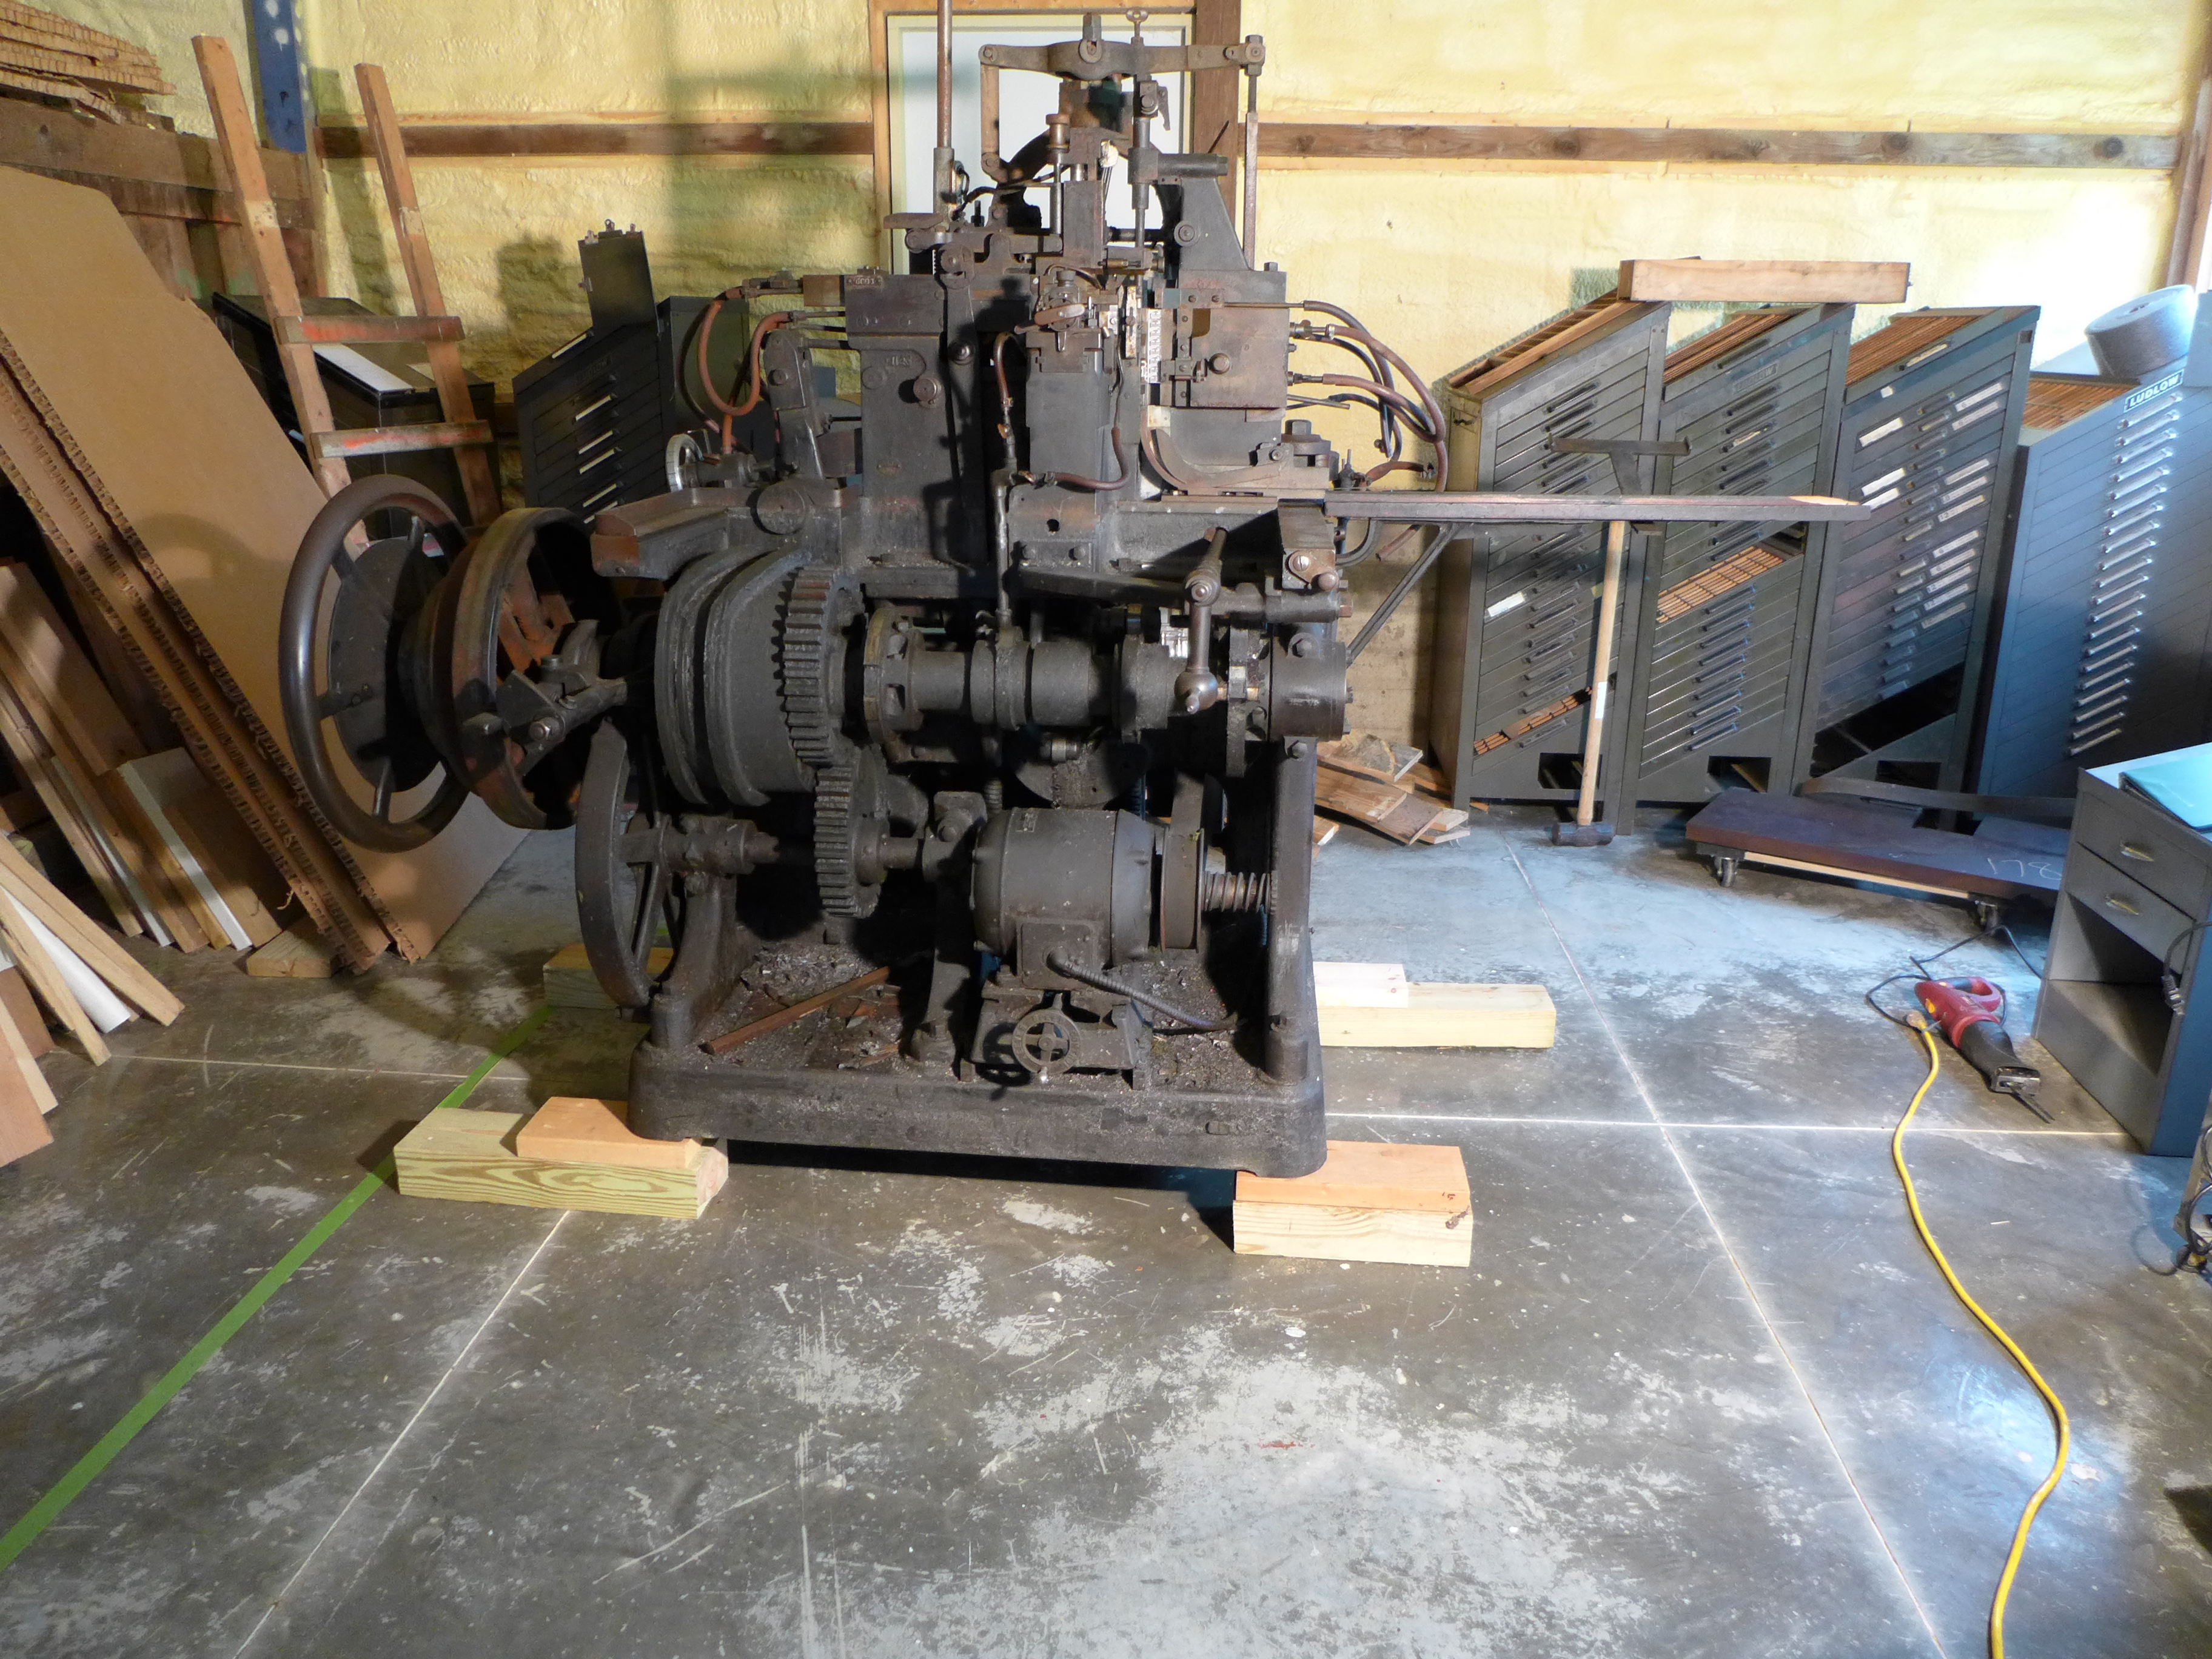
And here it is. For the first time since I acquired it, the method of supporting this machine is something that I have constructed and controlled entirely - no longer need I rely on someone else's pallet (for which, see below right).
This is as far in the air as I ever hope to see a Barth. So, before lowering the machine to the ground (or, as I finally decided, onto very low blocks) I took the opportunity to photograph and measure its underside. That's the topic of the next journal entry.
All portions of this document not noted otherwise are Copyright © 2016, 2022 by David M. MacMillan.
Circuitous Root is a Registered Trademark of David M. MacMillan.
This work is licensed under the Creative Commons "Attribution - ShareAlike" license, version 4.0 International. See http://creativecommons.org/licenses/by-sa/4.0/ for its terms.
Presented originally by Circuitous Root®