These Notebooks identify a few of the issues involved in removing, disassembling, and reassembling the inch/metric dual-reading dials installed as original equipment on the Top Slide and Cross Slide of my Clausing-Colchester 13" lathe (= Colchester Master 2500). These dials were manufactured by what is now Gamet Products Ltd.
These Dials look safe enough from the outside, but they have spring-loaded ball bearings inside. These are just waiting to fly out at the unwary, and could easily hit you in the eye. Wear side-shield safety glasses when disassembling these dials!
There are some differences between the dials on my lathe (described in these Notebooks) and those described in the literature.
There are at least three English patents for dual-reading dials assigned to Gamet , and each of these patents describe a different mechanism. The dials described here are based on those of GB 1,463,732 (Hill). This patent was filed in 1974, three years after the introduction of the Colchester lathe, so one would presume that earlier lathes had different dials.
The Colchester Dual-Reading Dials: Dual-Dial Fitting Instructions contains several differences in the description of the Top Slide dial. It refers to a "retainer plug" with a "grubscrew" (setscrew in American terminology) where both the parts list for my lathe and my lathe itself have p/n 87520-0 Washer (931-0294) and 87492-0 Screw (144-7027) to hold the Handle on. It refers to a Spacer on a Screw Extension (which extension may or may not be integral with the Screw; I'm not sure). This is not present on my lathe or in its parts book. It also describes a dial cover which slides in and out. This was characteristic of the Sindall patent (GB 1,193,831) and the Waplington patent (GB 1,265,994), but not of the Hill patent (GB 1,463,732) or of the dials on my lathe, where this cover rotates. Most significantly, it refers to an eccentric shaft with a 27 tooth gear on the bottom of the Keep Assembly (and refers to a similar eccentric for the Cross Slide dial). These are not present on my lathe dials. Only the Waplington patent employs an idler pinion on an eccentric, so it might be reasonable to conclude that this document describes dials made along the lines of that patent.
The dials on my lathe (the ones disassembled and described here) would appear to follow the design described in the Hill patent.
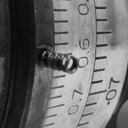
On at least the dials of the style on my lathe (Hill patent) with a revolving sleeve to show inch vs. metric, there are two spring-loaded ball bearing detents hidden under the sleeve, just waiting to fly out, possibly hit you in the eye, and certainly land in an undiscoverable location across the room. Click here for a look at them in the Top Slide.
When disassembling the Sleeve, the best course I can think of is to put the entire assembly inside a zip-closing plastic bag. Zip it closed and then, manipulating the dial through the bag, take off the Sleeve.
Putting them in again is another trick altogether. I think I finally figured it out: use the Sleeve itself as an aid.
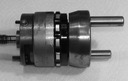
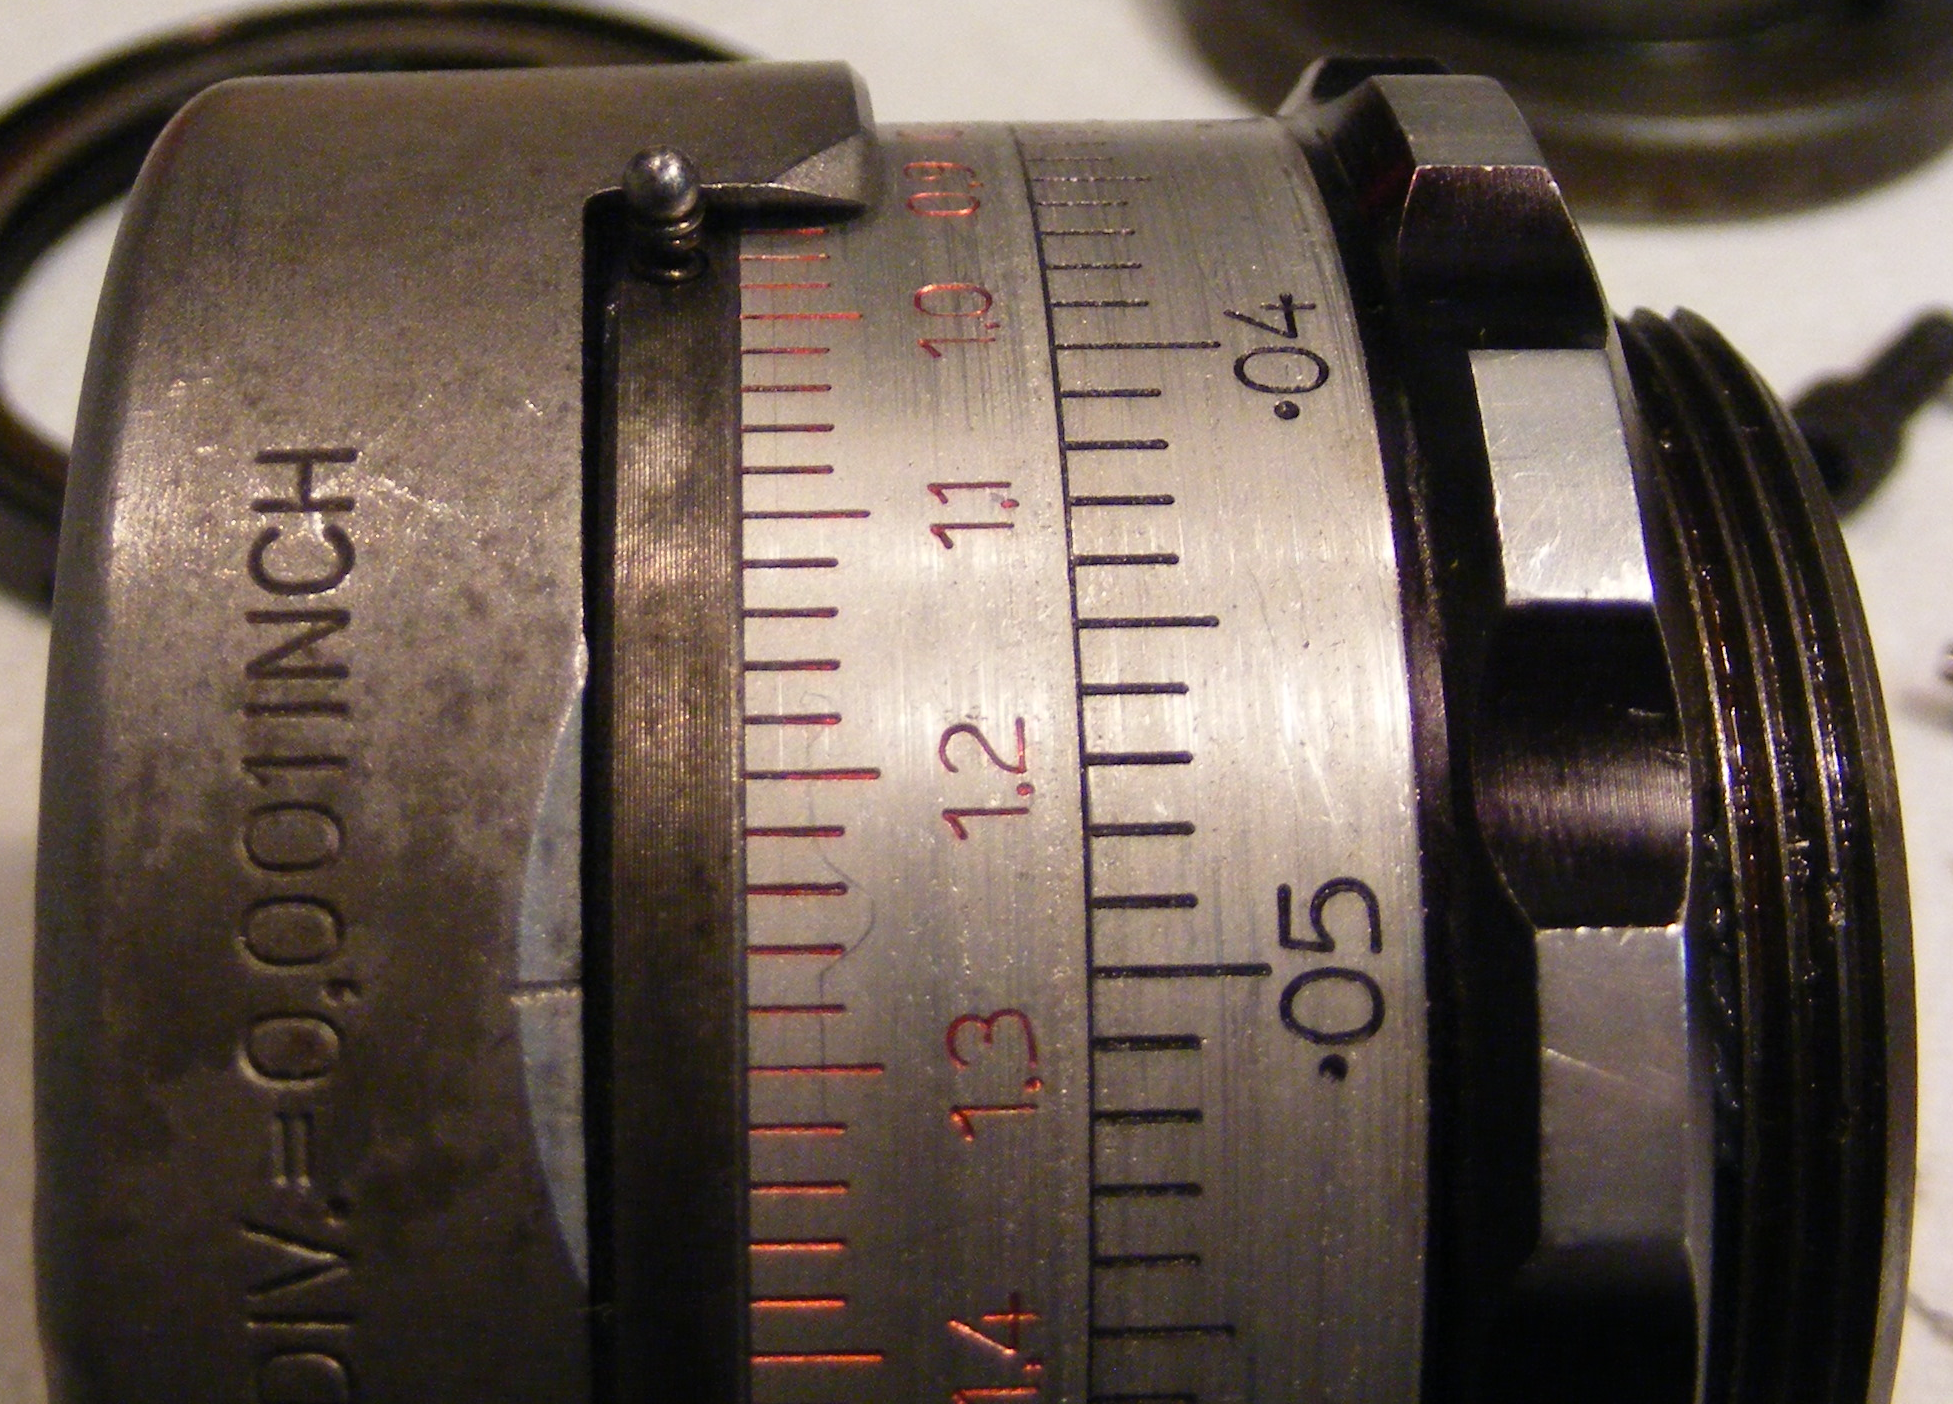
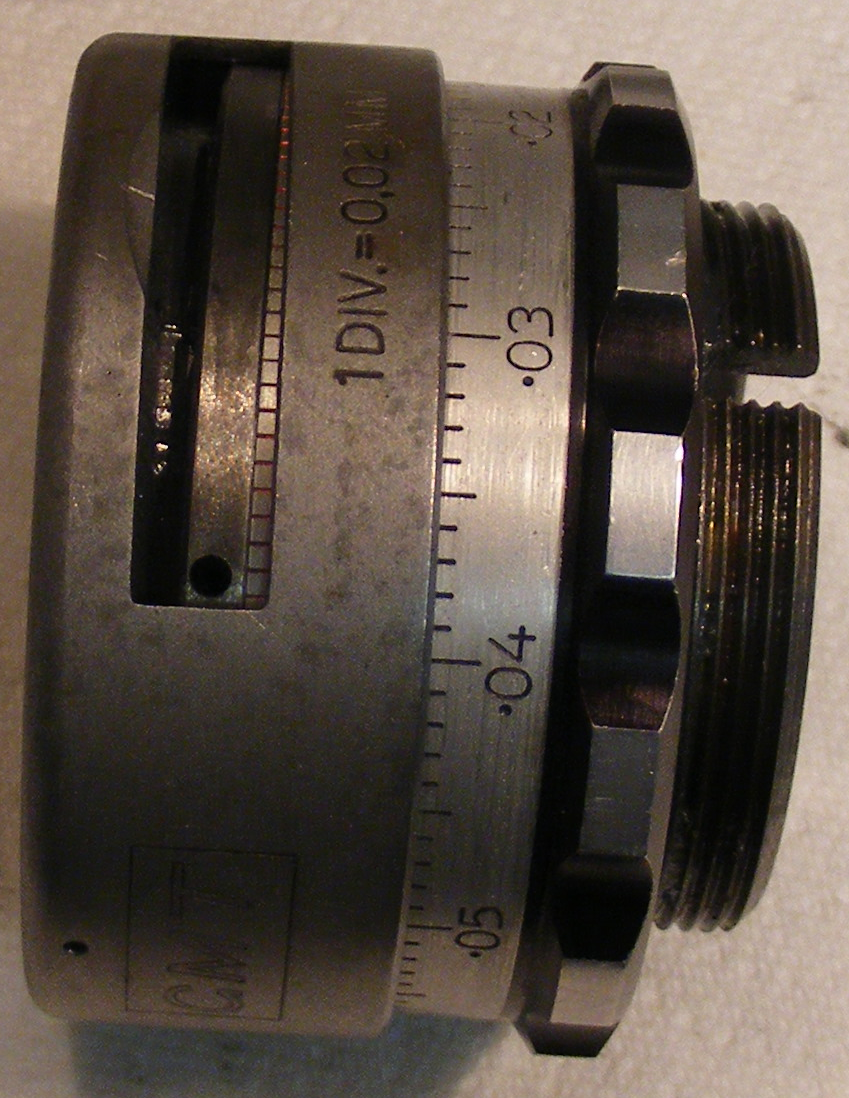
Here's the Top Slide Dual Dial Cartridge, partly disassembled. I've slipped the Sleeve back on, but not all the way. It's only on far enough for the opening for inch readings to line up with the ring on the Block which receives the springs. In the photo below, I've aligned it so that one side of this opening just reveals one of these spring holes:
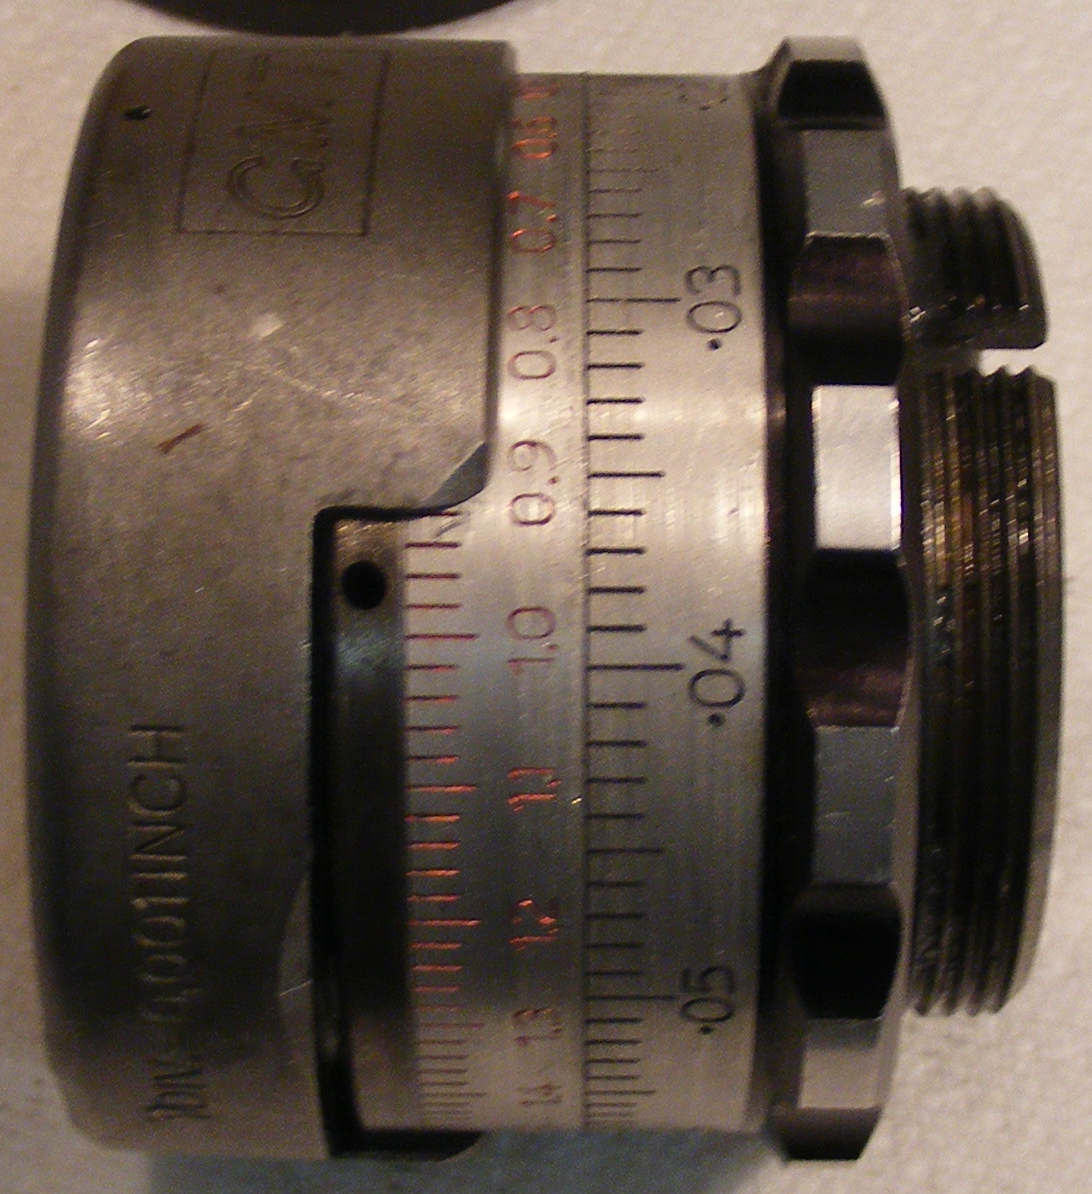
Slip the spring into the hole, and then carefully balance the ball on top of it.

Then press the ball down (I found it convenient to use a square block that I happened to have, because my fingers were too resilient to get the ball down level with the Block) and rotate the Sleeve to cover it. This stage isn't illustrated because I was using both hands at the time and couldn't take a snapshot.
Then rotate the Sleeve about 180 degrees, so that the other spring hole is exposed, and put the spring and detent in in the same way. Then push the Sleeve all the way in.
Note: When rotating the sleeve, take care not to slide it in so that the metric opening is over the ball detent you just put in. The first time I did this, unthinkingly that's just what I did. Sproing!
All portions of this document not noted otherwise are Copyright © 2012 by David M. MacMillan and Rollande Krandall.
Circuitous Root is a Registered Trademark of David M. MacMillan and Rollande Krandall.
This work is licensed under the Creative Commons "Attribution - ShareAlike" license. See http://creativecommons.org/licenses/by-sa/3.0/ for its terms.
Presented originally by Circuitous Root®
Select Resolution: 0 [other resolutions temporarily disabled due to lack of disk space]